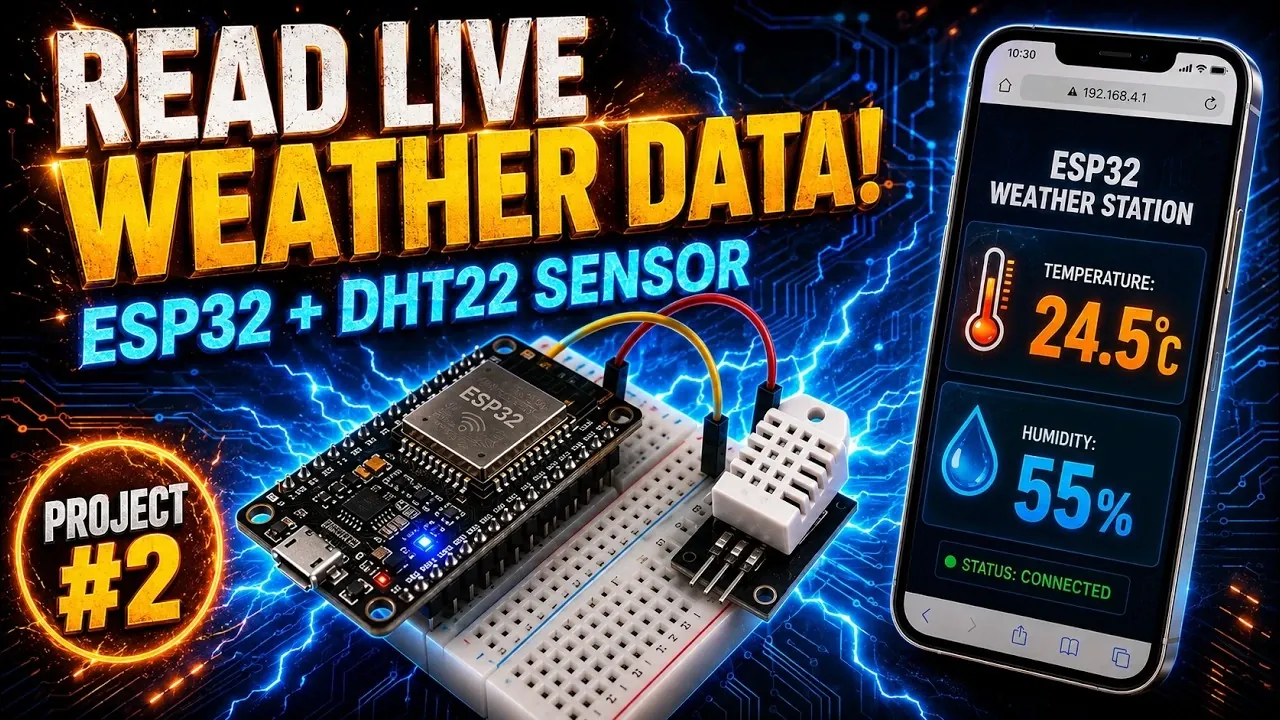
Creating a live weather station with an ESP32 microcontroller and a DHT22 sensor offers a hands-on introduction to IoT applications. As demonstrated by IoT Journal, this project combines hardware setup, software configuration and real-time data monitoring to deliver a functional system capable of tracking temperature and humidity. The ESP32 serves as the backbone, handling wireless connectivity and data processing, while the DHT22 sensor provides accurate environmental readings. A key feature of this setup is its ability to display live data on a self-refreshing web page accessible through your local network, making it both practical and interactive.
In this breakdown, you’ll explore how to wire the ESP32 and DHT22 sensor for optimal performance, including tips on stabilizing connections with a pull-up resistor. You’ll also learn how to configure the Arduino IDE, install necessary libraries and write code that integrates Wi-Fi connectivity with real-time data display. Finally, the guide covers troubleshooting common issues, such as resolving “NaN” errors or addressing unstable readings, making sure your weather station operates reliably.
DIY Weather Station
TL;DR Key Takeaways :
- Build a live weather station using an ESP32 microcontroller and a DHT22 sensor to monitor real-time temperature and humidity, displayed on a self-refreshing web page accessible via a local network.
- Essential components include an ESP32 microcontroller, a DHT22 or DHT11 sensor, a breadboard, jumper wires and an optional pull-up resistor for signal stability.
- Set up the software by installing the Arduino IDE, required libraries (Adafruit DHT and Unified Sensor libraries), and configuring the ESP32 board for Wi-Fi connectivity and local web server hosting.
- Write and upload code to initialize the sensor, read data, handle errors and dynamically display readings on a web page that refreshes automatically for real-time updates.
- Expand the project with features like data logging, smart irrigation, additional sensors, or cloud integration for advanced IoT applications and remote monitoring.
What You’ll Need
To begin, gather the following essential components:
- ESP32 microcontroller: The core of the project, responsible for processing data and providing wireless connectivity.
- DHT22 or DHT11 sensor: Measures temperature and humidity. The DHT22 offers higher accuracy and a wider range compared to the DHT11.
- Breadboard and jumper wires: Simplify the assembly of your circuit and ensure secure connections.
- Optional pull-up resistor: Helps stabilize the sensor’s data pin, particularly in longer circuits or noisy environments.
These components form the backbone of your weather station. The ESP32 handles data collection and transmission, while the DHT sensor provides the environmental readings.
How to Wire the Components
Proper wiring is critical to ensure the system functions as intended. Follow these steps to connect your components:
- Connect the DHT22 sensor’s VCC pin to the ESP32’s 3.3V power output.
- Attach the GND pin to the ESP32’s ground pin.
- Link the data pin of the sensor to a GPIO pin on the ESP32 (e.g., GPIO4).
- If using a DHT11 sensor, follow the same steps, but be aware of its slightly lower accuracy and range.
- Optionally, add a pull-up resistor (e.g., 10k ohms) between the data pin and VCC to stabilize the signal and improve reliability.
Double-check all connections to avoid errors during operation. Incorrect wiring can lead to issues such as inaccurate readings or failure to communicate with the sensor.

Here is a selection of other guides from our extensive library of content you may find of interest on ESP32.
- $5 ESP32-S3 Super Mini Packs Wi-Fi and Bluetooth
- How an $8 ESP32 S3 Microcontroller Runs a 28.9M Parameter Local LLM
- $4 ESP32 Module Brings Wi-Fi and Bluetooth to IoT Projects
- Build a DIY Open source Flipper Zero Using a ESP32-DIV
- ESP32-S3 Automation System Packs 16 Relays for Smart Homes
- $5 ESP32 S3 Board Packs a 240 MHz Dual-Core Chip
- Optimize ESP32 Battery Life Using 10 Lesser-Known Features
- Build a Sonos Rival with the $30 AUD Louder ESP32 Board
- Arduino Nano ESP32 handheld console with round color display
- T-Display AMOLED Touch ESP32 board binary converter project
Setting Up the Software
The software setup is a crucial step in bringing your weather station to life. Follow these steps to configure your system:
- Download and install the Arduino IDE from its official website. This platform will be used to write and upload code to the ESP32.
- Install the required libraries, including the Adafruit DHT sensor library and the Adafruit Unified Sensor library. These libraries simplify communication with the DHT sensor and ensure accurate data readings.
- Configure the Arduino IDE to recognize your ESP32 by installing the ESP32 board package. Select the appropriate board (e.g., ESP32 Dev Module) and port from the settings menu.
Once the software is set up, you can proceed to write and upload the code that will control your weather station.
Understanding the Code
The code for this project is designed to integrate the hardware and software components seamlessly. Key steps include:
- Initialize the DHT sensor: Define the sensor type (DHT22 or DHT11) and the GPIO pin it is connected to.
- Set up Wi-Fi connectivity: Configure the ESP32 to host a local web server, allowing access to the weather data via a web browser.
- Read sensor data: Use library functions to retrieve temperature and humidity readings from the DHT sensor.
- Handle errors: Implement error-checking mechanisms, such as using the `isNaN` function to detect and manage invalid readings.
- Embed data in HTML: Create a dynamic web page that displays the sensor readings and refreshes automatically for real-time updates.
Once uploaded, the ESP32 will act as a local server and its IP address will serve as the access point for viewing the weather data.
Testing Your Weather Station
After uploading the code, test your weather station to ensure it operates correctly:
- Open a web browser on a device connected to the same network as the ESP32.
- Enter the ESP32’s local IP address in the browser’s address bar.
- Verify that the web page displays live temperature and humidity data. The page should refresh periodically to provide real-time updates.
- If the data appears as “NaN” or fails to update, revisit your wiring and sensor configuration to identify and resolve any issues.
Testing ensures that your weather station is functional and provides accurate environmental readings.
Troubleshooting Common Problems
If you encounter issues during setup or operation, consider these common problems and their solutions:
- “NaN” readings: Verify that the sensor is properly wired and matches the type defined in your code. Ensure the pull-up resistor is correctly installed if needed.
- Inconsistent or fluctuating readings: Check for loose connections or faulty components. Ensure the sensor is not exposed to extreme environmental conditions.
- HTML page errors: Review your code for syntax errors, particularly in the HTML and JavaScript sections responsible for displaying and refreshing the data.
Systematic troubleshooting will help you identify and resolve issues, making sure your weather station operates reliably.
Expanding the Project
Once your weather station is fully operational, you can enhance its functionality with additional features:
- Data logging: Store historical temperature and humidity readings in a database or on an SD card for long-term analysis.
- Smart irrigation: Use real-time weather data to automate watering schedules for plants, optimizing water usage based on environmental conditions.
- Additional sensors: Integrate other sensors, such as air quality, barometric pressure, or light intensity sensors, to expand the scope of your weather station.
- Cloud integration: Connect your weather station to cloud platforms like ThingSpeak or AWS IoT to enable remote monitoring and data visualization.
These enhancements build on the foundational skills you’ve developed and open the door to more advanced IoT projects, allowing you to explore innovative applications and solutions.
Media Credit: IoT Journal
Disclosure: Some of our articles include affiliate links. If you buy something through one of these links, Geeky Gadgets may earn an affiliate commission. Learn about our Disclosure Policy.
