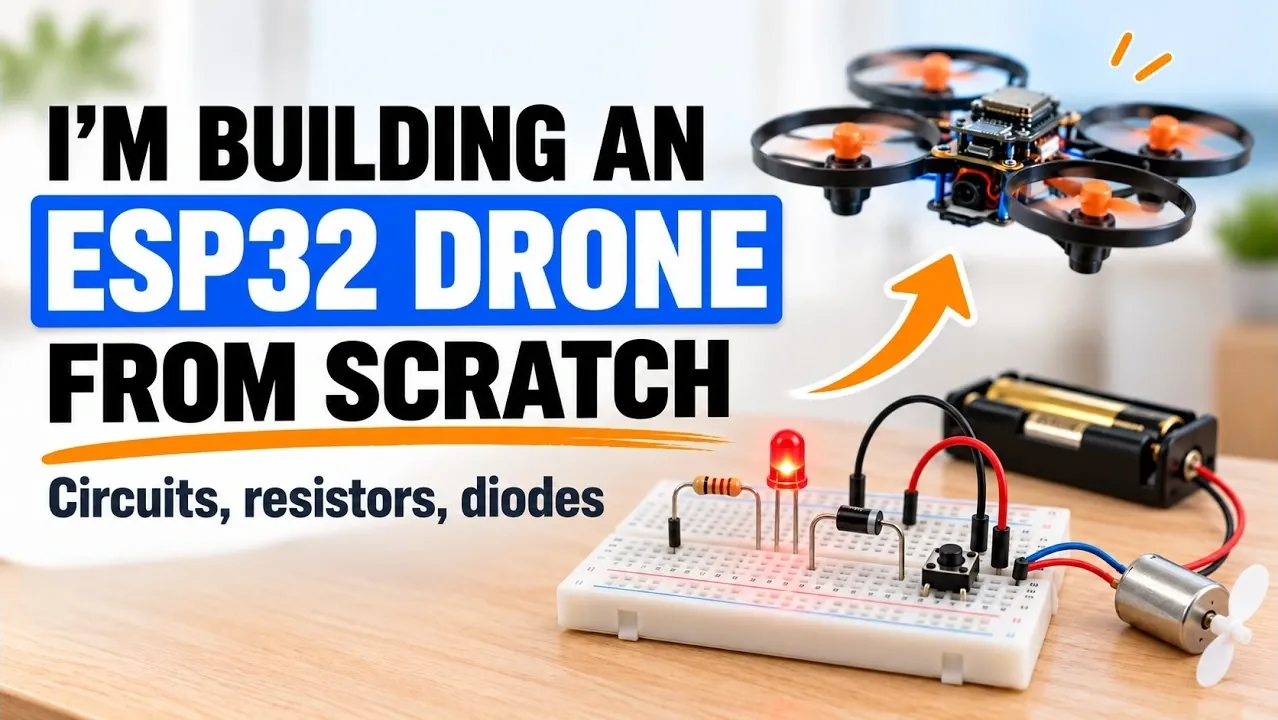
Building a drone from scratch using the ESP32 microcontroller combines electronics, programming and engineering into a single project. Spencer Baum explains key foundational concepts, such as how resistors limit current to protect components like LEDs and how diodes regulate circuit flow. For instance, assembling a basic motor driver circuit provides a practical starting point for understanding how these components work together, laying the groundwork for more advanced tasks.
Explore how to construct and test motor driver circuits, apply pulse width modulation (PWM) for precise motor control and transition from breadboard prototypes to soldered designs. Learn how to program the ESP32 to automate motor functions, making sure stable and responsive drone movements. This feature provides a step-by-step approach to integrating electronics and programming into a functional drone.
Building a DIY Drone
TL;DR Key Takeaways :
- Building a drone with an ESP32 microcontroller involves mastering electronics, programming and engineering, starting with basic concepts and advancing to techniques like motor driver circuits and PWM.
- Understanding basic electronics, including voltage, current, resistance and prototyping tools like breadboards, is essential for creating and testing circuits safely and effectively.
- The motor driver circuit, controlled by the ESP32, uses components like MOSFETs, resistors and diodes to regulate motor speed and direction, making sure smooth drone operation.
- Pulse Width Modulation (PWM) is a key technique for precise and energy-efficient motor control, critical for drone stability and maneuverability during flight.
- Advancing the project includes programming the ESP32 for automated control, optimizing power management and transitioning to durable designs with soldered circuits or custom PCBs.
1: Understanding Basic Electronics
Before constructing your drone, it’s essential to develop a strong understanding of basic electronics. This knowledge forms the backbone of your project, allowing you to work confidently with circuits and components.
- Core Principles: Voltage, current and resistance are fundamental concepts governed by Ohm’s Law. For example, resistors are used to limit current, protecting sensitive components such as LEDs from damage.
- Prototyping Tools: Breadboards are invaluable for testing and modifying circuits without soldering. They allow you to experiment with different configurations and troubleshoot issues before finalizing your design.
Start by building simple circuits, such as lighting an LED or controlling it with a push button. These exercises will help you become familiar with components like resistors, capacitors and diodes, laying the groundwork for more complex tasks.
2: Designing and Testing the Motor Driver Circuit
The motor driver circuit is a critical component of your drone, as it controls the speed and direction of the motors. The ESP32 microcontroller sends signals to this circuit, allowing precise adjustments that are essential for flight.
- Role of MOSFETs: MOSFETs act as electronic switches, regulating the flow of current to the motors. They respond to signals from the ESP32, making sure smooth and efficient operation.
- Protective Measures: Resistors and diodes are crucial for circuit safety. Resistors limit current to prevent damage to the MOSFET, while diodes block reverse currents that could harm other components.
Begin by assembling a prototype motor driver circuit on a breadboard. This step allows you to test its functionality and make adjustments as needed. Once the circuit operates reliably, you can transition to a more permanent design.

Gain further expertise in ESP32 by checking out these recommendations.
- $5 ESP32-S3 Super Mini Packs Wi-Fi and Bluetooth
- The $4 ESP32 S3 Super Mini Packs a 240 MHz Dual-Core Chip
- How an $8 ESP32 S3 Microcontroller Runs a 28.9M Parameter Local LLM
- 5 ESP32 Projects Worth Building in 2026: Such as an Apple HomeKit Controller
- $4 ESP32 Module Brings Wi-Fi and Bluetooth to IoT Projects
- Replacing Security Cameras with Three $10 ESP32S3 Wi-Fi Boards
- ESP32-S3 Super Mini Costs $5 and Packs Wi-Fi and Bluetooth
- Gemini 4 Argon Writes ESP Mosaico Firmware to Control RGB LEDs
- ESP32-S3 Super Mini Brings 240 MHz Dual-Core Power For $4
- ESP32 S31 Devkit Hands-on: 320 MHz RISC-V Chip Adds Wi-Fi 6
3: Exploring Motor Control and Speed Adjustment
During the prototyping phase, push buttons can be used to simulate motor control. Pressing a button completes the circuit, allowing you to adjust motor speed manually. However, this approach has limitations that highlight the need for more advanced techniques.
- Directional Control with Diodes: Diodes ensure that current flows in the correct direction, which is particularly important when reversing motor direction.
- Efficiency Concerns: While resistors can be used to control motor speed, they dissipate energy as heat, making them inefficient for sustained use.
These challenges underscore the importance of implementing a more efficient method, such as PWM, for precise and energy-efficient motor control.
4: Implementing Pulse Width Modulation (PWM)
Pulse Width Modulation (PWM) is a widely used technique for controlling motor speed in drones. Instead of dissipating energy as heat, PWM adjusts motor speed by rapidly switching the power on and off.
- Hands-On Learning: You can manually simulate PWM by rapidly pressing a push button to create on-off cycles. This exercise provides a practical understanding of how PWM works.
- Precision and Stability: PWM enables precise control of motor speed, which is essential for maintaining the stability and maneuverability of your drone during flight.
Integrating PWM into your motor driver circuit ensures efficient and accurate control, allowing your drone to perform complex movements with ease.
5: Achieving Full Drone Functionality
Once you’ve mastered motor control, you can begin to explore how speed adjustments affect your drone’s movement. For example, increasing the speed of the front motors while reducing the speed of the rear motors will tilt the drone forward, allowing it to move in that direction. Similarly, synchronized speed changes across all motors allow the drone to climb, descend, or hover in place.
Advancing Your Drone Project
After completing the foundational steps, you can move on to more advanced tasks to enhance your drone’s capabilities and durability. These include:
- Programming the ESP32: Write and upload code to automate motor control using PWM, allowing your drone to respond to commands or follow pre-programmed flight paths.
- Optimizing Power Management: Integrate MOSFETs and other components into your circuit for efficient power distribution and minimal energy loss.
- Building a Durable Design: Transition from breadboard prototypes to soldered circuits or custom PCBs, creating a robust and professional-looking drone.
As you progress, you’ll gain deeper insights into advanced circuit design, microcontroller programming and troubleshooting techniques. These skills will not only help you complete your drone but also open the door to more ambitious electronics projects in the future.
Media Credit: Spencer Baum
Disclosure: Some of our articles include affiliate links. If you buy something through one of these links, Geeky Gadgets may earn an affiliate commission. Learn about our Disclosure Policy.
