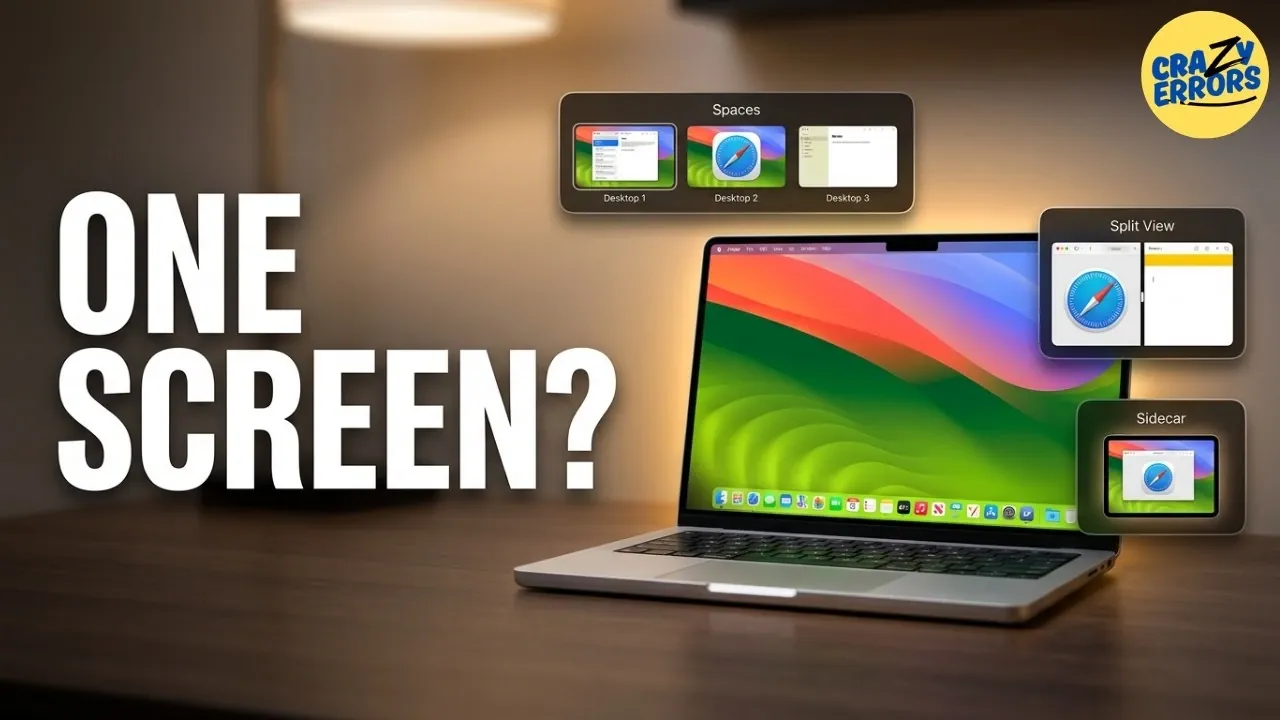
Your Mac’s multiple desktop functionality is a feature that often goes unnoticed, yet it holds the potential to significantly enhance your productivity. By using Mission Control, you can create and manage separate desktops for different tasks, such as dedicating one to work projects and another to personal activities. Crazy Errors highlights how features like app assignment and Split View can help you streamline your workflow, reduce visual clutter and maintain focus. For instance, assigning specific apps to designated desktops ensures that each workspace is tailored to a particular purpose, making it easier to stay organized.
Explore how to effectively switch between desktops using intuitive shortcuts, configure Hot Corners for quick access to essential functions and even extend your workspace with Sidecar to turn your iPad into a secondary screen. You’ll also learn how to customize your desktop setup by rearranging spaces and assigning unique backgrounds to visually differentiate tasks. These practical strategies will help you unlock the full potential of your Mac’s desktop features, creating a more efficient and focused digital environment.
Mission Control: Your Command Center
TL;DR Key Takeaways :
- Use Mission Control to manage multiple desktops, organize tasks and reduce distractions for a more efficient workflow.
- Assign specific apps to designated desktops and use features like Full-Screen Mode and Split View to focus on tasks or multitask effectively.
- Switch between desktops seamlessly using keyboard shortcuts or trackpad gestures to maintain productivity without interruptions.
- Use Hot Corners for quick access to essential functions and ensure Finder is accessible across all desktops for uninterrupted file management.
- Enhance your workspace with Sidecar by using your iPad as a secondary screen, allowing multitasking and additional functionality like Apple Pencil support.
Mission Control serves as the central hub for managing multiple desktops. With a simple swipe up using three fingers on your trackpad or by pressing the F3 key, you can instantly view all open windows and desktops. At the top of the screen, your current desktops are displayed and adding a new one is as simple as clicking the “+” symbol in the top-right corner.
This feature allows you to compartmentalize your tasks effectively. For example, you can dedicate one desktop to work-related activities and another to personal tasks. By separating your activities, you can maintain focus and reduce distractions, creating a more organized and efficient workspace.
Organizing Apps Across Desktops
Once you’ve created multiple desktops, organizing your apps across them can greatly enhance your workflow. Assigning specific apps to designated desktops ensures that each workspace is tailored to a particular task. For instance:
- Use one desktop for communication tools like email and calendar apps.
- Reserve another for creative software such as Photoshop or video editing tools.
- Dedicate a separate desktop for research or browsing activities.
To move an app to a different desktop, simply drag its window to the edge of the screen or use Mission Control to drag and drop it onto the desired desktop. This approach minimizes clutter and helps you focus on one task at a time, improving overall efficiency.

Advance your skills in macOS by reading more of our detailed content.
- macOS 26.4 Adds iPhone’s Best Battery Feature to the MacBook
- Why the macOS 27 Update is Actually a Massive Leap Forward
- Mac Wi-Fi Issues? Why You Should Update to macOS Tahoe 26.4.1 Immediately
- macOS 26.4 is Out: Reasons to Update Your Mac Today
- Update Your MacBook Now: macOS 26.4 Adds iPhone’s Best Battery Feature to the Mac
- The Biggest Changes in macOS 26.5 Tahoe You Need to Know
- macOS 26.5: Here Are the Features You Need to See
- Steve Jobs Said No, but macOS 27 Says Yes: The Touchscreen Mac Finally Arrives in 2027
- Tuna Launcher for macOS Focuses on Privacy with Local Dictation Models
- Can GameHub Finally Make Native PC Gaming on Mac a Reality?
Effortless Desktop Switching
Switching between desktops is designed to be seamless and intuitive. You can use the keyboard shortcut Control + left or right arrow keys to navigate between desktops quickly. Alternatively, a three-finger swipe left or right on the trackpad allows for smooth transitions.
These shortcuts ensure that you can access the tools and information you need without interrupting your workflow. Whether you’re managing multiple projects or multitasking, the ability to switch desktops effortlessly keeps your productivity on track.
Full-Screen Mode and Split View for Focused Work
Full-screen mode is a powerful way to optimize your workspace. By clicking the green button in the top-left corner of an app window, you can expand it to fill the entire screen, effectively creating a dedicated desktop for that app. This eliminates distractions and allows you to focus entirely on the task at hand.
For multitasking, Split View enables you to work with two apps side by side. To activate Split View:
- Drag one app to the left or right edge of the screen while in full-screen mode.
- Select another app to occupy the remaining space.
This setup is particularly useful for tasks like comparing documents, referencing data, or conducting research while writing. It allows you to maintain focus while working on complementary tasks simultaneously.
Hot Corners: Quick Access to Essential Functions
Hot Corners is a customizable feature that assigns specific actions to the corners of your screen, providing quick access to essential functions. For example, you can configure the top-left corner to activate Mission Control or the bottom-right corner to lock your screen.
To set up Hot Corners:
- Navigate to System Settings > Desktop & Dock > Hot Corners.
- Select the desired action for each corner.
This feature is particularly useful for saving time and streamlining your workflow, as it allows you to access frequently used functions with minimal effort.
Finder: Always Accessible Across Desktops
If you frequently use Finder to manage files, you can ensure it remains accessible across all desktops. This ensures that your files and folders are always within reach, regardless of which desktop you’re working on.
To enable this:
- Right-click the Finder icon in the Dock.
- Select Options > Assign to All Desktops.
This simple adjustment keeps your workflow uninterrupted and ensures that essential tools are always available when you need them.
Sidecar: Turn Your iPad into a Second Screen
If you own an iPad, the Sidecar feature can extend your Mac’s screen, effectively transforming your iPad into a secondary monitor. This is particularly beneficial for multitasking or displaying reference materials.
With Sidecar, you can:
- Drag apps or documents to the iPad screen for additional workspace.
- Use the Apple Pencil for tasks like annotating PDFs, sketching, or signing documents.
To activate Sidecar, connect your iPad via AirPlay from the Control Center. This feature enhances your productivity by providing additional screen space and functionality, making it easier to manage complex tasks.
Customizing Your Desktop Setup
Your Mac’s desktop setup is highly customizable, allowing you to tailor it to your specific workflow. In Mission Control, you can rearrange desktops by dragging them into your preferred order. This flexibility enables you to group related tasks and prioritize your work effectively.
Additionally, assigning unique backgrounds to each desktop can help you visually differentiate between workspaces. This small but impactful customization makes it easier to stay organized and focused.
Maximize Productivity with Multiple Desktops
Mastering your Mac’s multiple desktop features can transform the way you work. Tools like Mission Control, Split View and Sidecar provide the flexibility and functionality needed to organize tasks, minimize distractions and enhance efficiency. Whether you’re managing complex projects or simply trying to stay organized, these features empower you to optimize your workflow and make the most of your Mac’s capabilities.
Media Credit: Crazy Errors
Disclosure: Some of our articles include affiliate links. If you buy something through one of these links, Geeky Gadgets may earn an affiliate commission. Learn about our Disclosure Policy.