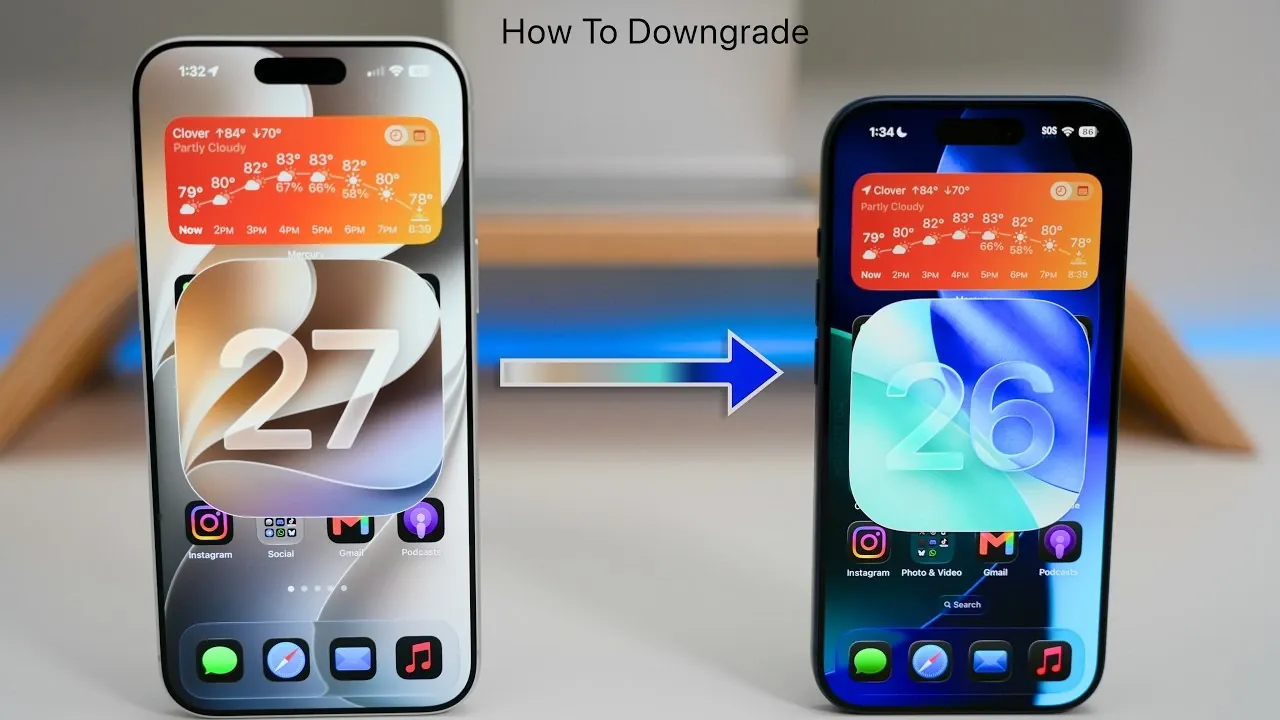
Upgrading to iOS 27 may not always deliver the experience you were hoping for, and you might find yourself wanting to return to iOS 26. Whether it’s due to performance issues, app compatibility, or personal preference, downgrading is a viable option. This guide provides a detailed, step-by-step process to help you downgrade your device while making sure your data remains intact. By following these instructions, you can restore your device to its previous software version efficiently and with minimal risk. The video below from Zollotech gives us more details.

Prepare Your Device for Downgrade
Proper preparation is essential before initiating the downgrade process. Taking the time to set up your device and gather the necessary tools will help you avoid potential issues and ensure a smooth transition. Here’s what you need to do:
- Access to a computer: You’ll need a computer with iTunes (for Windows users) or Finder (for macOS Catalina and later). If you’re using macOS Mojave or an earlier version, iTunes is required.
- Create a backup: Back up your device using iCloud or create a local backup on your computer. This step is critical to safeguarding your data in case anything goes wrong during the downgrade.
- Check backup compatibility: Ensure your backup is compatible with iOS 26. Backups made on iOS 27 cannot be restored on iOS 26, so it’s important to have a backup created before upgrading.
- Download the iOS 26 firmware: Visit Apple’s official website to download the iOS 26 firmware file (IPSW) for your specific device model. Having this file ready will save time during the process.
Completing these steps ensures your device is ready for the downgrade and your data is secure.
Step-by-Step Downgrade Process
Downgrading your device involves restoring it to iOS 26 using recovery mode and a computer. Follow these steps carefully to avoid interruptions or errors:
- Enter recovery mode: Power off your device, then restart it while holding the appropriate buttons for your model. For iPhones with Face ID, press and release the volume up button, press and release the volume down button and hold the side button until the recovery mode screen appears. For older models, consult Apple’s support page for the correct button sequence.
- Connect your device to a computer: Use a reliable USB cable to connect your device to your computer. A stable connection is crucial to prevent errors during the restoration process.
- Launch Finder or iTunes: Open Finder (on macOS Catalina or later) or iTunes (on Windows or older macOS versions). Your device should appear in the sidebar or main window.
- Select the restore option: In Finder or iTunes, select your device and choose the option to restore it. When prompted, locate and select the iOS 26 firmware file you downloaded earlier.
Once the restoration begins, your device will erase all current data and install iOS 26. This process may take several minutes, so ensure your computer remains powered on and connected throughout.
Restore Your Data
After successfully downgrading to iOS 26, the next step is to restore your data. Depending on how you backed up your device, follow one of these methods:
- Restore from iCloud: During the initial setup process, sign in with your Apple ID and select the iCloud backup you created before upgrading to iOS 27. This will restore your apps, settings and data.
- Restore from a local backup: If you created a local backup on your computer, reconnect your device. Open Finder or iTunes, select your device and choose the option to restore from a backup. Be sure to select the correct backup file.
- Sync iCloud data: Any data synced with iCloud, such as photos, messages and notes, will automatically reappear once you log in with your Apple ID.
This step ensures that your device is restored to its previous state, with all your apps, files and settings intact.
Final Setup After Downgrade
With iOS 26 installed and your data restored, there are a few final steps to complete the setup process. These adjustments will ensure your device is fully functional and secure:
- Reconfigure security features: Set up Face ID or Touch ID again, depending on your device model, to maintain security and convenience.
- Log in to apps and services: Some apps, particularly those related to banking or email, may require you to re-enter your credentials for security reasons.
- Allow time for app restoration: Depending on your internet speed and the size of your backup, apps and data may take some time to fully restore. Be patient and ensure your device remains connected to Wi-Fi.
Once these steps are complete, verify that all your apps, settings and media are functioning as expected.
Additional Considerations
Here are a few important points to keep in mind during and after the downgrade process:
- eSIM data: Your eSIM data will remain intact during the downgrade unless you manually erase it. This ensures that your cellular connectivity is not disrupted.
- Future upgrades: If you decide to upgrade back to iOS 27 in the future, you can use the backup you created before downgrading to restore your data seamlessly.
- Check app compatibility: Some apps may require updates or adjustments to function properly on iOS 26. Visit the App Store to ensure all your apps are up to date.
By following this comprehensive guide, you can confidently downgrade from iOS 27 to iOS 26 while preserving your data and settings. This process allows you to regain the functionality and performance you prefer, making sure a smooth and hassle-free experience with your device.
Take a look at other insightful guides from our broad collection that might capture your interest in iOS downgrade.
- How to Downgrade iOS 27 to iOS 26 Without Losing Your Data
- Revert to iOS 18 from iOS 26: A Step-by-Step Downgrade Process
- How To Downgrade Your iPhone from iOS 26 to Stable iOS 18
- How to Downgrade iOS 26 to iOS 18 (Step-by-Step Guide)
Source & Image Credit: zollotech
Disclosure: Some of our articles include affiliate links. If you buy something through one of these links, Geeky Gadgets may earn an affiliate commission. Learn about our Disclosure Policy.
