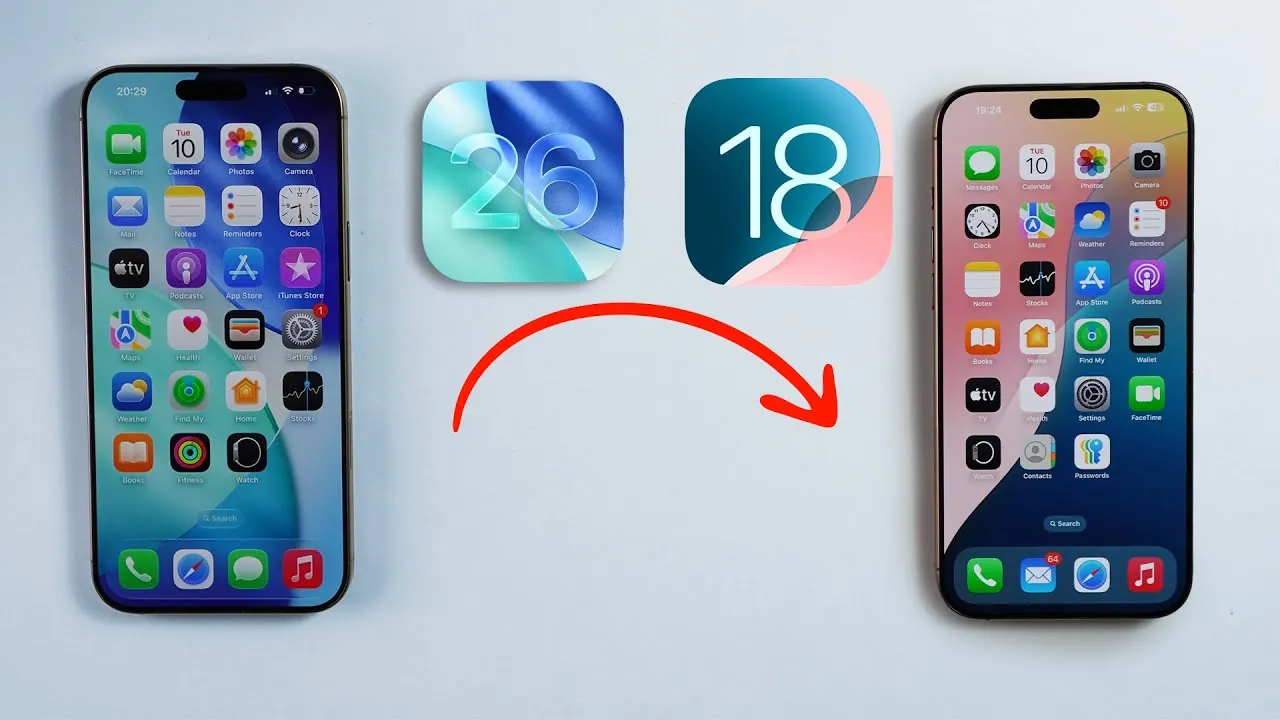
Reverting your device from iOS 26 to iOS 18 may seem complex, but with the right preparation and tools, it is entirely manageable. Whether you are encountering performance issues, app incompatibilities, or prefer the features of an earlier version, the video below from Daniel About Tech provides a clear and structured process to help you downgrade safely. By following these steps, you can minimize risks and restore your device to a stable and functional state.

Preparation Steps
Proper preparation is essential to ensure a smooth downgrade process and avoid potential complications. Follow these steps to get your device ready:
- Back up your data: Downgrading will erase all data on your device. Use iCloud or a computer with iTunes (Windows) or Finder (macOS) to create a full backup of your files, apps, and settings. This step is critical to prevent permanent data loss.
- Check device compatibility: Not all devices support older iOS versions. Confirm that your specific model is compatible with iOS 18, as Apple often restricts the installation of older firmware on newer devices.
- Download the correct firmware: Obtain the iOS 18 IPSW file for your device from a trusted source. Ensure the file matches your device model to avoid installation errors or compatibility issues.
Taking these steps ensures you are fully prepared for the downgrade and reduces the likelihood of encountering technical problems during the process.
Required Tools
To successfully downgrade your device, you will need the following tools and resources:
- A computer: Use a macOS or Windows computer with iTunes or Finder installed to manage the downgrade process.
- A stable internet connection: This is necessary to download the firmware and verify the installation during the process.
- A USB cable: Use a reliable USB cable to connect your device to the computer. Ensure the cable is in good condition to avoid connection interruptions.
Having these tools ready before starting will streamline the process and help you avoid unnecessary delays or interruptions.
Downgrade Process
Once your device is prepared and you have gathered the necessary tools, follow these steps to downgrade from iOS 26 to iOS 18:
1. Enter Recovery Mode:
Place your device into recovery mode. The method varies depending on your device model. For most newer iPhones, quickly press and release the volume up button, then the volume down button, and finally hold the side button until the recovery mode screen appears. Ensure your device remains connected to the computer during this step.
2. Install iOS 18 Firmware:
Open iTunes or Finder on your computer. Your device should appear in recovery mode. Hold the “Option” key (Mac) or “Shift” key (Windows) and click “Restore iPhone.” Select the iOS 18 IPSW file you downloaded earlier. The software will verify the file and begin installing iOS 18. This process may take several minutes, so ensure your device remains connected throughout.
3. Restore Your Data:
After the installation is complete, your device will restart. You will be prompted to set it up as new or restore from a backup. Choose the backup you created earlier to recover your data, apps, and settings. This step ensures your device is restored to its previous state with minimal disruption.
Post-Downgrade Actions
After successfully downgrading your device, it is important to take the following steps to ensure everything is functioning as expected:
- Verify the installation: Open the Settings app and navigate to “General” > “About” to confirm that iOS 18 is installed on your device.
- Test apps and features: Some apps designed for iOS 26 may not function correctly on iOS 18. Test your apps and check for updates or alternatives if compatibility issues arise.
- Troubleshoot issues: If you encounter problems such as reduced battery life, connectivity errors, or performance glitches, try restarting your device, resetting network settings, or reinstalling problematic apps.
These steps help ensure your device operates smoothly and efficiently after the downgrade.
Important Considerations
Downgrading your iOS version comes with certain risks and limitations. It is important to be aware of these factors before proceeding:
- Apple restrictions: Apple does not officially support downgrades, which means you may encounter errors or limitations during the process.
- Warranty concerns: Depending on your device and service agreement, downgrading could void your warranty. Check your warranty terms before proceeding.
- Security vulnerabilities: Older iOS versions like iOS 18 may lack the latest security updates, leaving your device more vulnerable to potential threats.
- Feature loss: Features and apps introduced in iOS 26 may not be available or functional on iOS 18, which could impact your overall user experience.
- Data loss risk: Skipping the backup step can result in permanent data loss. Always back up your device before starting the downgrade process.
Understanding these risks allows you to make an informed decision and take the necessary precautions to protect your device and data.
Find more information on iOS downgrade by browsing our extensive range of articles, guides and tutorials.
- How to downgrade from iOS 16 to iOS 15 (Video)
- How to Downgrade From iOS 18 beta to iOS 17
- How to Remove the Beta and Install iOS 18: A Step-by-Step Guide
- Should You Install iOS 17.7 or iOS 18?
- iPhone 16e Features Breakdown: Is It Worth the Price?
Source & Image Credit: Daniel About Tech
Disclosure: Some of our articles include affiliate links. If you buy something through one of these links, Geeky Gadgets may earn an affiliate commission. Learn about our Disclosure Policy.