Upgrading to the iPhone 17 or 17 Pro is an exciting step, offering advanced features and improved performance. However, making sure a smooth and efficient data transfer process is essential to avoid disruptions and make the most of your new device. The video below from Brandon Butch provides a detailed, step-by-step approach to transferring your apps, settings, messages, photos, and more. It also covers eSIM setup, backup strategies, and troubleshooting tips to help you transition effortlessly.

Step 1: Prepare Your Devices
Proper preparation is the foundation of a successful data transfer. Taking the time to prepare both your old and new devices ensures a seamless process. Follow these steps to get started:
- Update Your Old iPhone: Ensure your current iPhone is running the latest iOS version. This reduces compatibility issues and minimizes potential errors during the transfer process.
- Create an iCloud Backup: Back up your old iPhone to iCloud as a precaution. This provides a safety net in case anything goes wrong. If your iCloud storage is insufficient, consider temporarily upgrading your plan to accommodate the backup.
- Charge Both Devices: Make sure both your old and new iPhones are fully charged or connected to power. This prevents interruptions caused by low battery levels during the transfer.
Step 2: Start the Transfer Process
Once your new iPhone 17 is powered on, you can begin transferring your data. Apple offers a streamlined process to make this as efficient as possible. Follow these steps:
- Choose the “Transfer from iPhone” Option: During the setup process on your new iPhone, select this method. It is faster and more comprehensive than restoring from iCloud, transferring apps, settings, and other data directly.
- Keep Devices Nearby: Place your old and new iPhones close to each other and ensure both are connected to Wi-Fi. Proximity is crucial for maintaining a stable connection during the transfer.
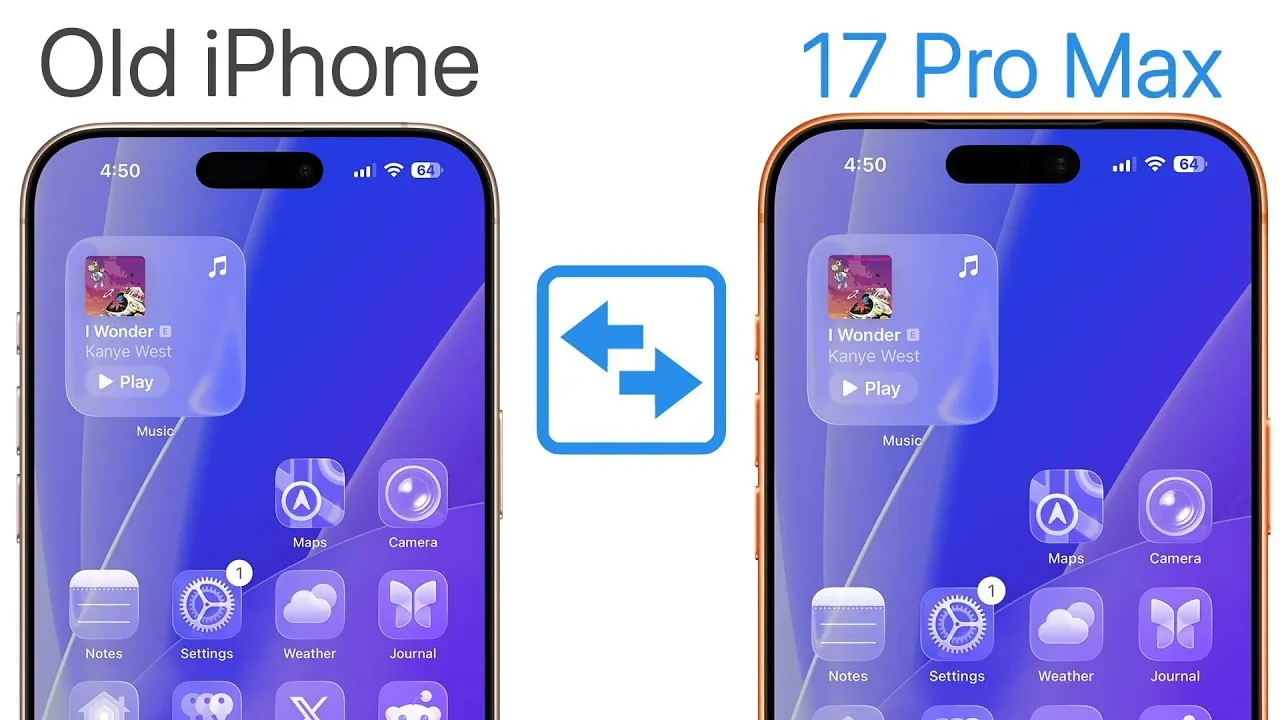
- Transfer Data Directly: This method moves apps, home screen layouts, widgets, and login credentials directly to your new device, minimizing the need for manual setup.
Step 3: Set Up Your eSIM or SIM Card
The iPhone 17 series supports eSIM technology, simplifying the process of transferring your cellular plan. Whether you are using a physical SIM or already have an eSIM, follow these steps to ensure your cellular service is active on your new device:
- For Physical SIM Users: Convert your physical SIM to an eSIM during the setup process. Follow the on-screen instructions to complete the transition smoothly.
- For Existing eSIM Users: Your eSIM can be transferred seamlessly during the setup process. If you skip this step, you can complete it later through the cellular settings on your new iPhone.
- Contact Your Carrier if Needed: If you encounter issues with eSIM activation, your carrier can provide assistance to resolve the problem.
Step 4: Configure Essential Features
After transferring your data, take the time to set up and customize key features on your new iPhone. This ensures you can fully enjoy the capabilities of your upgraded device:
- Face ID: Enable Face ID for secure authentication. The iPhone 17 includes enhanced Face ID functionality, such as optional mask support.
- Location Services: Activate location services to enhance app functionality and enable features like Find My iPhone and location-based reminders.
- Notification Summaries: Customize notification summaries to manage alerts effectively and reduce distractions.
- Siri Setup: Explore Siri’s latest capabilities and configure it to suit your preferences, including personalized voice commands.
- Camera and Visual Features: Adjust advanced camera controls and explore the visual intelligence features introduced with the iPhone 17, such as improved low-light photography and real-time object recognition.
Step 5: Verify and Secure Your Old Device
Once the transfer is complete, it is important to verify that all data has been successfully moved to your new iPhone. Additionally, take steps to secure your old device if you plan to sell, trade, or give it away:
- Check Your Data: Confirm that all apps, settings, photos, and files are present on your new iPhone. Pay special attention to critical apps like email and banking apps.
- Log In to Key Apps: Ensure uninterrupted access to essential apps by verifying their login status and re-entering credentials if necessary.
- Erase Your Old iPhone: After confirming the transfer, erase all data from your old device. This protects your personal information and prepares the device for its next owner.
Troubleshooting Tips
While the “Transfer from iPhone” method is designed to be efficient, occasional issues may arise. Here are some common problems and their solutions:
- Slow or Failed Transfers: If the transfer process is slow or fails, ensure both devices are connected to a stable Wi-Fi network. Avoid using the iCloud transfer method unless necessary, as it may require re-entering login credentials for many apps.
- eSIM Issues: If you encounter problems with eSIM activation, navigate to the cellular settings on your new iPhone to troubleshoot. If the issue persists, contact your carrier for further assistance.
By following these steps and addressing any challenges that arise, you can ensure a smooth transition to your new iPhone 17 or 17 Pro. With your data securely transferred and your features configured, you are ready to explore the advanced capabilities of your upgraded device.
Here are more guides from our previous articles and guides related to iPhone data transfer that you may find helpful.
- Android to iPhone Data Transfer 2025: The Ultimate Guide
- Switch to New iPhone Without Hassle: Transfer All Data
- New iPhone Setup Guide: Transfer Your Data in a Few Steps
- How to Transfer WhatsApp from iPhone to Android (No Data Loss)
- How to transfer your data to a new iPhone
Source & Image Credit: Brandon Butch
Disclosure: Some of our articles include affiliate links. If you buy something through one of these links, Geeky Gadgets may earn an affiliate commission. Learn about our Disclosure Policy.