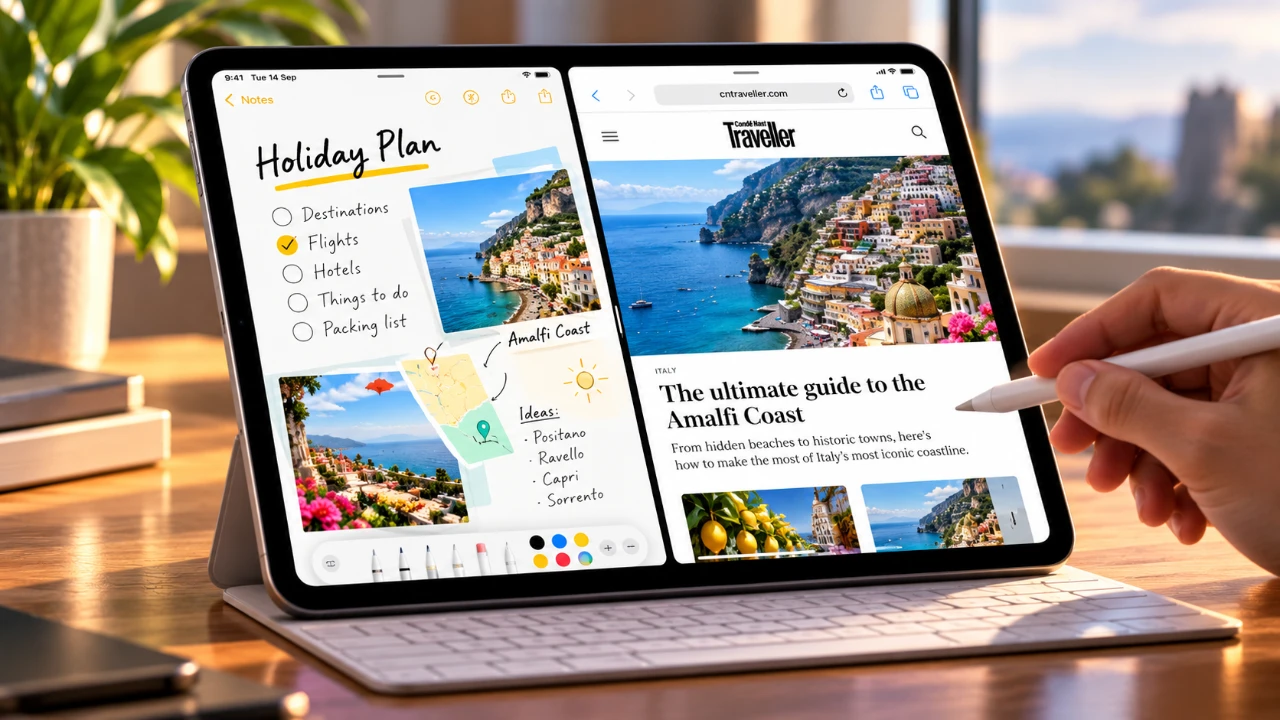
Mastering the split view feature on your iPad is an excellent way to enhance your productivity. Whether you’re working, studying, or multitasking, this functionality allows you to display and interact with two apps simultaneously. By following the video below from SlatePad, you’ll learn how to enable multitasking, use drag-and-drop, manage window controls, create shortcuts for quick access and even use split view in portrait orientation. Let’s explore how to make the most of this feature.

1: Enable Multitasking
Before you can use split view, you need to ensure that multitasking is activated on your iPad. Follow these steps to enable it:
- Open the Settings app and navigate to Multitasking and Gestures.
- Toggle on options such as “Allow Multiple Apps” or “Stage Manager”, depending on your iPadOS version.
- Ensure no app is running in full-screen mode, as split view requires apps to share the screen.
Once multitasking is enabled, you unlock the ability to run two apps side by side, making it easier to manage tasks like writing emails while referencing documents or browsing the web.
2: Use Drag-and-Drop
The drag-and-drop method is one of the simplest ways to activate split view. Here’s how to do it:
- Open an app, such as Safari, in full-screen mode.
- Swipe up from the bottom of the screen to reveal the dock.
- Locate a second app, such as Notes or Mail, in the dock.
- Drag the second app from the dock and drop it onto the left or right side of the screen.
This method is particularly effective for tasks that require simultaneous interaction with two apps, such as researching while jotting down notes or comparing data across different platforms.
3: Manage Window Controls
Window controls provide a more visual and guided approach to setting up split view. Here’s how to use them:
- Open an app and locate the three-dot menu at the top center of the screen.
- Tap the menu to reveal multitasking options.
- Select the split view icon, which allows you to choose between vertical or horizontal layouts.
- Pick a second app from the app switcher or dock to complete the split view setup.
This method is ideal for users who prefer a structured way to organize their workspace, offering clear visual cues for multitasking.
4: Create Shortcuts for Split View
If you frequently use the same app combinations, creating shortcuts can save time and streamline your workflow. Here’s how to set up shortcuts for split view:
- Open the Shortcuts app on your iPad.
- Create a new shortcut and select the “Split Screen Apps” action.
- Choose the two apps you want to use together in split view.
- Customize the shortcut by giving it a name and icon, then add it to your home screen for easy access.
With a single tap, you can instantly launch your preferred split view setup. However, keep in mind that this feature may have limitations or changes in future iPadOS updates, such as iPadOS 27 and beyond.
5: Use Split View in Portrait Orientation
Split view isn’t restricted to landscape mode. You can also use it in portrait orientation, where one app appears on the top half of the screen and the other on the bottom. This layout is particularly useful for tasks like:
- Reading an article or eBook while taking notes in another app.
- Viewing a video tutorial while following along with a related app.
The functionality remains consistent regardless of how you hold your device, making sure flexibility and convenience for various tasks.
Maximizing Productivity with Split View
The split view feature on your iPad is a powerful tool for multitasking, allowing you to work with two apps side by side seamlessly. By allowing multitasking, using drag-and-drop, managing window controls, creating shortcuts and using portrait orientation, you can tailor your iPad experience to suit your needs. Whether you’re managing work projects, studying for exams, or handling daily tasks, split view provides a practical and efficient way to stay productive.
Unlock more potential in iPad multitasking by reading previous articles we have written.
- How to Use iPad Windows in iPadOS : Arraange, Organize, Slide Overs & Multitasking
- Mac on an iPad: The Complete Guide to iPadOS 26 Windowed Apps (Tiling & Resizing)
- Master iPadOS 26 Multitasking: Unlock Your iPad’s Full Potential
Source: SlatePad
Disclosure: Some of our articles include affiliate links. If you buy something through one of these links, Geeky Gadgets may earn an affiliate commission. Learn about our Disclosure Policy.
