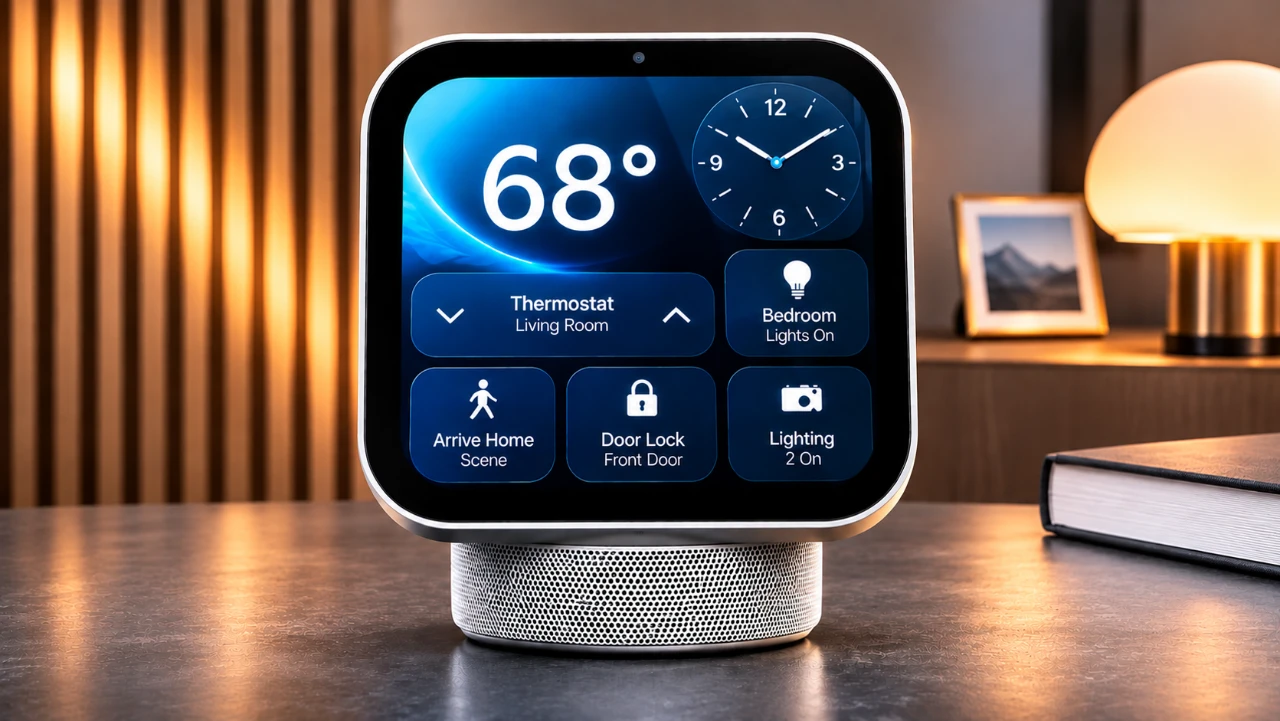
Apple HomeView is a versatile feature within the Apple HomeKit ecosystem, designed to streamline your smart home experience. It offers centralized access to essential tools, including smart device controls, media playback, and FaceTime calls, all through an intuitive interface. Setting up HomeView is a straightforward process, but careful attention to detail ensures optimal functionality. The video below from Apple provides a comprehensive walkthrough, from initial setup to customization, allowing you to maximize the benefits of this powerful platform.
TL;DR Key Takeaways :
- Centralized Smart Hub: HomeView unifies smart accessory controls, media streaming, and FaceTime calls into a dedicated desktop display interface.
- Biometric Security: Integrates advanced face and voice recognition profiles to ensure personalized, secure user access.
- Familiar Pairing Workflow: Leverages standard HomeKit accessory setup mechanics via nearby iOS or iPadOS hardware.
- Ecosystem Personalization: Supports customizable photo faces, widget integration, and location-based home automations.
What You Need to Get Started
Before beginning the setup process, ensure you have the necessary components ready to avoid interruptions:
- An iPhone or iPad running the latest version of iOS or iPadOS. Keeping your device updated ensures compatibility with the newest HomeKit features.
- A stable Wi-Fi connection to support both the setup process and ongoing operations of your smart home devices.
- Updated HomeKit software, if prompted, to ensure access to the latest system enhancements and security updates.
Having these essentials prepared will help you establish a smooth and efficient setup process.
1: Pair Your Device with HomeKit
The first step in setting up HomeView is pairing your device with HomeKit. This process establishes a secure connection between your iPhone or iPad and your smart home accessories. Follow these steps:
- Place your iPhone or iPad near the HomeKit accessory you wish to pair. Your device will automatically detect it and prompt you to begin the pairing process.
- Scan the accessory’s on-screen animation or manually enter its passcode to complete the secure pairing.
- Assign the accessory to a specific room within the Home app. This organizational step simplifies navigation and control of your devices.
Completing this step ensures that your smart home devices are securely connected and properly categorized for easy management.
2: Customize Your HomeView
Personalization is essential to make HomeView work seamlessly with your lifestyle. Tailor the interface to suit your preferences by following these steps:
- Adjust privacy settings and agree to the terms and conditions to safeguard your data and ensure compliance with Apple’s security standards.
- Set up a Photos face to display your favorite images or albums directly on the HomeView interface, adding a personal touch to your smart home experience.
- Enable location services if desired. This feature allows HomeView to automate tasks based on your proximity, such as adjusting lighting or temperature when you arrive home.
These customization options allow you to create a HomeView experience that aligns with your daily routines and preferences.
3: Set Up Your Account and Content
HomeView integrates your personal content to provide a centralized hub for both smart home management and daily conveniences. During this step, you’ll:
- Add widgets for quick access to essential information, such as weather updates, calendar events, or reminders.
- Sync playlists and media to ensure your favorite entertainment options are readily available through the HomeView interface.
This integration transforms HomeView into a multifunctional platform that combines smart home control with personalized content management.
4: Enable Face and Voice Recognition
Biometric features enhance the security and usability of HomeView. Setting up these features ensures that only authorized users can access your smart home system. Follow these steps:
- For voice recognition, repeat five specific phrases as prompted. This allows HomeView to recognize your voice and respond to personalized commands.
- For face recognition, position your face within the frame and follow the instructions to move your head. This creates a complete biometric profile for secure access.
These features add an extra layer of security while making HomeView more convenient and responsive to your needs.
5: Explore and Use HomeView
With the setup complete, you can begin exploring HomeView’s features and functionality. The welcome screen provides an overview of the interface, helping you get started. Key functionalities include:
- Controlling smart devices such as lights, thermostats and locks with ease.
- Accessing media, including music, videos and FaceTime calls, directly from the HomeView interface.
- Using automation tools to streamline daily routines, such as scheduling lights to turn on at specific times or adjusting the thermostat automatically.

HomeView’s intuitive design ensures that managing your smart home is both efficient and enjoyable.
Maximizing Your HomeView Experience
Setting up Apple HomeView is a detailed yet straightforward process that integrates seamlessly with your smart home ecosystem. By following these steps, you can unlock the full potential of HomeKit’s capabilities, from biometric security to personalized content. With your HomeView configured, you’ll enjoy a centralized, intuitive platform that simplifies smart home management and enhances your daily life.
Below are more guides on Apple HomeView from our extensive range of articles.
- Apple HomeView Buyer’s Guide: Features, Pricing and What to Know
- Apple HomeView: Things You Need to Know Before Spending $299
- Apple TV and HomeView Release Dates Leaked Ahead of Today’s Event
- Is Apple HomeView the Smart Display We’ve All Been Waiting For?
- Apple HomeView Price and Features: Is Apple’s New $299 Smart Display Worth Buying?
Source & Image Credit: Apple Support
Disclosure: Some of our articles include affiliate links. If you buy something through one of these links, Geeky Gadgets may earn an affiliate commission. Learn about our Disclosure Policy.
