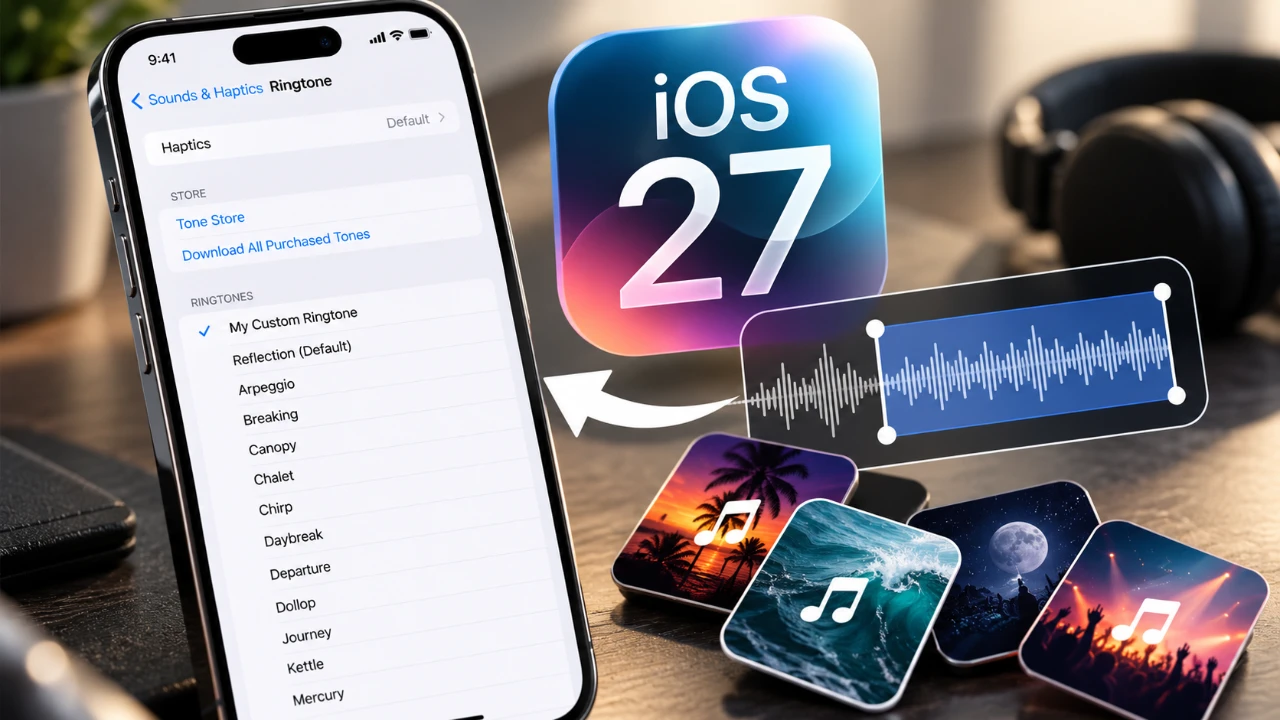
Customizing your iPhone ringtone doesn’t require spending money or using a computer. With iOS 27, you can easily create a personalized ringtone using the free GarageBand app, directly on your device. This guide provides clear, actionable steps to help you turn any song or audio file into a custom ringtone, ensuring a seamless, efficient process. The video below from Daniel About Tech gives us more details.

Why Choose GarageBand for Ringtone Creation?
GarageBand is a powerful and versatile audio editing app that is either pre-installed on many iPhones or available for free download from the App Store. While its primary purpose is music creation, it also includes robust tools for crafting custom ringtones. Its intuitive interface and advanced editing features make it an ideal choice for this task. Whether you’re working with a downloaded song or a recorded audio clip, GarageBand simplifies the process, offering precision and flexibility.
By using GarageBand, you can avoid third-party apps or paid services, making sure a secure and straightforward method for creating ringtones.
Preparing Your Audio File
Before starting, ensure you have an audio file in a format compatible with GarageBand. Supported formats include MP3, AIFF, WAV and AAC. Here are some common ways to obtain and prepare your audio files:
- Use the Files app to store and organize your media files.
- Download audio files from cloud storage platforms like iCloud Drive, Google Drive, or Dropbox.
- Save audio files from web downloads directly to your iPhone.
- Import files shared through email or messaging apps.
Ensure the audio file is saved in a location accessible through the Files app, as this is essential for importing it into GarageBand. Organizing your files beforehand will streamline the process and save time.
Step-by-Step Guide to Creating a Custom Ringtone
Follow these detailed steps to turn your audio file into a ringtone using GarageBand:
- Launch the GarageBand app and start a new project by selecting the “Audio Recorder” option.
- Adjust the timeline to 30 bars, which corresponds to the maximum ringtone length of 30 seconds.
- Tap the loop icon in the top-right corner to access the file import options. Use the Files app to locate and import your desired audio file into GarageBand.
- Drag the imported file onto the timeline. Use the editing tools to trim the audio to the desired 30-second segment. You can zoom in on the timeline for more precise editing.
- Once satisfied with the selection, tap the share icon and choose “Ringtone” as the export format. Assign a name to your ringtone and confirm the export.
GarageBand will automatically save the ringtone to your iPhone’s settings, making it available for immediate use.
Setting Your Custom Ringtone
After exporting your ringtone, setting it as your default tone or assigning it to specific contacts is straightforward. Here’s how:
- Open the “Settings” app on your iPhone.
- Navigate to “Sounds & Haptics” and select “Ringtone.”
- Locate your newly created ringtone in the list and tap it to set it as your default ringtone.
For added personalization, you can assign the ringtone to individual contacts. This allows you to identify callers instantly based on their unique tone.
Organizing and Managing Audio Files
Efficient file management is key to simplifying the ringtone creation process. The Files app is a valuable tool for organizing and accessing your audio files. Consider these tips to keep your files in order:
- Create dedicated folders within the Files app to categorize your audio files for easy retrieval.
- Use cloud storage services to transfer files between devices or download them directly to your iPhone.
- Ensure that audio files downloaded from the web are in a compatible format and saved in an accessible location within the Files app.
By maintaining an organized file system, you can quickly locate and import audio files into GarageBand, saving time and effort.
Personalizing Your iPhone Experience
With GarageBand, creating custom ringtones is a simple and cost-free process that enhances your iPhone experience. This method eliminates the need for external software or paid services, allowing you to personalize your device with ease. Whether it’s setting a favorite song as your default ringtone or assigning unique tones to specific contacts, this approach gives you full control over your iPhone’s sound settings.
By following the steps outlined above and using tools like the Files app and cloud storage, you can efficiently create and manage custom ringtones. This process not only adds a personal touch to your device but also ensures that your iPhone reflects your unique preferences.
Discover other guides from our vast content that could be of interest on iOS 27.
- Apple Delaying iOS 27 Beta 5? Here’s When to Expect the Next Update
- New iOS 27 Beta 5 Release Arrives with a Big Shift Coming
- iOS 27 Beta 5 Is Late: What’s Holding Up Apple’s Next Release?
- The iOS 27 Beta 5 Release Imminent with More New Features
- Apple iOS 27 Beta 5 Preview: a Look at the Next Release
- iOS 27 is Finally Coming: Apple to Confirm Release Date Today
Source: Daniel About Tech
Disclosure: Some of our articles include affiliate links. If you buy something through one of these links, Geeky Gadgets may earn an affiliate commission. Learn about our Disclosure Policy.
