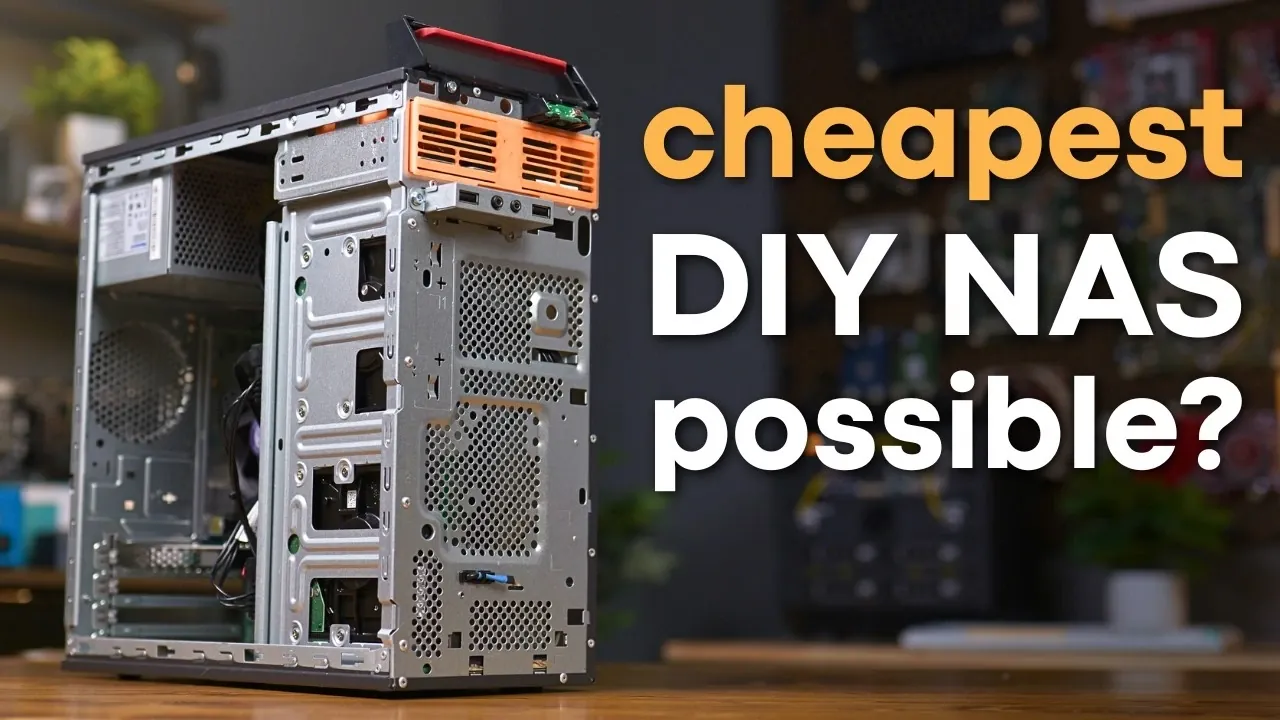
Building a Network Attached Storage (NAS) system doesn’t have to break the bank. In a recent guide, Hardware Haven demonstrates how to assemble an affordable DIY NAS using repurposed hardware and open source software. For instance, a Lenovo ThinkCentre E73 with a 4th-generation Intel i5 processor serves as a capable foundation for basic NAS tasks. By pairing this with secondhand hard drives and running the operating system from a USB flash drive, you can create a cost-effective and scalable storage solution tailored to your needs.
Explore how to configure essential software like OpenMediaVault for system management and SnapRaid for data redundancy, making sure your files are secure and accessible. You’ll also learn how to optimize your setup by allowing drive spin-down to save energy and automating maintenance tasks like parity updates. Whether you’re aiming to store backups, stream media, or share files across your network, this guide provides the practical steps needed to build a reliable and efficient NAS.
What is a NAS and Why Do You Need One?
- Building a DIY NAS is a cost-effective and customizable solution for managing local file storage, backups and media streaming, offering privacy and eliminating subscription fees.
- Repurposing old hardware, such as a desktop PC and using open source software like OpenMediaVault, SnapRaid and MergerFS ensures affordability and functionality.
- Key hardware considerations include adding a SATA expansion card, running the OS from a USB drive and making sure sufficient space and cooling in the PC case.
- Step-by-step setup involves installing OpenMediaVault, configuring SnapRaid for redundancy, setting up MergerFS for drive pooling and allowing SMB for network file sharing.
- Optimizations like automating SnapRaid tasks, allowing drive spin-down and monitoring drive health enhance reliability, while scalability options allow for future upgrades and expanded functionality.
A NAS is a centralized storage device connected to your home network, allowing multiple devices to access and share data seamlessly. It is ideal for storing backups, media files and important documents. Unlike cloud services, a NAS keeps your data local, giving you complete control over your files while eliminating recurring subscription fees. Building a NAS is particularly beneficial if you:
- Value Privacy: Keep sensitive data under your control without relying on third-party cloud providers.
- Need Reliable Backups: Protect your files from accidental loss or hardware failures.
- Want a Media Server: Stream movies, music and photos across your devices without internet dependency.
Whether you’re a tech enthusiast or someone looking for a secure and affordable storage solution, a DIY NAS offers significant advantages over commercial alternatives.
Why Build Your Own NAS?
Commercial NAS devices are convenient but often come with high price tags, especially when paired with the rising costs of high-capacity hard drives. Building your own NAS allows you to create a customized system that meets your needs without overspending. Key benefits include:
- Cost Savings: Repurpose old hardware and choose affordable components to minimize expenses.
- Scalability: Expand your storage capacity and functionality as your requirements grow.
- Flexibility: Configure the system to suit your specific use cases, from file storage to media streaming.
- Learning Opportunity: Gain valuable technical knowledge by assembling and managing your own system.
This DIY approach ensures you get a reliable and adaptable system while staying within budget.

Here are more guides from our previous articles and guides related to DIY NAS builds that you may find helpful.
- DIY NAS Build : 3D Printed Case With a Mini PC Controller
- How to build a $100 NAS storage server in 2024
- DIY vs Pre-Built NAS : Which is the Best Data Storage Solution For You?
- How to build a Raspberry Pi 5 NAS
- How to build a DIY NAS – beginners guide
- 3D Printed NAS storage system with HDD dampening
- Raspberry Pi 5 NAS Server : TrueNAS Affordable NAS Solution Guide 2025
Essential Software for Your DIY NAS
The software stack is the backbone of your NAS, allowing its functionality and ease of use. Open source tools provide powerful features without additional costs. Here are three essential software options to consider:
- SnapRaid: Offers data redundancy by creating parity information, protecting your files from drive failures.
- MergerFS: Combines multiple drives into a single virtual directory, simplifying file organization and access.
- OpenMediaVault: A web-based NAS management platform with an intuitive interface for configuration, monitoring and maintenance.
These tools work together to deliver a robust, user-friendly NAS setup that balances performance and affordability.
Choosing the Right Hardware
Repurposing an older desktop PC is a practical and economical way to build your NAS. For example, a Lenovo ThinkCentre E73 with a 4th-generation Intel i5 processor provides sufficient power for basic NAS tasks. Pair this with a mix of 3.5-inch and 2.5-inch hard drives, which you may already own or can purchase secondhand. To optimize your setup:
- Add a SATA Expansion Card: Use a controller like the ASM1166 to connect multiple drives and expand storage capacity.
- Install the OS on a USB Drive: Free up internal storage space and reduce costs by running the operating system from a USB flash drive.
- Choose a Suitable Case: Ensure your PC case has enough space for additional drives and proper airflow for cooling.
This hardware configuration provides a solid foundation for your NAS while keeping costs low.
Step-by-Step Setup
Setting up your NAS involves installing and configuring the software to meet your storage needs. Follow these steps to get started:
- Install OpenMediaVault: Download and install the operating system onto a USB flash drive. Access its web interface to manage your system settings.
- Configure SnapRaid: Set up redundancy to protect your data from drive failures by creating parity information.
- Set Up MergerFS: Pool your drives into a single directory for easier file access and organization.
- Enable SMB Access: Create shared folders and enable the Server Message Block (SMB) protocol to allow file sharing across your network.
This process ensures your NAS is ready to handle your data storage and sharing needs efficiently.
Optimizing and Maintaining Your NAS
To ensure your NAS operates reliably and efficiently over time, consider implementing these optimizations:
- Automate SnapRaid Tasks: Use an all-in-one script plugin to simplify parity updates and integrity checks, making sure data protection with minimal effort.
- Enable Drive Spin-Down: Reduce power consumption and wear on your drives by allowing idle drives to spin down when not in use.
- Monitor Drive Health: Schedule regular SMART (Self-Monitoring, Analysis and Reporting Technology) tests to detect potential hardware issues early.
These measures will help extend the lifespan of your NAS while minimizing energy usage and maintenance requirements.
Scaling and Upgrading Your NAS
As your storage needs grow, your DIY NAS can evolve to accommodate additional requirements. Here’s how you can scale and upgrade your system:
- Add More Drives: Expand your storage capacity by connecting additional hard drives or adding a second parity drive for enhanced redundancy.
- Upgrade the Chassis: Transition to a larger case if your current one becomes too small to house additional drives.
- Enhance Functionality: Install additional services like Jellyfin for media streaming or Nextcloud for personal cloud storage.
These upgrades ensure your NAS remains adaptable and capable of meeting your evolving needs.
Performance and Efficiency
One of the standout features of a DIY NAS is its energy efficiency. With an idle power draw of approximately 21 watts, this setup is cost-effective for continuous operation. MergerFS ensures balanced data distribution across drives, optimizing both performance and storage efficiency. This combination of low power consumption and high functionality makes a DIY NAS an excellent choice for budget-conscious users seeking a reliable storage solution.
Building a Reliable and Affordable Storage Solution
Assembling a DIY NAS using repurposed hardware and open source software is a practical way to manage your data effectively. This approach offers flexibility, scalability and complete control over your files while avoiding the high costs associated with commercial solutions. Whether you’re looking to store backups, manage media, or share files across your network, this setup delivers a reliable and efficient solution with room for future upgrades. By following this guide, you can create a system tailored to your needs without breaking the bank.
Media Credit: Hardware Haven
Disclosure: Some of our articles include affiliate links. If you buy something through one of these links, Geeky Gadgets may earn an affiliate commission. Learn about our Disclosure Policy.
