Backing up your Mac is an essential step to safeguard your data against unexpected events such as hardware failures, accidental deletions, or software issues. Apple’s Time Machine, a built-in feature of macOS, provides a reliable and user-friendly solution for creating comprehensive backups of your system. The video below from Daniel About Tech will walk you through the process of setting up and using Time Machine, making sure your files, applications, and settings remain secure and easily recoverable.
What Is Time Machine?
Time Machine is macOS’s native backup utility, designed to automatically create full-system backups. It works by saving copies of your files, applications, and system settings, allowing you to restore your Mac to a previous state if needed. Whether you’re recovering lost data, restoring your system after a crash, or migrating to a new Mac, Time Machine offers a seamless and efficient solution. Its deep integration with macOS makes it an ideal choice for most users, requiring minimal setup and maintenance.
One of Time Machine’s standout features is its ability to create incremental backups. This means that after the initial backup, only changes made to your files are saved, reducing the time and storage space required for subsequent backups. This functionality ensures that you always have access to multiple versions of your data, providing flexibility and peace of mind.
What You’ll Need to Get Started
Before you begin using Time Machine, you’ll need to prepare the following:
- An external storage device: This could be an external hard drive, SSD, or USB drive. Ensure the device is compatible with macOS and has sufficient storage capacity.
- Storage capacity: Choose a device with at least twice the capacity of your Mac’s internal storage. This allows room for multiple backup versions and ensures long-term usability.
When selecting a storage device, consider your specific needs. SSDs are faster and more durable, making them ideal for frequent backups and portability. On the other hand, HDDs offer larger storage capacities at a lower cost, making them suitable for users with extensive data. Evaluate your budget and performance requirements to make the best choice.
How to Set Up Time Machine
Setting up Time Machine is a straightforward process. Follow these steps to configure it and start backing up your Mac:
1. Connect Your External Storage Device:
Plug your external hard drive, SSD, or USB drive into your Mac. If the device contains existing data, consider erasing it to dedicate the drive exclusively to backups.
2. Enable Time Machine:
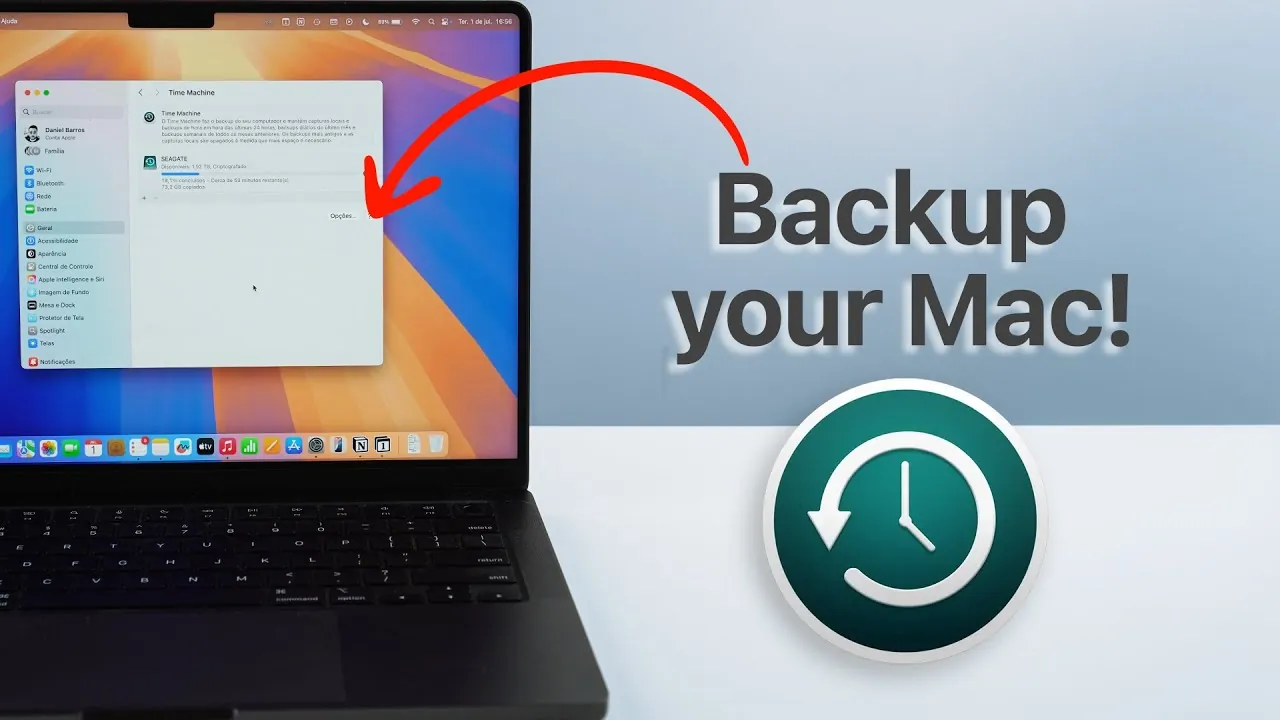
Open System Preferences and navigate to the “Time Machine” section. Click “Select Backup Disk,” choose your connected storage device, and confirm your selection.
3. Activate Encryption:
For enhanced security, enable encryption during the setup process. This ensures your backup is protected with a password, safeguarding your data even if the storage device is lost or stolen.
4. Start the Backup:
Once configured, Time Machine will initiate its first backup. This initial process may take some time, depending on the size of your data and the speed of your external storage device.
After the initial backup is complete, Time Machine will automatically create incremental backups at regular intervals, making sure your data remains up-to-date without requiring manual intervention.
How Time Machine Manages Backups
Time Machine operates on a structured schedule to manage your backups efficiently. By default, it creates:
- Hourly backups for the past 24 hours.
- Daily backups for the past month.
- Weekly backups for older data.
This system ensures that you have access to recent changes as well as older versions of your files. If your data changes infrequently, you can adjust the backup frequency to suit your needs. Additionally, Time Machine can be configured to run backups only when your Mac is connected to power, helping to conserve battery life when you’re on the go.
Tips for a Reliable Backup System
To ensure your backup system remains effective and secure, follow these best practices:
- Keep your external storage device connected: For uninterrupted backups, ensure your storage device is connected during scheduled backup times.
- Monitor available storage space: Regularly check the capacity of your backup drive. If it becomes full, delete older backups or upgrade to a larger storage device.
- Test your backups periodically: Verify the integrity of your backups by restoring a file or folder. This ensures that your data is being saved correctly and can be recovered when needed.
- Consider multiple backup locations: For added security, maintain a secondary backup on another device or cloud storage service. This protects your data in case of physical damage or loss of your primary backup drive.
By implementing these practices, you can maintain a robust and reliable backup system that protects your data against unforeseen events.
Protect Your Data with Time Machine
Backing up your Mac with Time Machine is a simple yet powerful way to safeguard your digital life. By investing in a suitable external storage device and following the setup process, you can ensure your files, applications, and settings are protected from unexpected data loss. Time Machine’s automated and incremental backup features make it an efficient tool for maintaining data security with minimal effort. Take the time to configure your backup system today and enjoy the confidence of knowing your information is safe and recoverable.
Take a look at other insightful guides from our broad collection that might capture your interest in Time Machine backup.
- Time Machine Tutorial: Back Up Your Mac in Minutes
- Turn an Old MacBook into a Home Server with NAS & Plex in 2025
- How to Downgrade macOS on Any Mac Safely
- How to Set Up a Synology NAS: A Beginner’s Guide 2025
- Mac Mini vs NAS: Which is the Right for Your Storage Needs
Source & Image Credit: Daniel About Tech
Disclosure: Some of our articles include affiliate links. If you buy something through one of these links, Geeky Gadgets may earn an affiliate commission. Learn about our Disclosure Policy.