Imagine turning your old, “dumb” appliances into intelligent, Wi-Fi-enabled devices that respond to your voice, phone, or automation rules. Sounds futuristic, right? With the ESP8266 microcontroller, this isn’t just a tech enthusiast’s dream, it’s a reality within reach for anyone with a bit of curiosity and a willingness to tinker. This tiny, affordable piece of hardware, paired with the open source ESPHome firmware, has transformed how we interact with everyday devices. From controlling your living room fan remotely to automating your coffee maker’s schedule, the possibilities are as exciting as they are endless. The best part? You don’t need to be an engineer to make it happen, just a willingness to explore and a guide to show you the way.
Below Adrian Slabu walks you through the fantastic process of converting ordinary devices into smart, Wi-Fi-enabled appliances. You’ll discover how to prepare hardware, configure the ESP8266, and write simple YAML code to define custom behaviors, all while integrating seamlessly with platforms like Home Assistant. Whether it’s automating your lighting or monitoring your dehumidifier’s status, this guide will empower you to unlock the hidden potential of your household gadgets. By the end, you’ll not only have a smarter home but also a deeper appreciation for the power of DIY innovation. Let’s explore how this tiny microcontroller can make a big impact on your daily life.
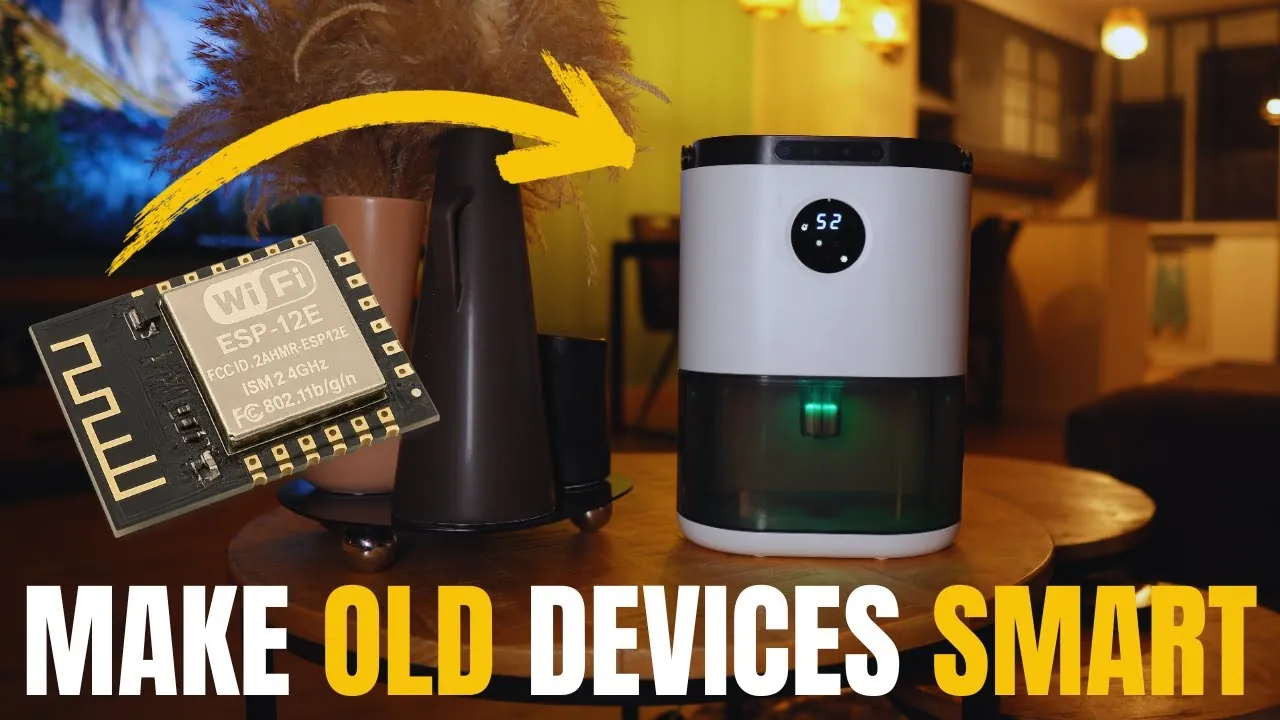
DIY Smart Appliance Conversion
TL;DR Key Takeaways :
- The ESP8266 microcontroller and ESPHome firmware enable affordable and customizable smart device conversions, allowing Wi-Fi control and automation for household devices like fans, lights, and dehumidifiers.
- The ESP8266 is a compact, cost-effective solution for IoT projects, offering Wi-Fi connectivity and seamless integration with platforms like Home Assistant through YAML-based configurations.
- Hardware preparation involves disassembling the device, soldering connections, and making sure proper voltage regulation (3.3V) to integrate the ESP8266 safely and reliably.
- Software configuration includes flashing the ESPHome firmware, connecting the ESP8266 to Wi-Fi, and integrating it with Home Assistant for centralized control and automation.
- Thorough testing, troubleshooting, and careful reassembly ensure the smart device operates reliably, unlocking advanced features like remote control, state monitoring, and automation scripts.
Why Choose the ESP8266 for Smart Device Conversion?
The ESP8266 microcontroller is a compact and cost-effective solution specifically designed for Wi-Fi connectivity, making it an ideal choice for Internet of Things (IoT) projects. Its versatility allows you to perform tasks such as simulating button presses, monitoring device states, and connecting devices to home automation systems like Home Assistant.
When paired with ESPHome, an open source firmware, the ESP8266 becomes highly customizable. ESPHome uses YAML, a simple and human-readable configuration language, to define device behavior. This combination of hardware and software provides a powerful platform for creating smart devices that are tailored to your specific needs.
1: Preparing the Hardware
Before diving into software configuration, you’ll need to modify your device’s hardware. This step involves accessing the internal components of the device and preparing them for integration with the ESP8266.
- Disassemble the Device: Carefully open the device to locate its control and power boards. Identify key points, such as buttons, LED indicators, or sensors, where the ESP8266 will connect.
- Solder Connections: Use soldering techniques to attach wires to simulate button presses or monitor states. For instance, you might solder connections to the power button or an LED to track whether the device is on or off. Ensure all solder joints are clean and free of flux residue to prevent corrosion.
- Voltage Regulation: The ESP8266 operates at 3.3V, so verify that your device provides a compatible power supply. If the device operates at a higher voltage, use a voltage regulator to step it down safely and avoid damaging the microcontroller.
Proper wiring and stable power are critical to ensure the ESP8266 functions reliably without causing malfunctions or damage to the device.
Creating Smart Wi-Fi Appliances with an ESP8266

Here are more guides from our previous articles and guides related to smart homes that you may find helpful.
- ChatGPT and Home Assistant: Affordable AI for Your Smart Home
- Matter Smart Home Devices 2025 : Features, Benefits & Challenges
- Apple Smart Home 2025: The Ultimate Beginner’s Guide
- Home Assistant Beginner’s Guide 2025 : Build Your Smart Home
- Home Assistant 2025.9 Update : Simplifies Your Smart Home
- Home Assistant vs Homey Pro: Smart Home Systems Compared
- Alfred smart lock touchscreen deadbolt doorlock
- How to Build a Custom Universal Remote for Your Smart Home
- How Home Assistant 2025.9 Simplifies Smart Home Automation
- Apple HomePad: AI-Powered Security Camera and Smart Hub
2: Configuring the ESP8266
Once the hardware is ready, the next step is to configure the ESP8266 to work with your device. This involves installing firmware, connecting to Wi-Fi, and integrating with a home automation platform.
- Flash the Firmware: Install the ESPHome firmware onto the ESP8266. This process requires connecting the microcontroller to your computer and uploading the firmware using tools like ESPHome’s web interface or a USB-to-serial adapter.
- Connect to Wi-Fi: After flashing, configure the ESP8266 to connect to your home Wi-Fi network. This connection is essential for allowing remote control and automation features.
- Integrate with Home Assistant: Link the ESP8266 to Home Assistant, a popular home automation platform. This integration allows you to control the device, monitor its status, and automate its functions from a centralized dashboard.
Configuring the ESP8266 properly ensures that your smart device is ready for seamless operation and integration into your home automation ecosystem.
3: Writing YAML Code for Custom Behavior
The behavior of the ESP8266 is defined using YAML, the configuration language used by ESPHome. Writing effective YAML code is crucial to ensure your smart device operates as intended.
- Simulate Button Presses: Use YAML to program the ESP8266 to replicate button presses, such as turning the device on or off or switching between modes. This allows the microcontroller to interact with the device as if it were a user.
- Monitor Device States: Add binary sensors in the YAML configuration to detect the device’s state, such as whether it’s powered on or in standby mode. This ensures accurate synchronization between the ESP8266 and the device.
- Automate Actions: Create automation scripts to perform predefined tasks. For example, you could program the device to turn off automatically after a set time or adjust its settings based on environmental conditions like temperature or humidity.
By customizing the YAML code, you can tailor the functionality of your smart device to suit your specific needs and preferences.
4: Troubleshooting and Optimization
During the setup process, you may encounter challenges that require troubleshooting. Addressing these issues ensures reliable performance and long-term functionality.
- Voltage Issues: If the ESP8266 experiences instability, check the power supply and ensure proper voltage regulation. A stable 3.3V power source is essential for consistent operation.
- Synchronization Problems: If the device and ESP8266 states don’t align, review your YAML code for errors and test individual components to identify the root cause of the issue.
- Home Assistant Integration: If certain features aren’t working as expected, fine-tune the configuration and verify the ESPHome integration settings within Home Assistant.
Taking the time to troubleshoot and optimize your setup ensures that your smart device operates smoothly and reliably.
5: Testing and Final Assembly
Before reassembling the device, it’s important to thoroughly test all features to confirm they work as intended.
- Verify Functionality: Test the ESP8266 to ensure it can control power, switch modes, and monitor states accurately. Address any issues before proceeding to the next step.
- Secure Connections: Once testing is complete, secure all wires and components to prevent loose connections or damage during reassembly. Use heat shrink tubing or electrical tape to insulate exposed wires.
- Reassemble the Device: Carefully put the device back together, making sure no cables are pinched or improperly positioned. Double-check that all screws and panels are securely fastened.
Thorough testing and careful assembly are essential to ensure the long-term reliability of your smart device.
The Result: A Fully Functional Smart Device
By following these steps, you can successfully transform a standard household device into a smart, Wi-Fi-enabled appliance. This project not only enhances the functionality of everyday devices but also demonstrates the potential of IoT technologies. With the ESP8266 and ESPHome, you gain full control over your devices, allowing automation, remote access, and integration with home automation platforms like Home Assistant. The result is a smarter, more connected home environment that reflects the growing possibilities of modern technology.
Media Credit: Adrian Slabu
Disclosure: Some of our articles include affiliate links. If you buy something through one of these links, Geeky Gadgets may earn an affiliate commission. Learn about our Disclosure Policy.