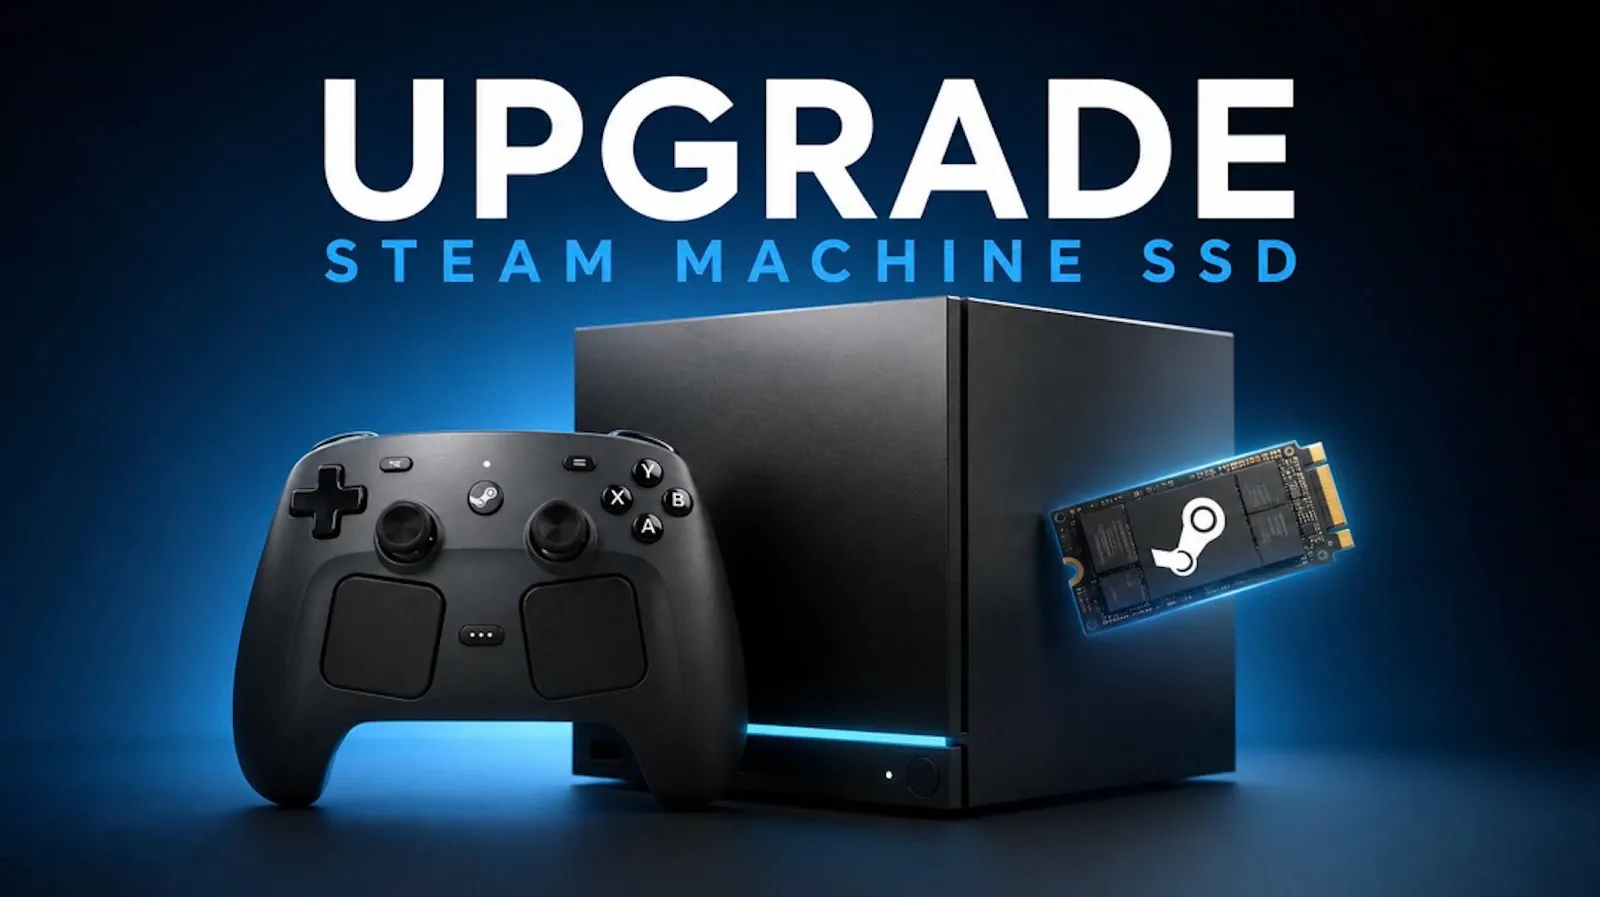
Upgrading the SSD in your Steam Machine is a straightforward way to tackle storage limitations and improve gaming performance. JayzTwoCents breaks down the process step by step, starting with selecting a compatible SSD, such as the 1TB Samsung 9100 Pro, to replace the default 512GB drive. The guide emphasizes the importance of preparation, including creating a bootable drive with software like Rufus or Balena Etcher and backing up critical data before installation. These steps ensure a smooth transition while minimizing the risk of data loss.
In this beginner-friendly guide, you’ll gain insight into disassembling your Steam Machine safely, installing the new SSD with care and reinstalling Steam OS to restore full functionality. Explore practical tips for navigating BIOS settings, configuring boot priorities and troubleshooting common issues like boot errors or installation stalls. By the end, you’ll have the knowledge and confidence to upgrade your Steam Machine’s storage and unlock its full potential for modern gaming.
Why Upgrade Your Valve Steam Machine SSD?
TL;DR Key Takeaways :
- Upgrading the SSD in a Steam Machine enhances storage capacity, improves load times and boosts overall system performance, making it a worthwhile investment for modern gaming demands.
- Essential tools for the upgrade include a compatible SSD (e.g., 1TB Samsung 9100 Pro), a bootable USB drive, flashing software and basic disassembly tools.
- The upgrade process involves preparing a bootable Steam OS drive, replacing the old SSD with the new one and reinstalling Steam OS to ensure optimal functionality.
- Common troubleshooting tips include checking BIOS settings for boot errors, resolving compatibility issues and verifying the integrity of the Steam OS image file.
- While the SSD upgrade significantly improves performance, the Steam Machine remains best suited for remote gaming or as a secondary device compared to modern gaming PCs.
The default 512GB SSD in most Steam Machines often struggles to accommodate today’s expansive game libraries and system updates. Upgrading to a larger SSD offers several key benefits:
- Expanded Storage: A larger SSD allows you to install more games, applications and updates without worrying about running out of space.
- Improved Load Times: Faster read and write speeds reduce loading times, making sure smoother transitions during gameplay.
- Enhanced System Performance: A high-capacity SSD can improve overall system responsiveness, delivering a more seamless gaming experience.
For avid gamers, this upgrade is a worthwhile investment to meet the increasing demands of modern gaming.
Essential Tools and Materials
Before beginning the upgrade process, ensure you have the following tools and materials ready:
- Your Steam Machine: The device you’ll be upgrading, along with its controller.
- External Drive or USB Stick: At least 8GB of storage capacity to create a bootable installation drive.
- New SSD: A compatible SSD, such as the 1TB Samsung 9100 Pro or another model that fits your Steam Machine’s specifications.
- Flashing Tools: Software like Balena Etcher (for Linux/Mac) or Rufus (for Windows) to create the bootable drive.
- Keyboard and Mouse: Necessary for navigating BIOS settings during the installation process.

Deep dive into the latest in Steam Machine by exploring our other resources and articles.
- Why Valve is Releasing 4 Different Steam Machine Variants
- Inside Valve’s Unusual Rollout Plan for the Steam Machine
- Why Valve’s New Steam Machine Could Outperform the PS5 in Your Living Room
- Why the Upcoming Valve Steam Machine Might Be Sold at a Loss
- Valve Confirms Summer 2026 Release Window for Steam Machine and Steam Frame
- What Valve’s Leaked June 2026 Steam Machine Details Mean for Your Living Room
- Leaked Geekbench Scores Reveal the True Power of the $750 Steam Machine
- Valve Explains Why We Got a New Steam Controller but No Steam Machine
- What Valve’s Latest Hardware Leaks Reveal About the Modular Steam Machine
- Why Valve’s Latest SteamOS Update Changes Everything for Your Steam Machine
1: Preparing for the SSD Upgrade
Proper preparation is crucial for a successful SSD upgrade. Follow these steps to get started:
1. Download Steam OS: Visit the official Steam website and download the latest Steam OS image file.
2. Extract the Image File: Ensure the downloaded image file is extracted and ready for use with your flashing tool.
3. Create a Bootable Drive: Use Balena Etcher or Rufus to flash the Steam OS image onto your external drive or USB stick. This will serve as your bootable installation drive.
4. Back Up Important Data: Save any critical files from your Steam Machine to an external storage device, as the upgrade process will involve formatting the new SSD.
Taking these preparatory steps ensures a smooth transition to the new SSD and minimizes the risk of data loss.
2: Installing the New SSD
Once your bootable drive is ready, proceed with installing the new SSD. Follow these instructions carefully:
1. Power Down and Disconnect: Turn off your Steam Machine and unplug all connected cables to ensure safety.
2. Disassemble the Device: Remove the screws, feet and fan assembly to access the internal components. Handle all parts gently to avoid damage.
3. Remove the Old SSD: Locate the existing SSD and carefully remove it. If your new SSD is a 2280-sized drive, adjust the standoff to fit its dimensions.
4. Install the New SSD: Insert the new SSD into the designated slot, making sure it is securely connected.
5. Reassemble the Steam Machine: Reattach the fan assembly, feet and screws to restore the device to its original state.
This step requires attention to detail to avoid damaging sensitive components and to ensure the new SSD is properly installed.
3: Reinstalling Steam OS
With the new SSD installed, the next step is to reinstall Steam OS to restore the system’s functionality. Here’s how:
1. Connect the Bootable Drive: Insert the prepared external drive or USB stick into your Steam Machine.
2. Access the BIOS: Power on the device and press the appropriate key (usually F2 or Delete) during startup to enter the BIOS menu.
3. Set Boot Priority: Use the keyboard and mouse to configure the BIOS to boot from the external drive.
4. Install Steam OS: Follow the on-screen instructions to format the new SSD and install Steam OS.
5. Complete the Setup: Once the installation is complete, reboot the system and follow the initial setup prompts to configure your Steam Machine.
Reinstalling Steam OS ensures that your system is fully functional and optimized for gaming on the new SSD.
Troubleshooting Potential Issues
During the upgrade process, you may encounter some challenges. Here are common issues and their solutions:
- Boot Errors: If the Steam Machine fails to boot from the external drive, double-check the BIOS settings to ensure the correct boot device is selected.
- Compatibility Problems: Pre-installed operating systems on the new SSD can cause conflicts. Use the BIOS boot menu to manually select the correct boot device.
- Installation Stalls: If the installation process freezes, verify the integrity of the Steam OS image file and the bootable drive.
Addressing these issues promptly will help you complete the upgrade without unnecessary delays.
Additional Insights
While upgrading the SSD significantly enhances storage and performance, it’s important to consider the broader capabilities of your Steam Machine. Compared to modern gaming PCs, the Steam Machine may not offer the same level of performance or scalability. However, with the SSD upgrade, it remains a reliable option for remote gaming, allowing you to stream games from a more powerful system. This makes it a versatile addition to your gaming setup, particularly for those who value convenience and portability.
By following this guide, you can transform your Steam Machine into a more capable and efficient gaming device, ready to handle the demands of today’s gaming landscape.
Media Credit: JayzTwoCents
Disclosure: Some of our articles include affiliate links. If you buy something through one of these links, Geeky Gadgets may earn an affiliate commission. Learn about our Disclosure Policy.
