Have you ever wished you could revisit the golden age of gaming, where pixelated adventures and 8-bit soundtracks ruled your afternoons? With the power of the Raspberry Pi 5, that dream is no longer just nostalgia, it’s a weekend project waiting to happen. This tiny yet mighty single-board computer is a fantastic option (pun intended) for retro gaming enthusiasts, offering the ability to emulate classic consoles like the NES, Sega Genesis, and even the original PlayStation. Whether you’re a seasoned tinkerer or a curious beginner, building your own retro gaming console isn’t just about reliving the past, it’s about creating a personalized, modernized gateway to it. And the best part? You don’t need a degree in engineering to make it happen.
Below Core Electronics guides you through assembling a DIY retro gaming console that’s as functional as it is nostalgic. From selecting the right hardware components, like a cooling system to keep your Pi running smoothly, to installing user-friendly software like Recalbox, every detail is covered to ensure your setup is seamless. But this isn’t just about the basics; you’ll also discover advanced features like online multiplayer, HD graphics enhancements, and even retro achievements to breathe new life into your favorite classics. Whether you’re here to rekindle childhood memories or explore the creative possibilities of custom gaming, this guide, crafted with insights from Core Electronics, will leave you inspired to power up and play. After all, who says the past can’t be upgraded?
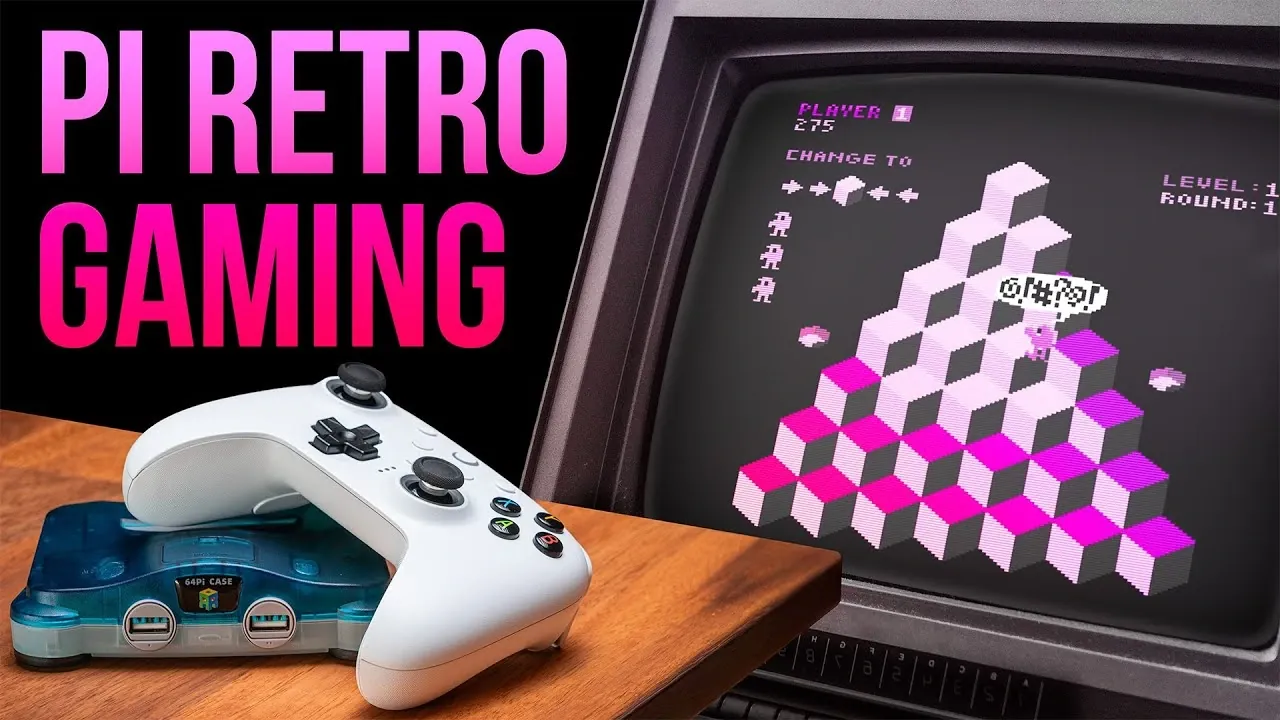
DIY Raspberry Pi Retro Gaming
TL;DR Key Takeaways :
- The Raspberry Pi 5 is a powerful and compact platform for building a customizable retro gaming console, supporting a wide range of classic consoles and handheld devices.
- Essential hardware includes the Raspberry Pi 5 (with at least 4 GB RAM), a 64 GB micro SD card, active cooling, a reliable USB-C power supply, and input devices like controllers, keyboard, and mouse.
- Recalbox is the recommended operating system for its user-friendly interface and compatibility with various retro consoles, allowing seamless emulation and online features.
- Customization options include controller configurations, graphics enhancements, display optimizations, retro achievements, and online multiplayer via Netplay.
- Maintenance tips include using save states, monitoring cooling systems, updating software, and troubleshooting emulator settings to ensure smooth and reliable performance.
Essential Hardware Components
To begin, you’ll need to gather the necessary hardware components. The Raspberry Pi 5 serves as the core of your setup, offering improved performance and compatibility for seamless emulation. Selecting the right components ensures smooth operation and an optimal gaming experience. Below is a checklist of what you’ll need:
- Raspberry Pi 5: Opt for a model with at least 4 GB of RAM to handle more demanding emulations.
- Micro SD Card: A minimum of 64 GB is recommended to store the operating system, games, and additional files.
- Cooling System: Use an active cooling solution, such as a fan-equipped case, to prevent overheating during extended gaming sessions.
- Power Supply: A reliable USB-C power adapter ensures stable performance and prevents power interruptions.
- Input Devices: A keyboard and mouse are essential for the initial setup, while USB or Bluetooth controllers provide a comfortable gaming experience.
These components form the foundation of your retro gaming console, making sure it operates efficiently and delivers a seamless gaming experience.
Installing and Configuring the Software
The software is the backbone of your retro gaming console, transforming the Raspberry Pi 5 into a versatile emulation platform. For this project, Recalbox is a preferred operating system due to its user-friendly interface and extensive compatibility with retro consoles. Follow these steps to set up the software:
- Install Recalbox: Use the Raspberry Pi Imager to flash the Recalbox operating system onto your micro SD card.
- Boot the System: Insert the micro SD card into the Raspberry Pi, connect the power supply, and turn it on.
- Controller Setup: Configure your controllers to navigate the interface and play games effectively.
- Network Connection: Connect the Raspberry Pi to Wi-Fi or Ethernet to enable updates, file transfers, and online features.
Recalbox supports a wide variety of emulators, making it compatible with consoles such as the NES, SNES, Sega Genesis, and PlayStation. Once installed, you’ll have access to a robust platform capable of running a diverse library of retro games.
How to Make a DIY Pi 5 Retro Gaming Console

Advance your skills in Raspberry Pi 5 by reading more of our detailed content.
- Pineberry HatDrive Raspberry Pi 5 M.2 NVMe SSD HAT
- How to install AI on a Raspberry Pi 5
- Raspberry Pi 5 industrial PC with M.2 NVMe storage adapter
- Add a Raspberry Pi 5 SSD NVMe storage with ease
- Can the Raspberry Pi 5 mini PC truly replace your desktop PC
- How to use the Raspberry Pi 5 Network OS Installer
- Installing Proxmox 8.1 virtualization platform on a Raspberry Pi 5
- How to Build a TrueNAS Server on Raspberry Pi 5 in 2025
- Build Your Own 10″ Raspberry Pi 5 Tablet Running KDE Mobile
- DIY Raspberry Pi Smart TV Set Top Box
Managing and Adding Games
To play games on your retro gaming console, you’ll need ROM files, which are digital versions of game cartridges or discs. It’s important to acquire these files legally. Here’s how to manage and add games to your system:
- Transfer ROMs: Use a network connection to upload ROM files or copy them directly to the micro SD card.
- Library Updates: Recalbox automatically scans and updates your game library when new ROMs are added.
- File Compatibility: Ensure the ROM files are in supported formats to avoid compatibility issues.
- Organize Titles: Categorize games by console, genre, or personal preference for easier navigation.
With your games properly loaded and organized, you can quickly browse and launch titles, transforming your Raspberry Pi into a retro gaming powerhouse.
Customization and Advanced Features
One of the most appealing aspects of building a DIY retro gaming console is the ability to customize it to suit your preferences. From controller configurations to graphical enhancements, there are numerous ways to personalize your setup. Additionally, Recalbox offers advanced features that enhance the overall gaming experience. Here are some options to explore:
- Controller Customization: Adjust button mappings and sensitivity to match your gaming style.
- Graphics Enhancements: Enable HD modes, apply shaders, or upscale visuals to modernize the appearance of classic games.
- Display Settings: Optimize the display for modern screens while preserving the retro aesthetic.
- Retro Achievements: Add an extra layer of challenge by unlocking achievements in classic games.
- Metadata Scraping: Download box art, game descriptions, and other details to create a visually appealing library.
- Netplay: Use peer-to-peer connections to play multiplayer games online with friends.
These customization options and advanced features allow you to tailor your console to your liking, creating a unique and immersive gaming experience.
Maintenance and Troubleshooting Tips
Even with a well-assembled setup, occasional issues may arise. Proper maintenance and troubleshooting can help you keep your console running smoothly. Here are some practical tips:
- Save States: Take advantage of save states to pause and resume games at any point, making sure you never lose progress.
- Emulator Settings: Adjust video settings, remap controls, or enable compatibility options to optimize performance for specific games.
- Monitor Cooling: Regularly check your cooling system to prevent overheating, especially during extended gaming sessions.
- Update Software: Keep Recalbox and other software components up to date to benefit from new features and bug fixes.
By addressing these common challenges, you can ensure a reliable and enjoyable gaming experience for years to come.
Media Credit: Core Electronics
Disclosure: Some of our articles include affiliate links. If you buy something through one of these links, Geeky Gadgets may earn an affiliate commission. Learn about our Disclosure Policy.