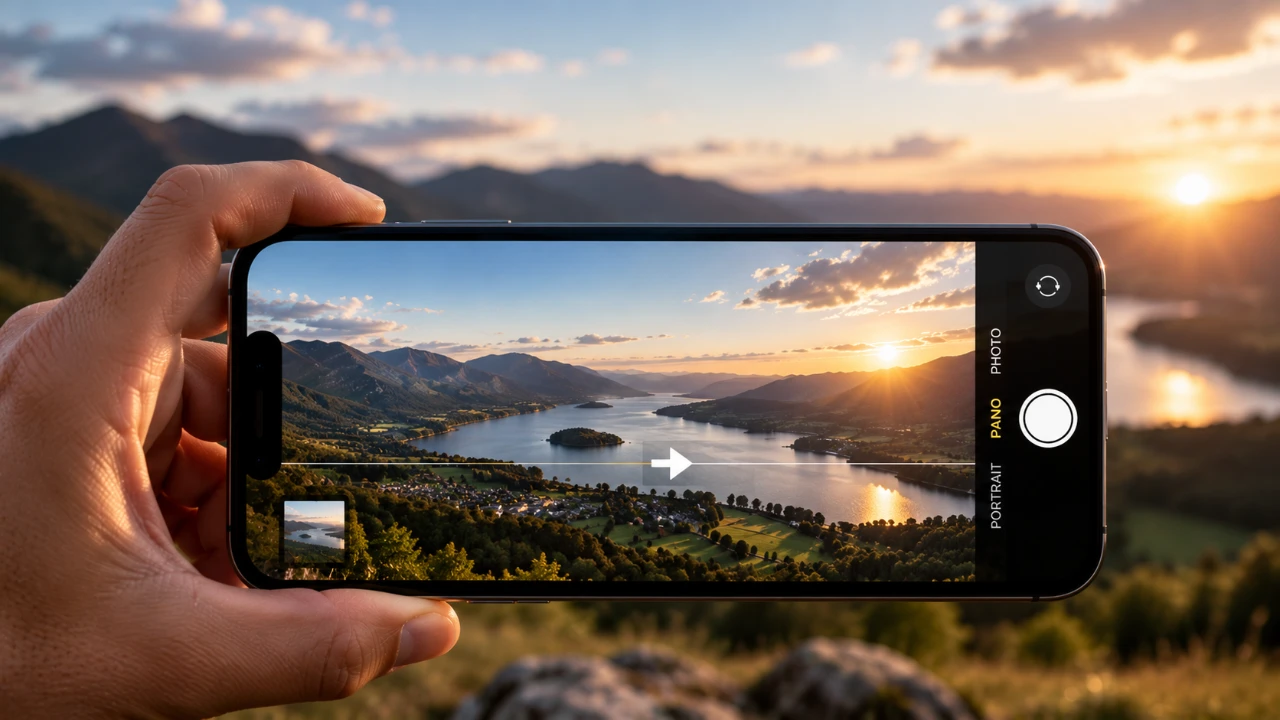
Capturing breathtaking panoramic photos with your iPhone opens up new possibilities for documenting expansive landscapes, cityscapes, and wide scenes. While the Pano mode is intuitive, achieving professional-quality results requires a deeper understanding of its features and techniques. By mastering the tools available and refining your approach, you can create visually stunning and technically flawless panoramic images. The video below from iPhone Photography School provides a comprehensive look at how to use iPhone’s Pano mode effectively, from understanding its functionality to overcoming common challenges, making sure your photos stand out.

What is iPhone Pano Mode and How Does It Work?
The Pano mode on your iPhone is designed to capture wide, sweeping views in a single, continuous image. This feature is particularly useful for photographing landscapes, skylines, and other scenes that exceed the limits of a standard frame. To access it, open the Camera app and swipe to the “Pano” option. Hold your phone vertically and follow the on-screen instructions to move it steadily across the scene.
Depending on your iPhone model, you can choose between different lenses to customize your shot:
- 1X Lens: A versatile choice for most panoramic scenes, offering a balanced perspective and framing.
- 0.5X Lens: Ideal for capturing expansive details, such as wide landscapes or large architectural structures, with an emphasis on both foreground and background elements.
- 2X Lens: Generally not recommended for panoramas due to its narrower field of view, which limits the scope of the image.
Selecting the right lens is essential for achieving your desired effect. Each lens offers unique advantages, so understanding their strengths will help you make the most of your composition.
Composing Your Panoramic Shot
The key to a compelling panoramic photo lies in thoughtful composition. Begin by identifying the most visually interesting elements in your scene. Look for features that add depth and guide the viewer’s eye, such as striking foreground objects like tree roots, rocks, or architectural details. Natural curves, such as winding rivers or mountain ridges, can also create a dynamic flow across the frame.
Start your panorama from the side of the scene with the most visual interest or brightness. This approach ensures that the most captivating elements are captured first, reducing the risk of losing detail in less dynamic areas. Planning your composition in advance allows you to create a balanced and engaging image that draws the viewer in.
Capturing the Perfect Panorama
Achieving a seamless panoramic image requires precision and attention to detail. Follow these steps to ensure success:
- Move your iPhone slowly and steadily across the scene, keeping the white arrow aligned with the yellow guide line displayed in the Camera app. This helps maintain level framing and minimizes distortion.
- Take multiple shots of the same scene to avoid stitching errors, which can occur when the software struggles to merge overlapping areas.
- After each attempt, review your images and adjust your technique as needed to improve the final result.
Consistency in speed and angle during the capture process is crucial. Even small deviations can lead to uneven or distorted images, so practice maintaining a steady hand and smooth motion.
Overcoming Lighting and Environmental Challenges
Lighting is a critical factor in panoramic photography. Be mindful of potential issues such as lens flare, which can occur when shooting directly into the sun or other bright light sources. Adjust your position or angle to minimize glare and ensure even lighting across the frame. Additionally, watch for shadows or distracting elements that could detract from your composition.
Environmental factors can also pose challenges. Panoramic photography often involves capturing dynamic scenes, such as shifting cloud cover, moving water, or fleeting moments of golden-hour light. Stay observant and ready to adapt to these changes, as they can significantly influence the mood and quality of your photo. By embracing these challenges, you can create images that feel alive and immersive.
Troubleshooting Common Issues
Even with careful planning, you may encounter challenges such as stitching errors, uneven lighting, or distorted perspectives. To address these issues, consider the following tips:
- Maintain consistent movement of your phone throughout the capture process to avoid uneven stitching.
- Avoid including moving objects, such as cars, people, or animals, as they can disrupt the stitching process and create visual inconsistencies.
- Experiment with different starting points and angles to find the most visually appealing composition for your scene.
For a creative twist, try capturing vertical panoramas. This technique is particularly effective for emphasizing tall structures, towering trees, or other vertical elements. Vertical panoramas add variety to your portfolio and challenge you to think differently about composition and perspective.
Transforming Panoramas into Art
Mastering the iPhone’s Pano mode is a blend of technical skill, creative vision and adaptability. By selecting the appropriate lens, incorporating depth through foreground elements and maintaining steady movement, you can create panoramic images that are both visually stunning and emotionally engaging. Stay observant of lighting and environmental factors and don’t hesitate to experiment with new techniques to refine your skills. With practice and persistence, you’ll elevate your panoramic photography, capturing wide landscapes and dynamic scenes that resonate with viewers and showcase the beauty of the world around you.
Source & Image Credit: iPhone Photography School
Disclosure: Some of our articles include affiliate links. If you buy something through one of these links, Geeky Gadgets may earn an affiliate commission. Learn about our Disclosure Policy.
