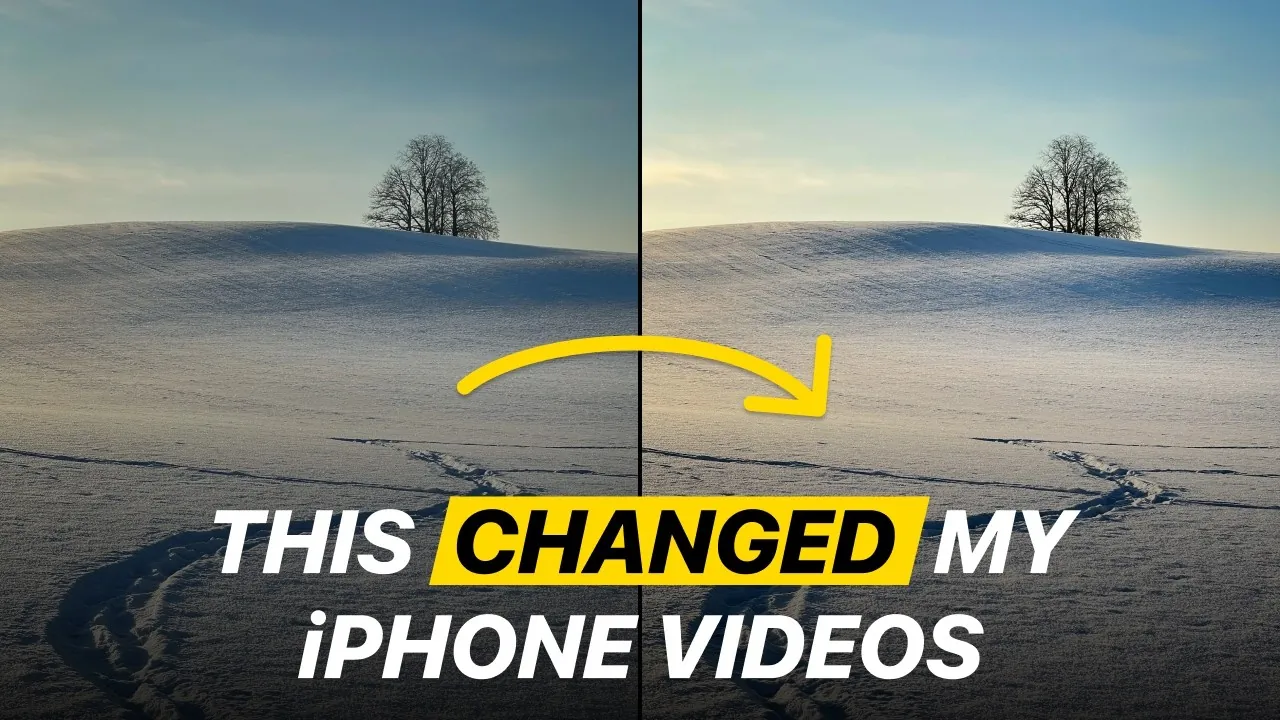
Capturing high-quality video on your iPhone is more accessible than ever, thanks to its advanced camera technology and customizable settings. You don’t need expensive equipment or extensive technical expertise to produce professional-looking footage. By fine-tuning your iPhone’s video settings and applying a few practical techniques, you can elevate your content to stand out in any context. The video below from iPhone Photography School provides a detailed walkthrough to help you optimize your iPhone’s video capabilities and achieve stunning results.

Optimize Resolution and Frame Rate for Superior Quality
The resolution and frame rate you choose are the foundation of your video’s quality. For cinematic results, set your iPhone to record in 4K resolution at 24 frames per second (fps). This combination delivers sharp, detailed visuals with natural motion, making it ideal for storytelling, artistic projects, or professional presentations. If your goal is smoother playback or slow-motion effects, consider increasing the frame rate to 30 or 60 fps.
It’s important to note that higher resolutions and frame rates consume more storage space. Before you begin filming, check your device’s available storage to ensure you have enough capacity for your chosen settings. Regularly transferring files to external storage or cloud services can help manage space effectively.
Stabilization and HDR: Achieving Smooth and Balanced Footage
Stabilization plays a crucial role in creating professional-quality videos, especially when filming handheld. Enable enhanced stabilization in your iPhone’s settings to minimize shakiness and ensure smooth, steady footage. This feature is particularly useful for dynamic shots or when you’re on the move.
High Dynamic Range (HDR) can enhance your video’s color and contrast, making it appear more vibrant and visually striking. However, HDR isn’t always the best option, especially if you plan to edit your footage later. HDR files can be more challenging to process and may not be compatible with all editing software. If post-production is part of your workflow, consider disabling HDR to maintain greater flexibility and control over your video’s final appearance.
Lock Camera Settings for Consistent Results
Maintaining consistency in your footage is essential for a polished, professional look. Locking specific camera settings prevents unwanted changes during recording, making sure uniformity across your shots.
- Lens Lock: This feature prevents your iPhone from automatically switching between lenses mid-shot, which can cause distracting shifts in perspective or focus.
- White Balance Lock: By locking the white balance, you can maintain consistent color tones throughout your video, even if lighting conditions change unexpectedly.
These settings are particularly useful for longer recordings or projects that require multiple takes, as they help maintain a cohesive visual style.
Slow Motion and File Formats: Adding Creativity and Compatibility
Slow-motion effects can add a dramatic or artistic touch to your videos. To achieve moderate slow motion, set your iPhone to record at 1080p resolution with 120 fps. For even slower playback, increase the frame rate to 240 fps. Keep in mind that higher frame rates generate larger file sizes, so ensure you have sufficient storage before filming.
When selecting a file format, choose the “Most Compatible” option. This format ensures your videos are easy to share, edit, and view across a wide range of devices and platforms. While newer formats like HEVC offer better compression, they may not be supported by all systems, making “Most Compatible” a safer choice for versatility.
Enhance Audio and Composition for a Professional Touch
High-quality visuals should be complemented by equally clear and immersive audio. Enable stereo sound recording in your settings to capture richer, more dynamic audio that enhances the overall impact of your video. For optimal results, consider using an external microphone, especially in noisy environments or when recording dialogue.
To improve your video’s composition, activate the grid and level features in your camera settings. The grid helps you align your shots using the rule of thirds, creating balanced and visually appealing compositions. The level feature ensures your horizon lines are straight, adding a professional touch to your footage.
Maximize Image Quality with Lens and Focus Techniques
For the best image quality, use the rear 1x (wide) lens, which offers superior resolution and clarity compared to other lenses. Avoid relying on digital zoom, as it reduces image quality. Instead, physically move closer to your subject whenever possible to maintain sharpness and detail.
To gain more creative control, tap the screen to focus on your subject and manually adjust the exposure. This allows you to emphasize specific elements in your frame, such as highlighting a subject’s face or creating dramatic lighting effects. These adjustments can significantly enhance the overall quality and impact of your video.
Fine-Tune Settings and Apply Practical Tips
Small adjustments to your iPhone’s settings can make a noticeable difference in your video’s final quality. Use exposure compensation to control brightness levels. For instance, setting it to -0.3 can slightly darken your footage, reducing overexposure and adding depth.
If you’re not filming close-ups, disable macro mode to prevent unnecessary focus adjustments that can disrupt your shot. Additionally, always clean your camera lenses before filming. Dust, smudges, or fingerprints can compromise the clarity of your footage. Use a microfiber cloth for the best results.
While the front-facing camera is convenient for vlogs or casual videos, it doesn’t match the quality of the rear camera. For professional-grade results, prioritize using the rear lens whenever possible.
Unlock the Full Potential of Your iPhone Camera
By mastering your iPhone’s video settings and applying these practical techniques, you can transform your device into a powerful tool for capturing professional-quality footage. From selecting the right resolution and frame rate to enhancing stabilization, composition, and audio, every detail contributes to creating visually stunning and impactful videos. With careful preparation and attention to detail, your iPhone can rival traditional cameras, empowering you to produce content that stands out in any setting.
Discover other guides from our vast content that could be of interest on iPhone video settings.
- Best iPhone Camera Settings for Recording Video
- How to Optimize Your iPhone Camera Settings
- The Ultimate iPhone Camera Settings for Stunning Videos
- How to Edit iPhone Video in Cinematic Mode
- iPhone 16/16 Pro: 25 Essential Settings to Change NOW
Source & Image Credit: iPhone Photography School
Disclosure: Some of our articles include affiliate links. If you buy something through one of these links, Geeky Gadgets may earn an affiliate commission. Learn about our Disclosure Policy.