Have you ever found yourself frantically scribbling down notes from a meeting, struggling to copy a recipe from a magazine, or trying to preserve the details of a handwritten letter? These moments can feel chaotic and inefficient, but there’s a better way. With the iPhone’s Live Text feature seamlessly integrated into Apple Notes, you can now transform your iPhone camera into a powerful text scanner. This isn’t just a convenience, it’s a fantastic option for anyone looking to digitize information with speed and precision. Whether you’re a student capturing key excerpts from a textbook or a professional organizing critical documents, this tool offers a smarter, faster way to handle the information that matters most.
In this guide, from Guide Wise you’ll discover how to harness the full potential of Live Text to scan and save text directly into Apple Notes. From setting up your note to perfecting the scan, every step is designed to make the process intuitive and efficient. Along the way, you’ll learn tips to enhance accuracy and organization, making sure your digital notes are as clear and useful as the originals. But this isn’t just about scanning, it’s about streamlining your workflow and unlocking new levels of productivity. Imagine a world where you can capture, store, and access essential information with just a few taps. That world is closer than you think.
Scan Text to Apple Notes
TL;DR Key Takeaways :
- The iPhone’s Live Text feature allows users to scan and digitize text from physical documents directly into the Apple Notes app, enhancing productivity and organization.
- To use the feature, create a new note in the Notes app, access the “Scan” option via the three-dot menu, and use the camera to capture text in real time.
- Users can select specific portions of text, copy them, and paste them into the note for accurate and efficient storage.
- Practical applications include workplace productivity, academic use, personal organization, and travel convenience, making it a versatile tool for various tasks.
- Tips for maximizing the feature include making sure proper lighting, using a stable surface, organizing notes with folders and tags, and keeping the iPhone updated for optimal performance.
1: Open the Notes App
Begin by launching the Apple Notes app on your iPhone. Tap the compose button, typically located in the bottom-right corner of the screen, to create a new note. This new note will serve as the destination for the text you’re about to scan. Preparing the app beforehand ensures a smoother workflow and minimizes potential interruptions during the scanning process.
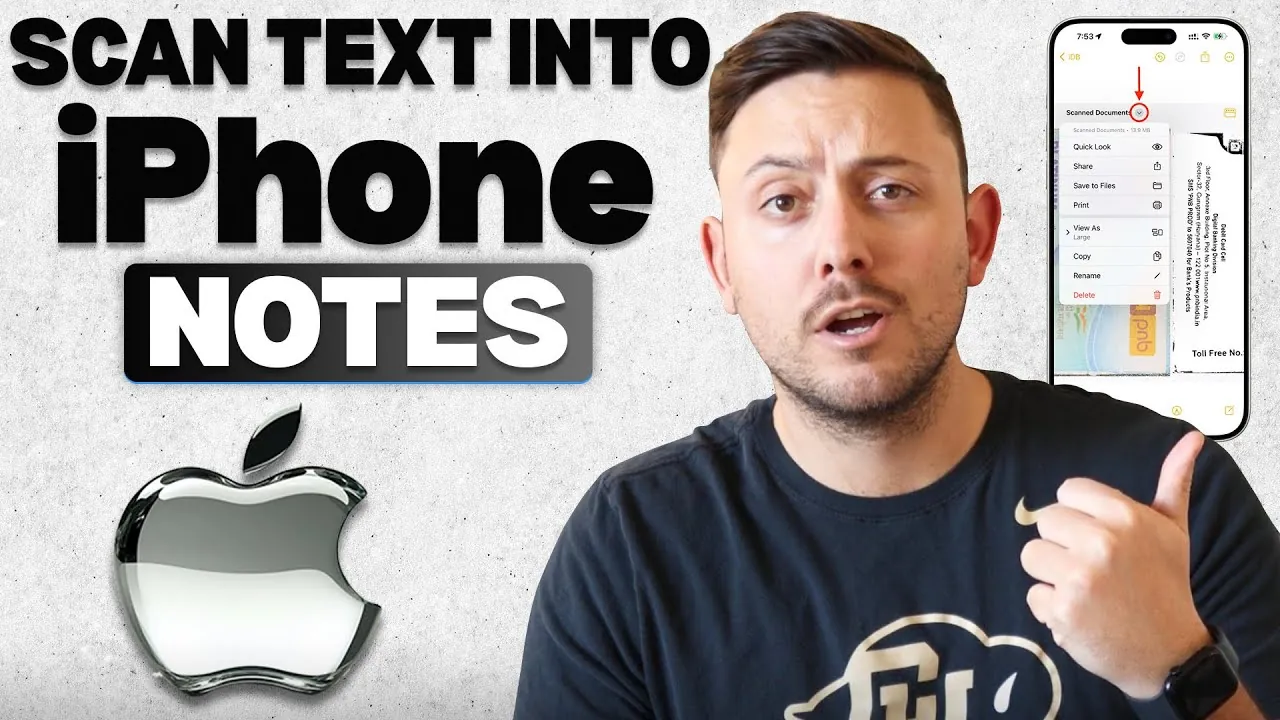
2: Access the Scan Feature
Once inside the new note, locate the three dots in the top-right corner of the screen. Tapping this icon will open a menu of additional options. From this menu, select the “Scan” option. This action activates your iPhone’s camera, transforming it into a text scanner. With the help of Live Text technology, the camera can recognize and process text in real time, making it easy to capture information from physical documents.
How to Scan Text Using Your iPhone into Apple Notes

Discover other guides from our vast content that could be of interest on Apple Notes.
- How to Use Apple Notes as a Vertical Kanban Board for Tasks
- How to Use Apple Notes for Organization, Collaboration and More
- How to Sync Apple Notes to Notion : 2025 Guide
- Apple Notes vs Goodnotes 6: Which Note-Taking App is Best for You
- Use the Zettelkasten Method in Apple Notes for Better Organization
- New Apple Notes iOS 26 Features : Markdown, 3D Graphs & More
- Discover the New Tools in Apple Notes iOS 18.3 Update
- How to Use Apple Notes for Quick and Efficient Note-Taking
- How Apple Notes AI Features Transform Digital Note-Taking
- Using ChatGPT in Apple Notes: A Complete Guide for Mac Users
3: Position and Scan the Document
Hold your iPhone steady and position the document within the camera’s viewfinder. The Live Text feature will automatically detect and highlight text within the frame. For the best results, ensure the text is well-lit, clearly visible, and free from obstructions. Once the text is recognized, you can interact with it directly on your screen, making adjustments as needed to capture the desired content.
4: Select and Copy Text
To capture specific text, tap and hold on the section you want to extract. Blue markers will appear, allowing you to adjust the selection by dragging them to highlight the exact portion of text you need. This feature ensures that only the relevant information is captured, eliminating unnecessary content. Once you’ve finalized your selection, tap “Copy” to save the text to your clipboard for further use.
5: Paste and Save the Text
Navigate back to the note you created earlier. Tap and hold within the note’s body, then select “Paste” from the menu that appears. The scanned text will now be inserted into your note. Review the content to ensure accuracy, and when you’re satisfied, save the note by exiting or tapping “Done.” Your scanned text is now securely stored in the Notes app, ready for future reference or sharing.
Why Use Live Text and Apple Notes?
The integration of Live Text with Apple Notes offers a range of practical benefits that make it a valuable tool for both personal and professional use:
- Efficiency: Quickly digitize physical documents without the need for additional tools or third-party apps.
- Organization: Store and categorize scanned text within the Notes app, making it easy to access and retrieve important information when needed.
- Accuracy: Advanced text recognition technology ensures minimal errors during the scanning process, providing reliable results.
- Convenience: The Notes app is pre-installed on all iPhones, eliminating the need for downloads or installations.
Practical Applications of Live Text
The versatility of Live Text and Apple Notes extends to a variety of real-world scenarios, making it a valuable tool for everyday tasks:
- Workplace Productivity: Capture meeting notes, presentations, or brainstorming sessions directly into digital format for easy sharing and collaboration.
- Academic Use: Scan excerpts from textbooks, research papers, or lecture notes to streamline study sessions and reduce manual transcription.
- Personal Organization: Save recipes, to-do lists, or handwritten reminders in a centralized digital location for quick access.
- Travel Convenience: Digitize travel itineraries, maps, or important documents to keep essential information at your fingertips.
Maximizing the Benefits of Live Text
To fully use the capabilities of Live Text and Apple Notes, consider the following tips:
- Maintain Proper Lighting: Ensure the document is well-lit to improve text recognition accuracy.
- Use a Stable Surface: Place the document on a flat surface and hold your iPhone steady to avoid blurry scans.
- Organize Notes: Use folders and tags within the Notes app to categorize and locate scanned text efficiently.
- Regular Updates: Keep your iPhone’s software updated to benefit from the latest improvements in Live Text technology.
Streamlining Your Workflow
The combination of Live Text and Apple Notes simplifies the process of converting physical text into digital form, offering a practical solution for managing information in today’s fast-paced world. By integrating this feature into your daily routine, you can enhance productivity, improve organization, and reduce reliance on manual transcription. Whether for professional tasks, academic needs, or personal projects, this functionality enables you to handle information with greater ease and precision.
Media Credit: GuideWise
Disclosure: Some of our articles include affiliate links. If you buy something through one of these links, Geeky Gadgets may earn an affiliate commission. Learn about our Disclosure Policy.