Light and shadow are fundamental components of photography, shaping the mood, depth, and narrative of your images. With the advanced capabilities of an iPhone camera, you have the tools to creatively harness these elements and elevate your photography. By understanding how to manipulate light and shadow and mastering your camera’s exposure settings, you can confidently tackle challenging lighting conditions and create visually compelling images. This guide will walk you through essential techniques and tips to help you make the most of your iPhone photography. The video below from iPhone Photography School gives us more details.

Understanding Exposure and Its Importance
Exposure is the foundation of photography, determining how bright or dark your photo appears. While the iPhone’s camera excels at automatically adjusting exposure for most scenes, manual control allows you to emphasize specific details, such as enhancing deep shadows or preserving bright highlights. This creative flexibility is crucial for transforming ordinary photos into striking compositions.
By taking control of exposure, you can highlight the textures, colors and contrasts that define your subject. For instance, slightly darkening the exposure can add depth to shadows, creating a more dramatic effect, while brightening it can reveal intricate details in highlights. Mastering exposure is a key step toward achieving a balanced and visually appealing image.
Using the Exposure Compensation Slider Effectively
The exposure compensation slider is one of the most powerful yet underutilized features of the iPhone camera. It allows you to fine-tune the brightness of your photos manually, giving you greater creative control. Here’s how to use it:
- Open the camera app and tap on the screen to focus on your subject.
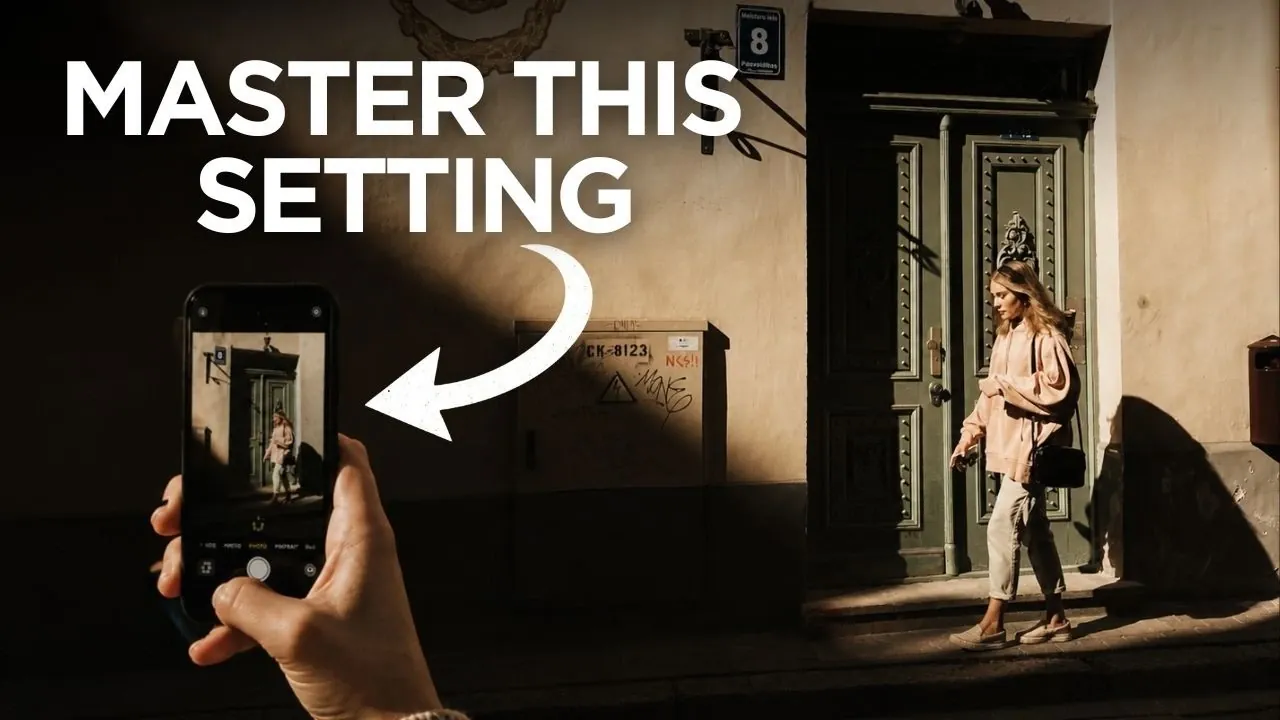
- Look for the sun icon that appears next to the focus box and drag it up to brighten or down to darken the exposure.
- Remember that adjustments made with the slider will remain active for subsequent photos until you reset them.
For example, darkening the exposure can enhance the contrast between light and shadow, adding depth and drama to your composition. Conversely, brightening the exposure can bring out subtle details in highlights, making your subject stand out. Use this tool thoughtfully to achieve the desired effect in your photos.
Maintaining Consistency with AE/AF Lock
Dynamic lighting conditions can make it challenging to maintain consistent focus and exposure. The AE/AF Lock feature on your iPhone is an invaluable tool for overcoming this challenge. To use it:
- Tap and hold on the area of the frame you want to focus on until the AE/AF Lock indicator appears.
- Once locked, adjust the brightness by dragging the sun icon up or down to fine-tune the exposure.
This feature ensures that your focus and exposure settings remain consistent, even if the lighting changes or you recompose your shot. It’s particularly useful for capturing scenes with varying light intensities, such as a subject moving between sunlight and shadow.
Creative Applications of Light and Shadow
Light and shadow are not just technical aspects of photography, they are powerful storytelling tools. By experimenting with their interplay, you can create images that evoke emotion and draw attention to specific elements. Consider these creative techniques:
- Frame your subject using contrasting light and shadow to create dramatic compositions.
- Incorporate diagonal lines or silhouettes to add visual interest and guide the viewer’s eye.
- Experiment with partial illumination, such as using sunlight to highlight only part of your subject, leaving the rest in shadow.
These techniques allow you to convey mood and atmosphere, transforming your photos into compelling visual narratives.
Adapting to Natural Light Changes
Natural light is constantly changing, especially during golden hour or when clouds shift. To capture fleeting moments effectively, you need to adapt quickly. Here are some tips:
- Anticipate changes in light and shadows by observing your surroundings.
- Be prepared to adjust your exposure settings on the fly to maintain the desired effect.
- Reposition yourself to take advantage of the evolving light conditions.
By staying alert and responsive, you can make the most of natural light and capture stunning images that reflect its dynamic beauty.
Exploring Unique Perspectives
Angles and perspectives play a significant role in how your photos are perceived. Experimenting with unconventional viewpoints can add depth and intrigue to your images. Try these ideas:
- Shoot from above or below to create a sense of scale and dimension.
- Use objects like windows, fences, or arches to frame your subject and add context to your composition.
- Capture shadows cast on textured surfaces, such as brick walls or cobblestone streets, to add visual interest.
Exploring different perspectives not only enhances the visual appeal of your photos but also helps you develop a unique photographic style.
Managing Overexposed Areas
Overexposure can wash out details in bright areas of your photo, but there are ways to manage it effectively. Follow these steps:
- Tap on the brightest part of the frame to adjust the exposure and retain detail in highlights.
- Reposition yourself to minimize lens flares when shooting directly into a light source, such as the sun.
These adjustments help you maintain a balanced exposure, making sure that your images are both visually appealing and technically sound.
Enhancing Photos with Shadows
Shadows can add drama, mystery and depth to your photos when used intentionally. To make the most of them:
- Time your shots to capture moving subjects, such as a person walking through a shadowed area, for dynamic compositions.
- Ensure that shadows are distinct and not overlapping with other elements in the frame to maintain a clean and organized composition.
By paying attention to the placement and quality of shadows, you can create photos that are both visually striking and emotionally engaging.
Mastering Challenging Lighting Scenarios
Shooting in difficult lighting conditions, such as directly into the sun or in low light, requires careful adjustments. Here’s how to handle these scenarios:
- Use the exposure slider to reduce brightness and prevent overexposure in bright areas.
- Position yourself strategically to minimize lens flares while capturing the interplay of light and shadow.
With practice, you can learn to navigate challenging lighting conditions and use them to your advantage, creating photos that stand out.
Unlocking the Potential of Light and Shadow
Your iPhone’s camera is a powerful tool, capable of capturing stunning images when used to its full potential. By mastering features like the exposure compensation slider, AE/AF Lock and creative shadow techniques, you can take your photography to the next level. Light and shadow are not just technical elements, they are artistic tools that allow you to tell stories, evoke emotions and transform your images into captivating works of art.
Below are more guides on iPhone photography from our extensive range of articles.
- iPhone Photography 2026: The Complete Guide
- How to Optimize Your iPhone Camera Settings
- How to Take Professional Photos with Your iPhone Camera
- The Best iPhone Camera Settings for Night Photography
- How to Take Sharp Photos with Your iPhone
Source & Image Credit: iPhone Photography School
Disclosure: Some of our articles include affiliate links. If you buy something through one of these links, Geeky Gadgets may earn an affiliate commission. Learn about our Disclosure Policy.