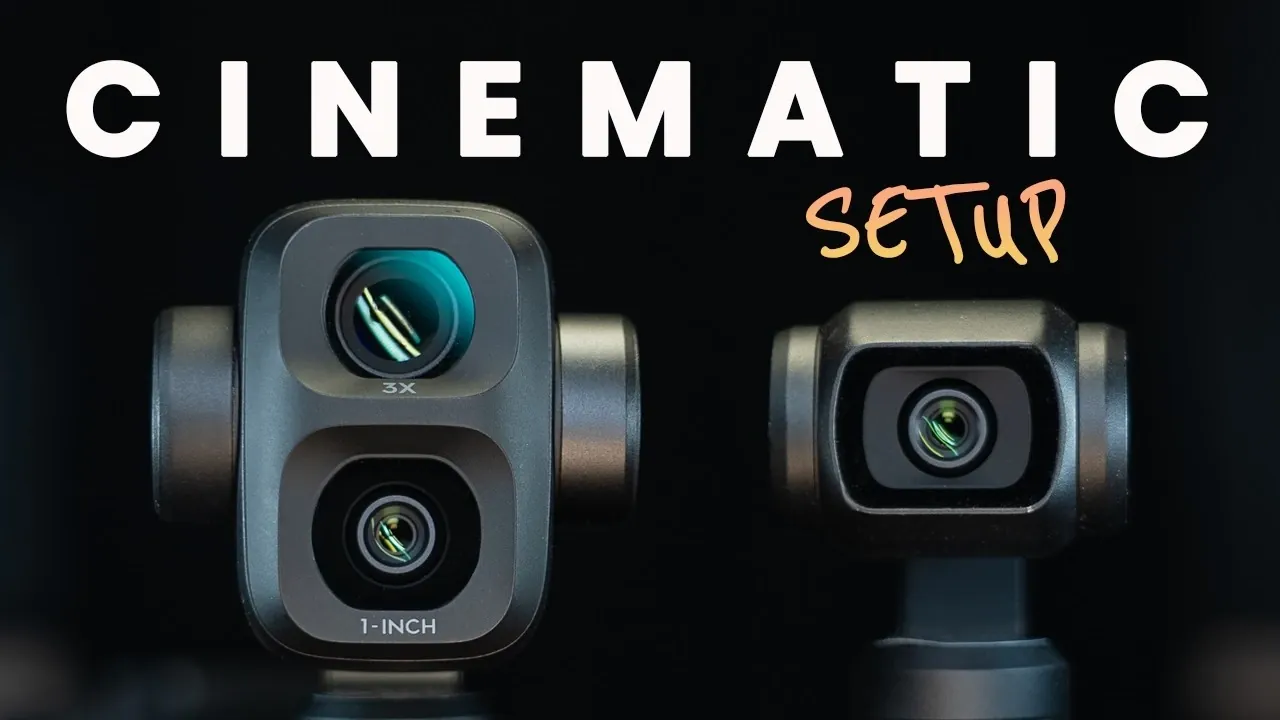
The Osmo Pocket 4 and 4P offer compact yet capable solutions for capturing cinematic-quality video, but achieving professional results requires careful attention to settings and techniques. In a detailed breakdown by The Film Alliance, the importance of foundational steps like firmware updates and gimbal calibration is emphasized to ensure smooth operation and stable footage. Additionally, allowing features like grid lines for precise framing and adjusting gimbal speed for fluid motion can significantly enhance the visual quality of your shots.
This guide will walk you through essential techniques, such as mastering the 180° shutter rule for natural motion blur and selecting the right color profile for your workflow, whether you prefer vibrant out-of-camera footage or advanced color grading flexibility. You’ll also gain insight into configuring custom modes for quick transitions between standard cinematic and slow-motion shooting styles, as well as tips for maintaining consistent white balance and optimizing focus settings. These practical strategies will help you make the most of the Osmo Pocket 4 and 4P, making sure your footage meets professional standards.
Preparing Your Camera: Initial Setup
TL;DR Key Takeaways :
- Ensure optimal performance by updating firmware, calibrating the gimbal and minimizing screen interaction to avoid disruptions during filming.
- Refine control settings by adjusting joystick speed, allowing grid lines for composition, muting camera sounds and activating adaptive brightness for better usability.
- Configure video settings for cinematic results by using 4K resolution, selecting appropriate frame rates (24 fps for standard or 60 fps for slow motion), and allowing Pro Mode for manual control over exposure, ISO and color profiles.
- Master exposure with the 180° shutter rule, use ND filters in bright conditions and select appropriate ISO ranges to maintain image quality and natural motion blur.
- Enhance footage quality by using continuous autofocus, disabling glamour effects, maintaining consistent white balance and using custom modes for quick transitions between cinematic and slow-motion shots.
Before diving into advanced settings, it’s essential to ensure your camera is primed for optimal performance. Begin by updating the firmware to the latest version. While updates often enhance functionality, proceed cautiously, as new versions can sometimes introduce bugs. Once updated, calibrate the gimbal on a flat, stable surface to guarantee smooth and stable footage. This step is crucial for avoiding unwanted jitters or inconsistencies during filming. Additionally, minimize screen interaction to maintain responsiveness and avoid smudges that could disrupt your workflow.
Refining the Control Center
The control center is where you can fine-tune the camera’s operational settings for a smoother filming experience. Adjust these key elements for better control and precision:
- Joystick and Gimbal Speed: Lower these settings to achieve fluid and natural camera movements, essential for cinematic shots.
- Grid Lines: Enable grid lines to improve composition and framing, helping you align your shots with professional standards.
- Camera Sounds: Mute all sounds to eliminate distractions during recording, making sure a more focused workflow.
- Adaptive Brightness: Activate this feature to maintain screen visibility in varying lighting conditions, particularly during outdoor shoots.

Unlock more potential in Osmo Pocket 4 by reading previous articles we have written.
- Osmo Pocket 4P 1-Inch Sensor Beats iPhone 17 Pro for Video
- Why DJI Kept the Osmo Pocket 4P Specs a Secret at Cannes
- DJI Pocket 4 vs Pocket 4P : Are the New Pro Features Worth the Upgrade?
- Why the DJI Osmo Pocket 4P Might Disappoint Social Media Creators
- DJI’s Osmo Pocket 4 Pro Faces a Hidden Threat from Insta360
- Why the DJI Pocket 4P Might Disappoint Modern Social Media Creators
- Inside the Massive DJI Osmo Pocket 4P Upgrade : 17 Stops of Dynamic Range & More
- What the DJI Pocket 4P’s Dual-Camera System Means for Creators
- DJI Osmo Pocket 4P Global Launch is Finally Here
- How the Insta360 Luna Ultra Challenges DJI’s Cinematic Dominance
Configuring Video Settings for Cinematic Results
To achieve professional-quality footage, carefully configure your video settings. These adjustments will significantly impact the visual appeal of your content:
- Resolution: Set the resolution to 4K for maximum detail and clarity, making sure your footage meets modern cinematic standards.
- Frame Rate: Use 24 fps for standard cinematic motion or 60 fps for smooth slow-motion sequences.
- Pro Mode: Enable Pro Mode to manually control exposure, ISO, white balance and color profiles. This level of control is essential for achieving consistent and professional results.
Mastering Exposure: The 180° Shutter Rule
Proper exposure is critical for creating natural-looking motion blur, a hallmark of cinematic footage. Follow these guidelines to maintain the correct balance:
- Shutter Speed: Set the shutter speed to double your frame rate (e.g., 1/50 for 24 fps or 1/120 for 60 fps) to achieve the desired motion blur.
- ISO Range: Stick to 50-1600 for the Osmo Pocket 4 and 100-1600 for the 4P to preserve image quality while minimizing noise.
- ND Filters: Use neutral density filters in bright conditions to control exposure without compromising your shutter speed.
- Exposure Compensation: Adjust to -0.7 for Normal mode or 0.0 for DLOG shooting to fine-tune brightness levels and avoid overexposure.
Selecting the Ideal Color Profile
Your choice of color profile will depend on your expertise and post-production workflow. Each option offers distinct advantages:
- Normal Profile: Best for beginners, this profile delivers vibrant colors with minimal need for post-production adjustments.
- DLOG 10-bit or DLOG 2: Ideal for advanced users, these profiles provide greater flexibility for color grading in post-production. Enable color recovery to preview log footage more accurately on the camera screen.
Enhancing Focus and Image Quality
Achieving sharp focus and natural image adjustments is essential for cinematic footage. Consider these settings for optimal results:
- Autofocus: Use continuous autofocus for dynamic scenes, making sure your subject remains sharp even during movement.
- Texture and Noise Reduction: Set both to -2 to maintain a natural and detailed look in your footage.
- Avoid Glamour Effects: Disable these effects, as they can detract from the cinematic aesthetic by softening details unnaturally.
Custom Modes for Versatile Shooting
Custom modes allow you to switch seamlessly between different shooting styles, saving time and making sure consistency. Configure these two modes for maximum versatility:
- C1 (Cinematic Mode): Set to 4K resolution, 24 fps, 1/50 shutter speed and manual white balance for standard cinematic shots.
- C2 (Cinematic Slow Motion): Configure to 4K resolution, 60 fps, 1/120 shutter speed and manual white balance for smooth slow-motion sequences.
Assign these modes to the custom button for quick transitions during filming, allowing you to adapt to different scenes effortlessly.
Maintaining Consistent White Balance
Consistent white balance is crucial for professional-looking footage. Begin by allowing the camera to auto-detect the scene’s lighting conditions. Once the appropriate white balance is determined, lock it manually to ensure uniformity across all your shots, preventing color shifts that can disrupt the visual flow.
Additional Tips for Enhanced Results
To further elevate your filming experience, consider these practical tips:
- Use High-Speed SD Cards: Opt for high-speed SD cards to ensure smooth recording and reliable performance. Use internal storage as a backup option.
- Avoid Dedicated Slow-Motion Mode: This mode lacks DLOG support and may cause overheating, making it less suitable for professional use.
- Manage Shutter Speed Without ND Filters: If ND filters are unavailable, allow slight shutter speed fluctuations to prevent overexposure in bright conditions.
By mastering these techniques and settings, you can unlock the full potential of the Osmo Pocket 4 and 4P, producing cinematic footage that stands out for its quality and professionalism. Whether you’re a beginner exploring the basics or an experienced videographer refining your craft, these strategies will help you achieve stunning results.
Media Credit: The Film Alliance
Disclosure: Some of our articles include affiliate links. If you buy something through one of these links, Geeky Gadgets may earn an affiliate commission. Learn about our Disclosure Policy.
