Customizing your iPhone ringtone is an excellent way to add a personal touch to your device. With iOS 26, you can turn almost any song into a ringtone, allowing you to express your individuality every time your phone rings. The video from AppleDsign provides a detailed, step-by-step process to help you create and set a custom ringtone, whether you’re a tech enthusiast or a beginner. By following these steps, you can seamlessly personalize your iPhone’s sound profile.

Step 1: Select and Edit Your Song
The first step in creating a custom ringtone is choosing the right song. Think about a track that resonates with you—whether it’s a favorite tune, a nostalgic melody, or a catchy chorus. Keep in mind that iOS 26 supports ringtones up to 30 seconds long, so you’ll need to trim the song to fit this duration.
To edit the song, use audio editing tools such as GarageBand, Audacity, or other similar apps. These tools allow you to:
- Trim the song to the desired length, making sure it fits the 30-second limit.
- Adjust the volume to maintain clarity and avoid distortion.
- Select the specific portion of the song you want, such as the chorus or a memorable verse.
Once you’ve edited the song, save it as a new file. This edited version will be used in the next steps to create your ringtone.
Step 2: Convert the File to the Required Format
After editing, the next step is to convert the audio file into a format compatible with iOS. iPhones require ringtones to be in the `.m4r` format, which is specifically designed for ringtones. Most audio editing tools include an option to export files in this format. If your chosen tool doesn’t support `.m4r`, you can use an online converter to transform your file.
When saving the file, ensure that you:
- Give the file a clear and recognizable name for easy identification later.
- Double-check that the file is under 30 seconds in length to meet iOS requirements.
This step ensures your file is properly formatted and ready for transfer to your iPhone.
Step 3: Transfer the Ringtone to Your iPhone
Once your file is in the correct format, you’ll need to transfer it to your iPhone. Depending on your computer’s operating system, you can use either iTunes (on Windows) or Finder (on macOS). Follow these steps to complete the transfer:
- Connect your iPhone to your computer using a USB cable.
- Open iTunes (Windows) or Finder (Mac) and locate your connected device.
- Drag and drop the `.m4r` file into the “Tones” section of your iPhone’s library.
- Sync your device to finalize the transfer.
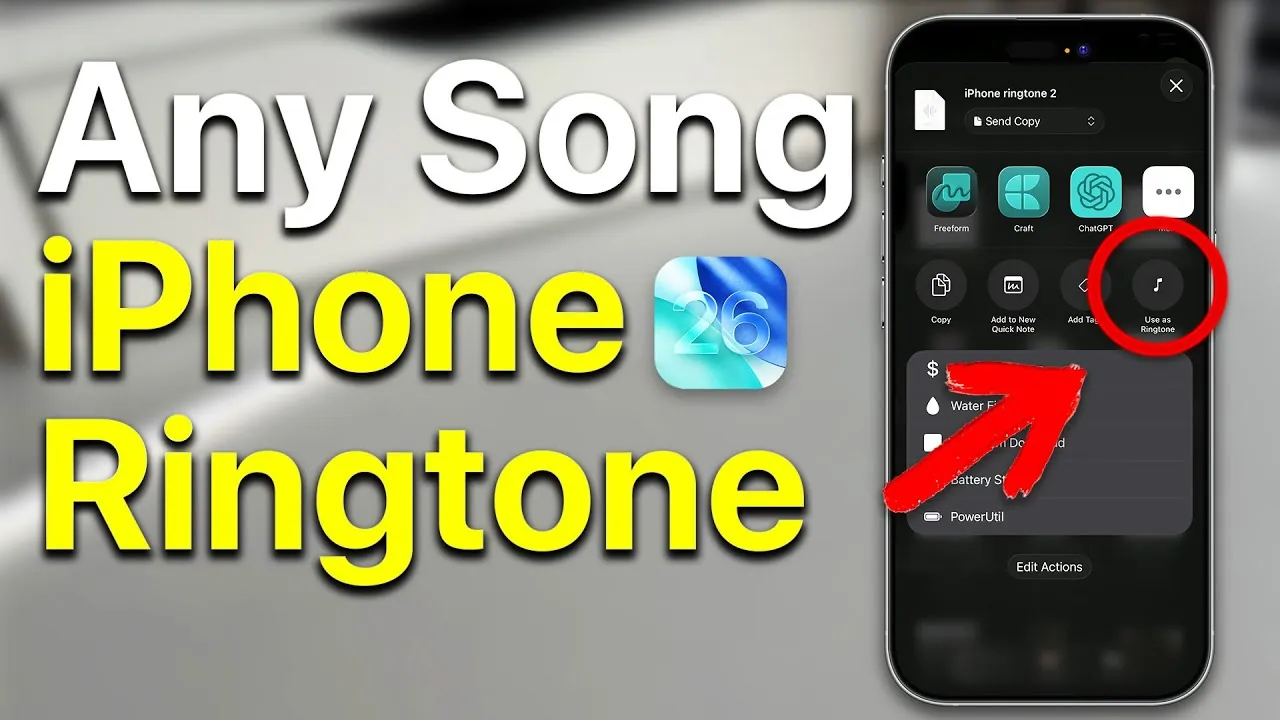
After syncing, the custom ringtone will appear in your iPhone’s ringtone list. You can find it by navigating to Settings > Sounds & Haptics > Ringtone.
Step 4: Set Your Custom Ringtone
With the ringtone successfully transferred to your iPhone, you can now set it as your default ringtone or assign it to specific contacts. Here’s how:
- Go to Settings > Sounds & Haptics > Ringtone and select your custom file from the list.
- To assign the ringtone to a specific contact, open the Contacts app, select the desired contact, tap Edit, and choose the ringtone under the “Ringtone” section.
This feature allows you to personalize your phone further, making it easy to identify callers based on their unique ringtone.
Step 5: Optimize for iOS 26 Compatibility
While iOS 26 offers enhanced audio processing and file management, it’s essential to ensure your ringtone is fully compatible. To avoid any issues, follow these guidelines:
- Verify that the file is in `.m4r` format and does not exceed 30 seconds in length.
- Use iTunes or Finder for transferring files to minimize errors.
- Keep your iPhone updated with the latest iOS version to ensure optimal performance and compatibility.
By adhering to these tips, you can prevent common problems and enjoy a seamless customization experience.
Additional Tips for Personalization
To make the most of your custom ringtone, consider these additional tips:
- Use high-quality audio files to ensure your ringtone sounds crisp and professional.
- Experiment with fade-in and fade-out effects for a polished transition.
- Organize your ringtones in a dedicated folder on your computer for easy access during future transfers.
- Explore third-party apps like Ringtone Maker or Zedge to simplify the ringtone creation process.
These suggestions can help you create ringtones that are both unique and reflective of your personal style.
Gain further expertise in iPhone ringtone customization by checking out these recommendations.
- How to Set Any Song as Your iPhone Ringtone
- iOS 18: The Ringtone Trick You’ve Been Waiting For
- SECRET Trick to Get ANY Song as Your iPhone Ringtone (2025
- Apple Custom Ringtones Now Available Direct From Your iOS 5
- iPhone Alarm SECRET! Use ANY Song (You Won’t Believe How
Source & Image Credit: AppleDsign
Disclosure: Some of our articles include affiliate links. If you buy something through one of these links, Geeky Gadgets may earn an affiliate commission. Learn about our Disclosure Policy.