If you are interested in taking your wood engraving skills to the next level you might be interested in a fantastic tutorial created by Laser Engraving 911 takes you through 10 professional laser in gave during tips to ensure that your wood engraving is the best it possibly can be. Laser engraving and cutting on wood is a craft that requires skill, knowledge, and attention to detail.
With the right techniques and considerations, you can elevate your projects to a professional level. Here are ten expert tips, drawn from a decade of industry experience, that cover essential aspects from technical adjustments to material selection, aimed at enhancing both the quality and efficiency of your laser engraving and cutting projects on wood.
Laser Engraving Tips & Tricks for Wood
Selecting the Right Wood for Your Project
The type of wood you choose can have a significant impact on the quality and appearance of your laser engraving or cutting project. While Baltic Birch is a cost-effective option, it may reveal glue layers when cut or engraved. For high-end projects, consider using solid woods like Alder, Cherry, Mahogany, or Cedar. These woods offer superior engraving quality and a more attractive aesthetic.
- Baltic Birch: Cost-effective but may reveal glue layers
- Alder, Cherry, Mahogany, Cedar: High-quality solid woods for superior results
Engraving Direction Matters
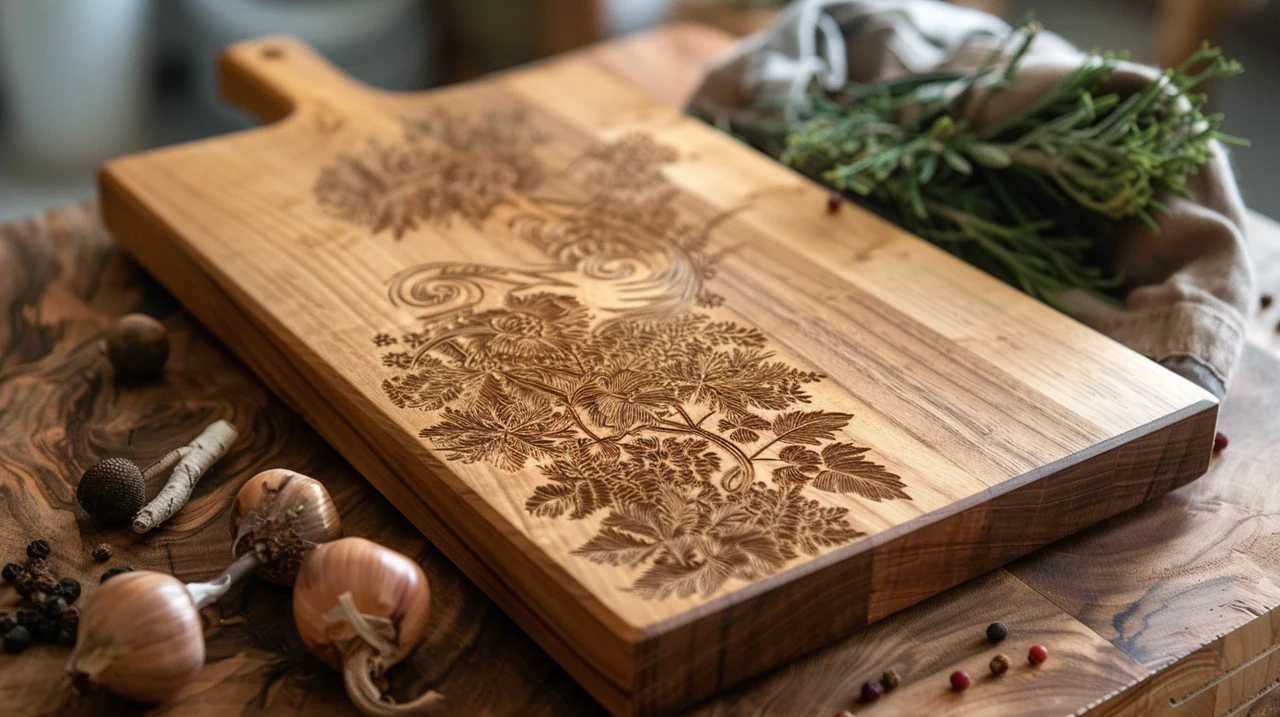
One of the most important factors to consider when laser engraving on wood is the direction of the grain. To achieve the smoothest results and minimize the risk of splintering, always engrave against the grain of the wood. By aligning your engravings perpendicular to the wood grain, you’ll create cleaner lines and finer details. This technique is especially crucial when working with intricate designs or small text.
Air Assist: When to Use It and When to Turn It Off
Air assist is a crucial component of laser cutting, as it helps to prevent flames and ensures cleaner cuts. However, when it comes to engraving, air assist can actually be counterproductive. The air flow can cause soot to build up on the surface of the wood, resulting in a less precise and less attractive engraving. To avoid this issue, turn off air assist when engraving. When cutting, maintain an air pressure of 25-30 PSI for optimal results.
Mastering Photo Engraving on Wood
Photo engraving on wood can produce stunning results, but it requires careful preparation and execution. To achieve the best possible outcome, start with high-quality images and use appropriate processing software to convert them into a format suitable for laser engraving. When engraving photos, lower power settings generally yield better results, as they allow for the preservation of fine details. Certain types of wood, such as Alder, Cherry, Mahogany, and Cedar, respond particularly well to photo engravings.
Achieving Intricate Laser Cutting on Wood
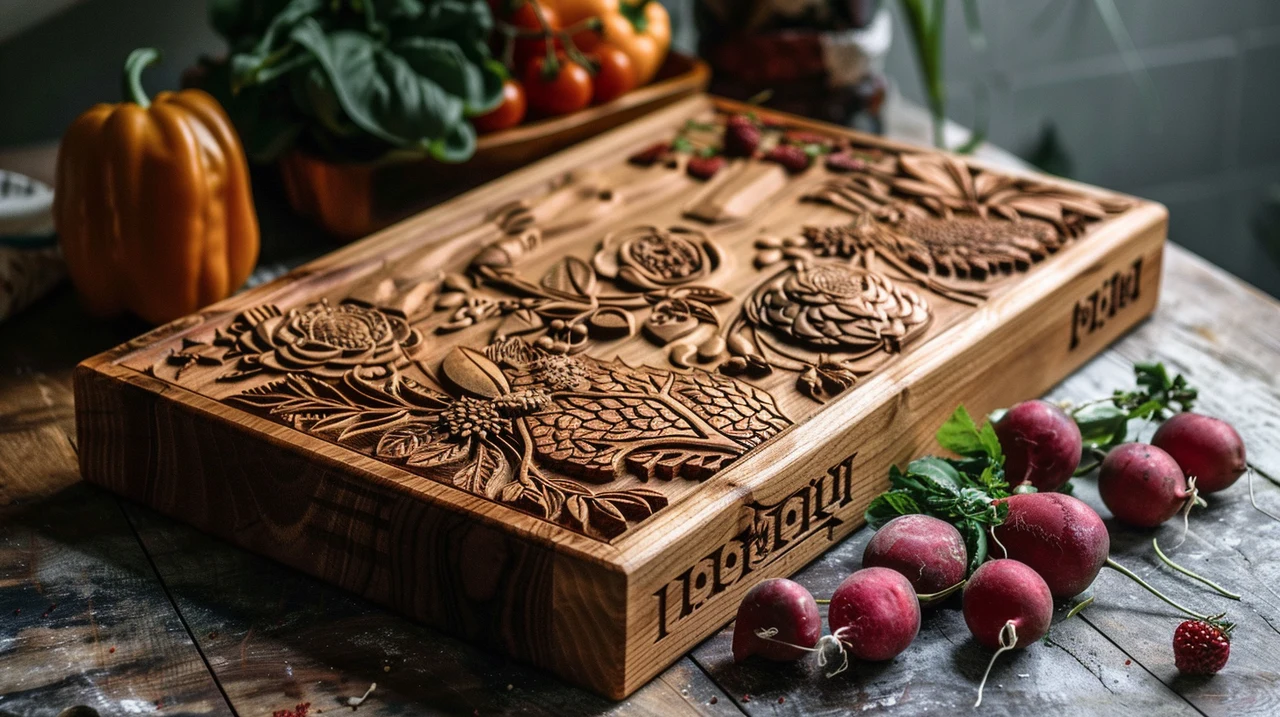
When it comes to intricate laser cutting designs on wood, the thickness of the material is a key consideration. To avoid blowouts and achieve finer details, it’s best to use thinner wood. However, if you need a thicker final product, you can layer multiple pieces of thinner wood together. This method allows you to maintain the intricacy of your design while achieving the desired thickness.

Here are some other articles you may find of interest on the subject of laser engraving machines and processes :
- Japanese CNC desktop laser engraver offers large workspace
- Boost your business with a high-powered laser engraver
- Z5 portable dual light desktop laser engraver and cutter
- LaserPecker Pro desktop laser engraver and cutter
- How to create laser engraving depth maps from AI generated
- Unleashing Speed and Precision: xTool F1 – The Ultimate Portable
Proper Wood Storage to Prevent Warping
To ensure consistent results in your laser engraving and cutting projects, it’s essential to store your wood properly. Warped wood can lead to uneven engravings and inaccurate cuts. To prevent warping, store wood flat, using heavy weights or tightly wrapped cellophane. This method helps maintain the wood’s integrity, ensuring that it remains flat and ready for use.
Achieving Darker Engravings
If you’re looking to create darker, more pronounced engravings on wood, there are a couple of techniques you can employ. One method is to slightly defocus the laser, which increases the burn area and results in a darker mark. Another approach is to use scoring techniques, which involve making multiple passes over the same area to add contrast and depth to your engravings.
Cleaning Soot and Burn Marks
Soot and burn marks are common byproducts of laser engraving and cutting on wood, but they can detract from the overall appearance of your project. To clean soot from the surface of the wood, light sanding or the use of chemicals like rubbing alcohol and methanol can be effective. To prevent flashback burn marks, which occur when the laser reflects off the material and burns the surrounding area, consider masking the wood before engraving.
Ensuring Connected Parts in Your Design
When creating designs for laser cutting, it’s crucial to ensure that all parts of your design are connected. Loose pieces can fall out or become misaligned during the cutting process, compromising the integrity of your project. Use design software to creatively join elements, ensuring structural integrity and ease of assembly.
Understanding and Adjusting for Laser Kerf
Laser kerf refers to the width of the cut made by the laser, which varies depending on the type of wood and its thickness. To ensure that interlocking parts fit correctly, it’s essential to measure and adjust for the laser’s kerf. This precision is particularly crucial for projects that require tight fits and seamless joints.
-
- Measure the laser kerf for each wood type and thickness
- Adjust your design to account for the kerf width
- Test fits on scrap wood before cutting your final project
By following these expert tips and guidelines, you can take your laser engraving and cutting projects on wood to the next level. From selecting the right materials and adjusting your techniques to properly storing your wood and cleaning your finished pieces, these insights will help you achieve superior craftsmanship and efficiency in your work. With practice and attention to detail, you’ll be creating professional-quality laser-engraved and cut wood projects in no time.
Video Credit: Laser Engraving 911
Disclosure: Some of our articles include affiliate links. If you buy something through one of these links, Geeky Gadgets may earn an affiliate commission. Learn about our Disclosure Policy.