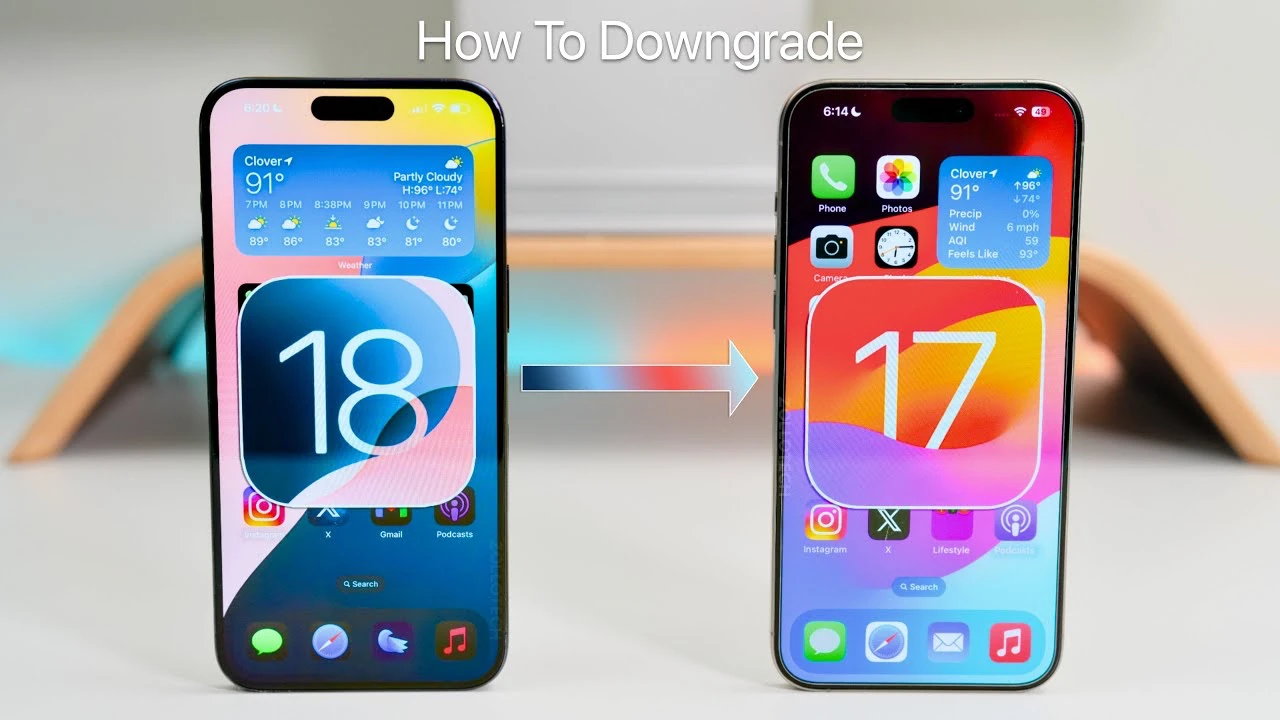
If you’ve upgraded to iOS 18 beta and are experiencing issues or simply prefer the previous version, downgrading to iOS 17 might be the solution. The video below from Zollotech will walk you through the process step-by-step, ensuring that you don’t lose any valuable data during the transition.

Preparation Steps
Before you begin the downgrade process, it’s essential to gather the necessary tools and create backups to safeguard your data. Follow these preparation steps:
- Ensure you have a compatible computer: You’ll need a Windows computer with iTunes installed or a Mac with Finder. These tools are essential for the downgrade process.
- Backup your device: Create a backup of your iPhone using either iCloud or iTunes/Finder. This crucial step ensures that you have a copy of all your important data, settings, and preferences.
- Sync critical data and apps to iCloud: In addition to creating a backup, sync your essential data, such as contacts, calendars, and important apps, to iCloud. This extra precaution ensures that your most critical information is securely stored in the cloud.
Downgrade Procedure
Once you’ve completed the preparation steps, you’re ready to begin the downgrade process. Follow these steps carefully to downgrade your iPhone from iOS 18 to iOS 17:
- Put the iPhone into recovery mode: To enter recovery mode, press and hold specific buttons on your device. The button combination varies depending on your iPhone model, so consult Apple’s official guidelines for your specific device.
- Connect the iPhone to the computer and initiate the restore process: Use iTunes on your Windows computer or Finder on your Mac to connect your iPhone. The software will detect that your device is in recovery mode and prompt you to restore it.
- Download and install iOS 17: Through iTunes or Finder, select the option to download and install iOS 17. Ensure that you have a stable internet connection to avoid any interruptions during the download and installation process.
Post-Downgrade Steps
After successfully downgrading to iOS 17, it’s time to restore your data and settings. Follow these post-downgrade steps:
- Restore data from iCloud or a previous backup: Use the backup you created earlier to restore all your data, settings, and preferences to your iPhone. This step ensures that all your important information is back on your device.
- Re-sign into third-party apps: For security reasons, you’ll need to re-sign into any third-party apps that require authentication. This step helps maintain the security of your accounts and ensures that your apps function properly.
- Verify restored data: Take some time to thoroughly check that all your data, including photos, messages, and app data, has been successfully restored. Double-check to ensure that nothing important is missing.
Troubleshooting
If you encounter any issues during the downgrade process, don’t panic. Here are some troubleshooting steps to help you navigate potential problems:
- Exiting recovery mode: If you decide not to proceed with the downgrade while your device is in recovery mode, simply restart your iPhone to exit this mode and return to the normal operating state.
- Addressing restore issues: If you experience problems while trying to restore from an iOS 18 backup file, keep in mind that data from a newer iOS version may not be fully compatible with an older version. In such cases, you may need to manually transfer some data or start fresh with iOS 17 and gradually re-sync your information.
Additional Tips
To ensure a smooth and successful downgrade process, keep these additional tips in mind:
- Keep backups up-to-date: Before starting the downgrade, double-check that all your backups are current and complete. Having the most recent data backed up prevents any unnecessary data loss during the process.
- Be patient: The restore process can take some time, depending on your internet connection speed and the size of your data. Rushing the process or interrupting it can lead to errors or data corruption, so be patient and allow the process to complete uninterrupted.
By following this comprehensive guide and taking the necessary precautions, you can successfully downgrade your iPhone from iOS 18 to iOS 17 while preserving your valuable data and settings. Remember to proceed carefully, create backups, and be patient throughout the process to ensure a smooth transition back to the stable and familiar iOS 17 environment.
Source & Image Credit: Zollotech
Disclosure: Some of our articles include affiliate links. If you buy something through one of these links, Geeky Gadgets may earn an affiliate commission. Learn about our Disclosure Policy.