
Electronic enthusiasts and makers may be interested in a new DIY stroboscope Arduino project which is being published by the official Arduino website this week. If you’re interested in making your very own, the code is available complete with circuit diagrams from the Mediafire website. Watch the demonstration video below to learn more about the project.
Project uses a PN2222A transistor to drive a 10W LED, which acts as the device’s light source and the revolutions per minute is set using a potentiometer, and a small OLED that provides feedback on the speeds.
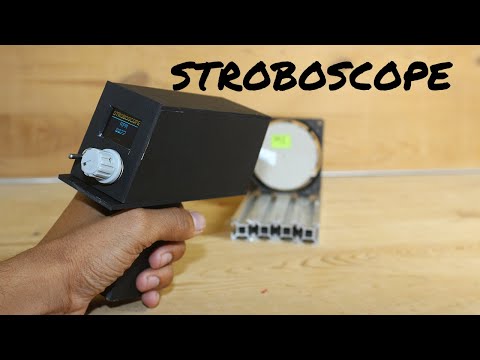
“In this video we will see how to make Stroboscope using Arduino. Stroboscope is an instrument for studying periodic motion or determining speeds of rotation by shining a bright light at intervals so that a moving or rotating object appears stationary.”
Components and Circuit Design
The core components of this project include an Arduino board, a PN2222A transistor, a 10W LED, a potentiometer, and a small OLED display. The PN2222A transistor is crucial as it amplifies the current to drive the high-power LED. The potentiometer allows users to adjust the frequency of the strobe light, which is essential for matching the speed of the rotating object being observed. The OLED display provides real-time feedback on the strobe frequency, making it easier to fine-tune the settings.
The circuit design is relatively straightforward. The LED is connected to the collector of the PN2222A transistor, while the emitter is connected to the ground. The base of the transistor is connected to one of the PWM pins on the Arduino through a current-limiting resistor. The potentiometer is connected to an analog input pin on the Arduino, and the OLED display is connected via I2C communication.
Applications and Benefits
Stroboscopes have a wide range of applications in both industrial and educational settings. In industrial environments, they are used for inspecting rotating machinery, such as motors and turbines, to ensure they are operating correctly. By making the rotating parts appear stationary, technicians can easily identify any defects or imbalances.
In educational settings, stroboscopes are valuable tools for teaching principles of motion and frequency. Physics students, for example, can use stroboscopes to study harmonic motion, waveforms, and rotational dynamics. The DIY nature of this project also makes it an excellent hands-on learning experience for students and hobbyists alike.
Moreover, the project is highly customizable. For instance, you can replace the 10W LED with a different light source if you need a brighter or dimmer strobe. You can also modify the code to include additional features, such as automatic frequency adjustment based on sensor input.
Jump over to the official Arduino blog for more details. If you enjoyed this article, you are sure to enjoy how to build your very own Arduino wind speed meter or anemometer project which is easy to build with basic Arduino skills.
Source: AB
Disclosure: Some of our articles include affiliate links. If you buy something through one of these links, Geeky Gadgets may earn an affiliate commission. Learn about our Disclosure Policy.