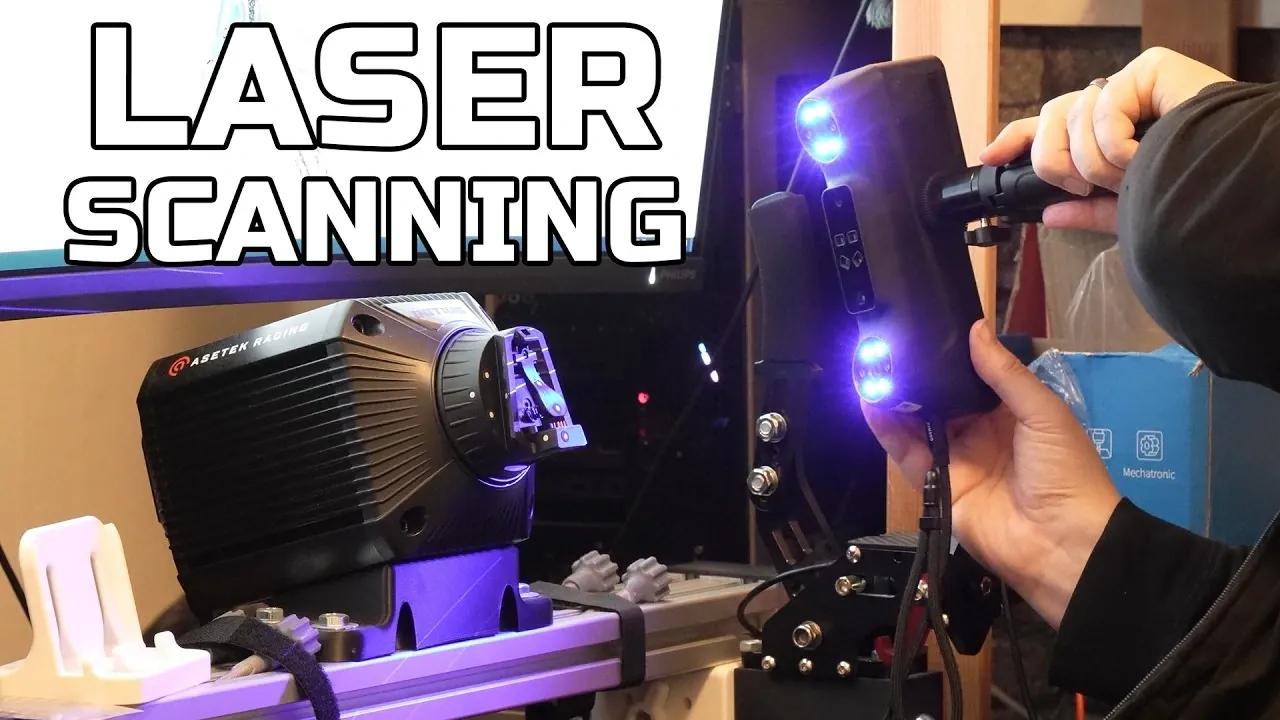
A custom cover for a sim racing wheel hub starts with a 3D scan of the exposed mount and ends with a printed part designed to protect its pins and mounting surface. The finished cover locks onto the hub, although its spring-loaded tab still needs a retaining feature. The sponsored project comes from TechteamGB, who kept the scanner without payment.
Follow the guide to see how tracking markers and blue laser scanning capture the hub’s dovetails and pin area, then how the resulting mesh is trimmed and simplified for CAD. You can also examine the cover and snap-in catch, including the clearance adjustments needed for a fit and the unresolved tab retention.
Elegoo M1 Ultra 3D Scanner
TL;DR Key Takeaways :
- The M1 Ultra has three scanning modes: infrared and two blue laser options, one marker-free and one using markers. For accurate measurements, a blue laser mode is probably preferable.
- The wheel hub was scanned in blue laser marker mode at 0.1 mm real-time resolution using seven parallel lines. Tracking markers are recommended where possible for better results and easier scanning.
- The scan took about 10 minutes in the confined rig. A system with an NVIDIA 3060 Ti reached 30 FPS, compared with 10 FPS on a non-NVIDIA system.
- The point cloud was trimmed and processed into a mesh, then reduced from 9 million to 900,000 triangles so the CAD program could handle it.
- The cover and snap-in catch were modelled in Fusion 360. The cover locks in place, but the locking tab still needs to be retained before the spring can be used.
Choosing a Scanning Mode
The sim rig serves both driving and flying games. Its quick-attach mounts allow flight controls and a handbrake to be swapped in, and a shifter is also planned. When the wheel is removed, it hangs on a hook, leaving the hub exposed.
The Elegoo M1 Ultra, the company’s first 3D scanner, offers three scanning modes: infrared and two blue laser options, one marker-free and one using markers. Infrared produces a texture-mapped scan and could be the easiest mode. It could be used to make a color figurine from a scan of a person. For truly accurate measurements, one of the blue laser modes is probably preferable.
The scanner includes tracking markers, which are recommended where possible for better results and an easier scan. Applying and removing the dots is tedious, especially when they are placed around the object as well as on it.
For the wheel mount, markers went on the bottom, the sides of the rings, each dovetail face and the sides of the pin mounting area. The aim was to cover as many positions and faces as reasonably practical, so the scanner could see at least a couple of markers.
Scanning the Wheel Hub
In blue laser marker mode, the project used a standard field of view for detail and point cloud mode, the best-resolution option for that setup. Real-time resolution was set to 0.1 mm, the scanner’s best setting, and the laser mode to seven parallel lines.
Fewer laser lines collect more data, but the seven-line setting worked well enough for this scan. Marker mode can also map color. That was unnecessary here because the scan would not be printed directly, and a filament color could be chosen for the black-and-gray part.
The scan took about 10 minutes. The wheelbase was attached to a rig tucked into a corner, so scanning had to be done from inside the rig, with little room to move the scanner. Even so, the initial scan captured a detailed front view in under a minute. The whole job could have taken one or two minutes without the effort to capture every angle, particularly around the dovetails and pins.
The scanner stops collecting data when it loses track and resumes once tracking returns, a behavior that worked particularly well in marker mode. A fast system is also recommended, particularly one with an NVIDIA GPU or an M-series Mac. A 3060 Ti system reached 30 FPS, making scanning easier than the 10 FPS obtained on a non-NVIDIA system.

Enhance your knowledge on Elegoo 3D scanners and printers by exploring a selection of articles and guides on the subject.
- New Elegoo M1 Ultra 3D Scanner Offers 0.02mm Accuracy for $1,599
- ELEGOO OrangeStorm Giga large volume 3D printer
Preparing the Mesh for CAD
After scanning, the point cloud was trimmed to keep the dovetails and spindle, along with the full snout of the hub. The extrusion, custom motor mounts and wheelbase front plate were deleted because the cap did not need them.
The scanner’s one-click processing converted the remaining scan into a mesh. Hole filling and smoothing cleaned it up, followed by simplification and export. If you only want to replicate and print a scanned object, you can proceed after processing. A part that must fit the object needs further CAD work.
The first mesh contained 9 million triangles, more detail than the project needed. After an initial export, it was reduced to 10% of its polygon count: 900,000 triangles in a 44 MB file that the CAD program could handle. That was still more than appeared necessary, and a reduction to 5% or lower might have worked.
Modelling and Locking the Cover
The cap was designed in Fusion 360. Working with this type of mesh requires opening a hybrid file and then importing it. The scanned dovetails also needed alignment to a useful angle before modelling could begin.
The back plate was refined and extruded past the dovetails and spring pin. Using 3D sketch, the dovetail shapes were drawn and cut out with clearance, then adjusted until the cap had two dovetails. The inner side of the mount was traced and extruded to form the covered area, while fillets rounded the outside and some dovetail edges.
The hub’s existing latch location then guided a snap-in catch that rotates on a pivot and can be pushed to lock or unlock. A hole was added for a spring, but the locking tab still needs to be captured so it cannot flip out and let the spring fall out. The design took a couple of revisions, particularly to get the tabs’ spring thickness right.
A scanned object can be printed after mesh processing, while a part designed to fit it needs further CAD work. For the wheel hub, the mesh was reduced to 900,000 triangles before the cover and snap-in catch were modelled in Fusion 360. The cover locks in place, but the locking tab still needs to be retained before the spring can be used.
Media Credit: TechteamGB
Disclosure: Some of our articles include affiliate links. If you buy something through one of these links, Geeky Gadgets may earn an affiliate commission. Learn about our Disclosure Policy.
