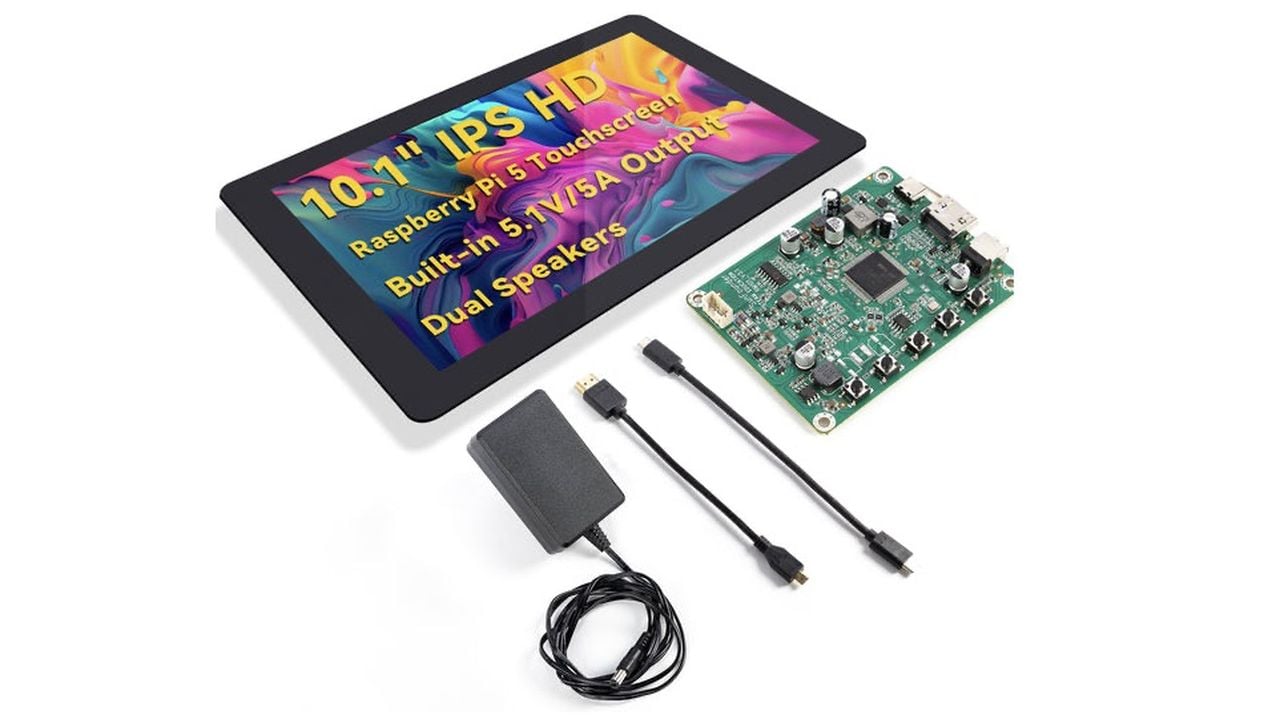
When SunFounder sent me their latest 10.1-inch IPS touchscreen designed for the Raspberry Pi 5, I was curious to see how it compared to the smaller screens I’ve used before. What really caught my attention was that this isn’t just another HDMI monitor—it’s specifically built to power and integrate with the Pi 5, including a USB-C PD 5.1V/5A output. That means it can deliver enough current to run the Pi 5 directly from the display itself, simplifying setup dramatically. Priced at around £110 depending on your location and exchange rates the screen offers excellent value for money.
Over the past few weeks, I’ve been testing the SunFounder 10.1″ DIY Touch Screen with my Raspberry Pi 5, Pi 4, and even a handful of other single-board computers and host devices. Also supports Pi 4/3B+/3B/Zero 2W/400. SunFounder packs the screen with plenty of accessories, and once I laid them all out, it was clear this kit was designed with flexibility in mind.
SunFounder Touchscreen Overview
TL;DR Key Takeaways :
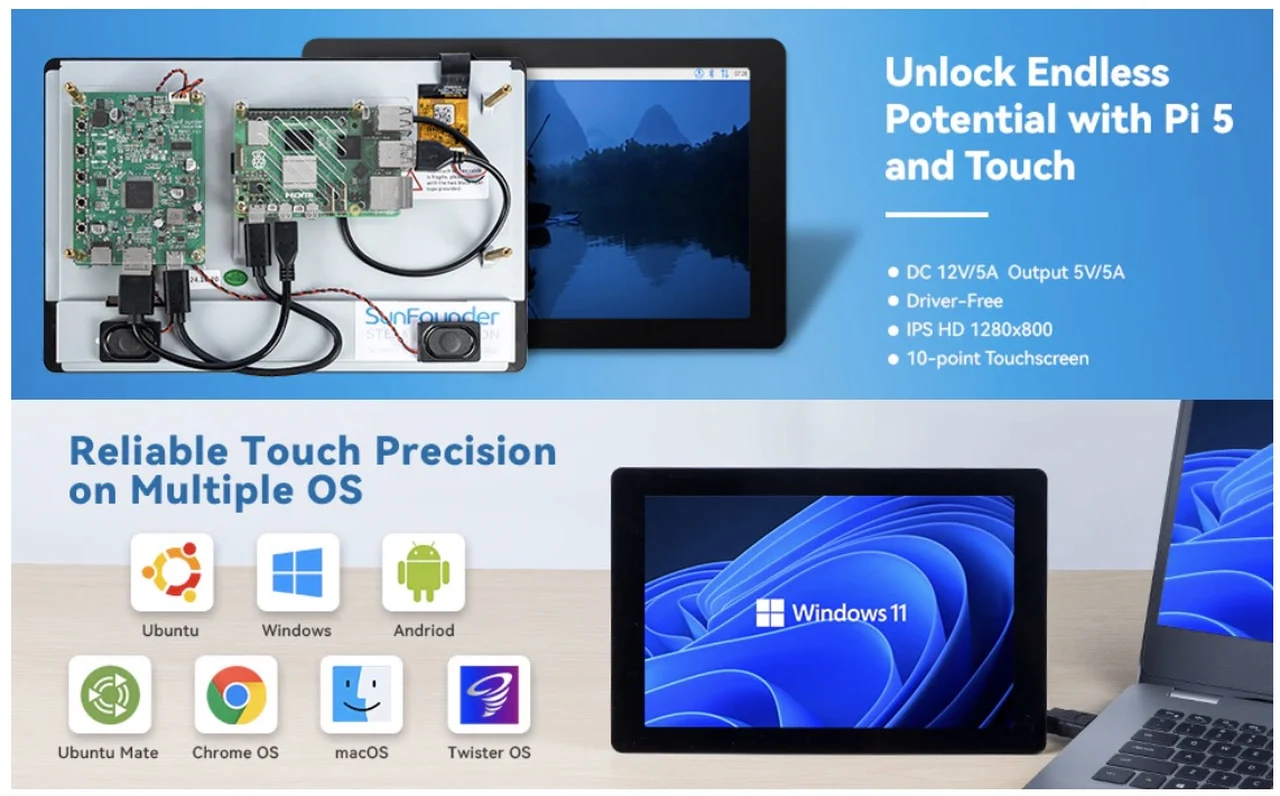
- The SunFounder 10.1-inch DIY Touch Screen features a high-definition IPS display with a 1280×800 resolution, 16:10 aspect ratio, and 178° wide viewing angle, making sure sharp visuals and vibrant colors.
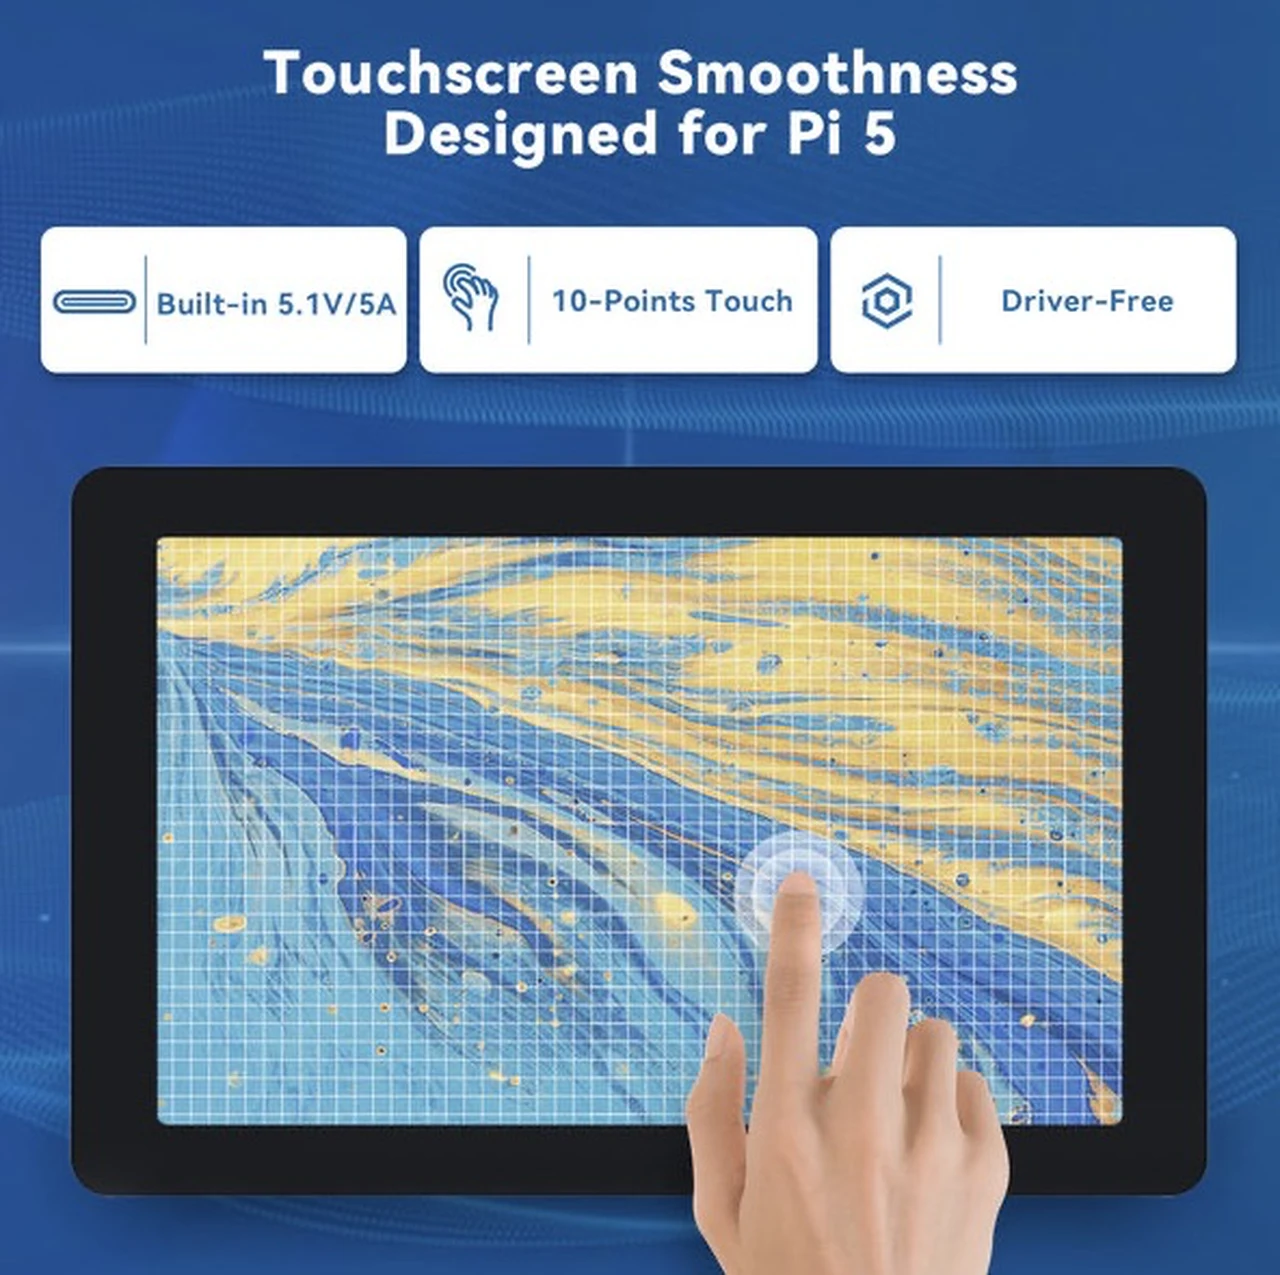
- It offers a 10-point capacitive touch system for precise and smooth interaction, along with plug-and-play compatibility across multiple operating systems like Raspberry Pi OS, Windows, Ubuntu, and Android.
- Equipped with USB-C PD 5.1V/5A output, HDMI, and USB ports, the screen can power devices like Raspberry Pi 5 and supports seamless video and touch connectivity.
- Designed for DIY customization, it supports wall mounting, desktop use, and creative projects like smart mirrors, retro gaming setups, and robotics, with additional 3D design resources provided by SunFounder.
- While it excels in versatility and performance, limitations include basic built-in audio quality, lack of macOS touch support, and challenging SD card access when mounted with a Raspberry Pi.
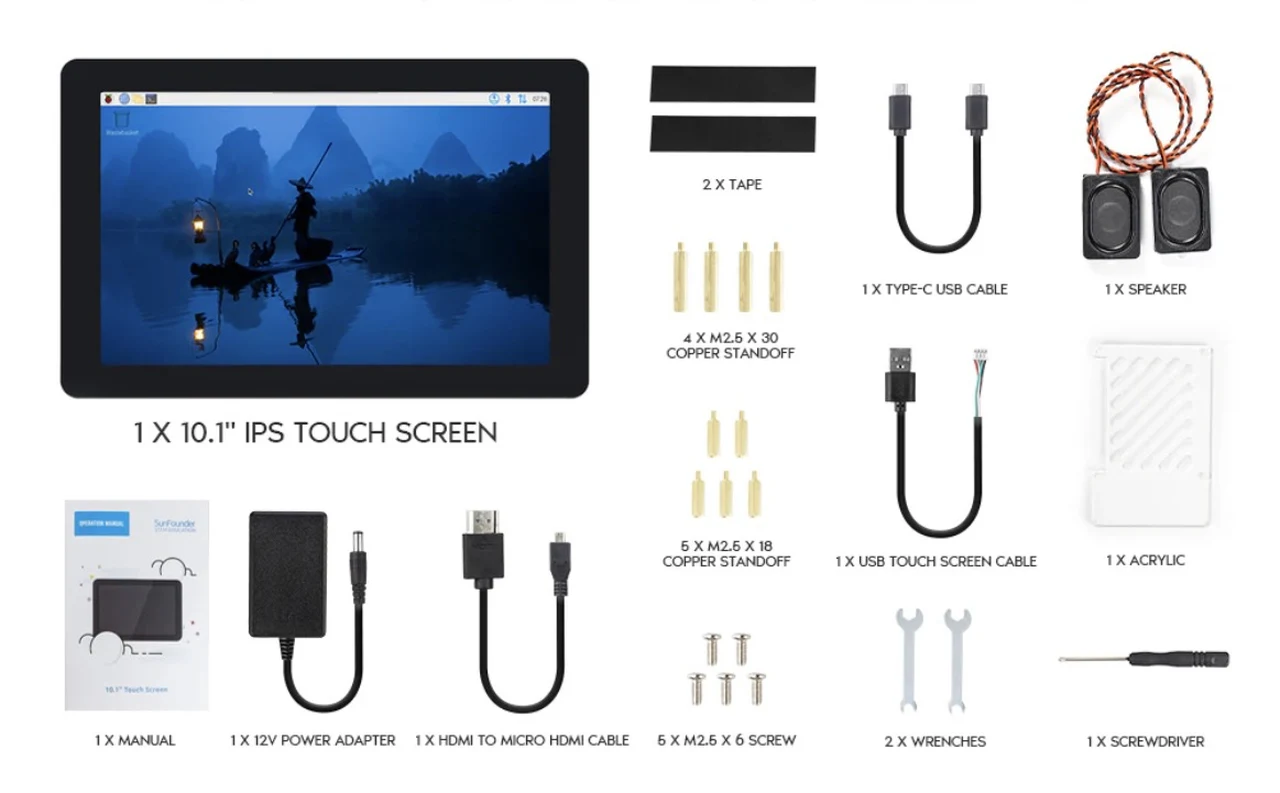
Inside the box, I found:
- 1 × 10.1-inch IPS Touch Screen (1280×800 resolution, 16:10 ratio)
- 1 × 12V/5A power adapter (60W)
- 1 × HDMI to micro-HDMI cable
- 1 × USB Type-C cable
- 1 × USB touchscreen cable (to enable touch input)
- 2 × speakers
- 1 × acrylic cover
- Various screws, copper standoffs, and tape
- 2 × mini wrenches
- 1 × screwdriver
- Printed manual
It’s a very complete package. The inclusion of speakers, a protective cover for the Pi, and even the little wrenches shows SunFounder thought about giving makers everything they’d need to get going without rummaging through spare parts bins.
Build Quality and Design
The display itself feels solid, with a matte black bezel and a bright IPS panel that offers a 178° wide viewing angle. The touch response is capacitive, supporting 10-point multitouch, and the overall finish is far better than some of the cheaper bare-panel kits I’ve used in the past.
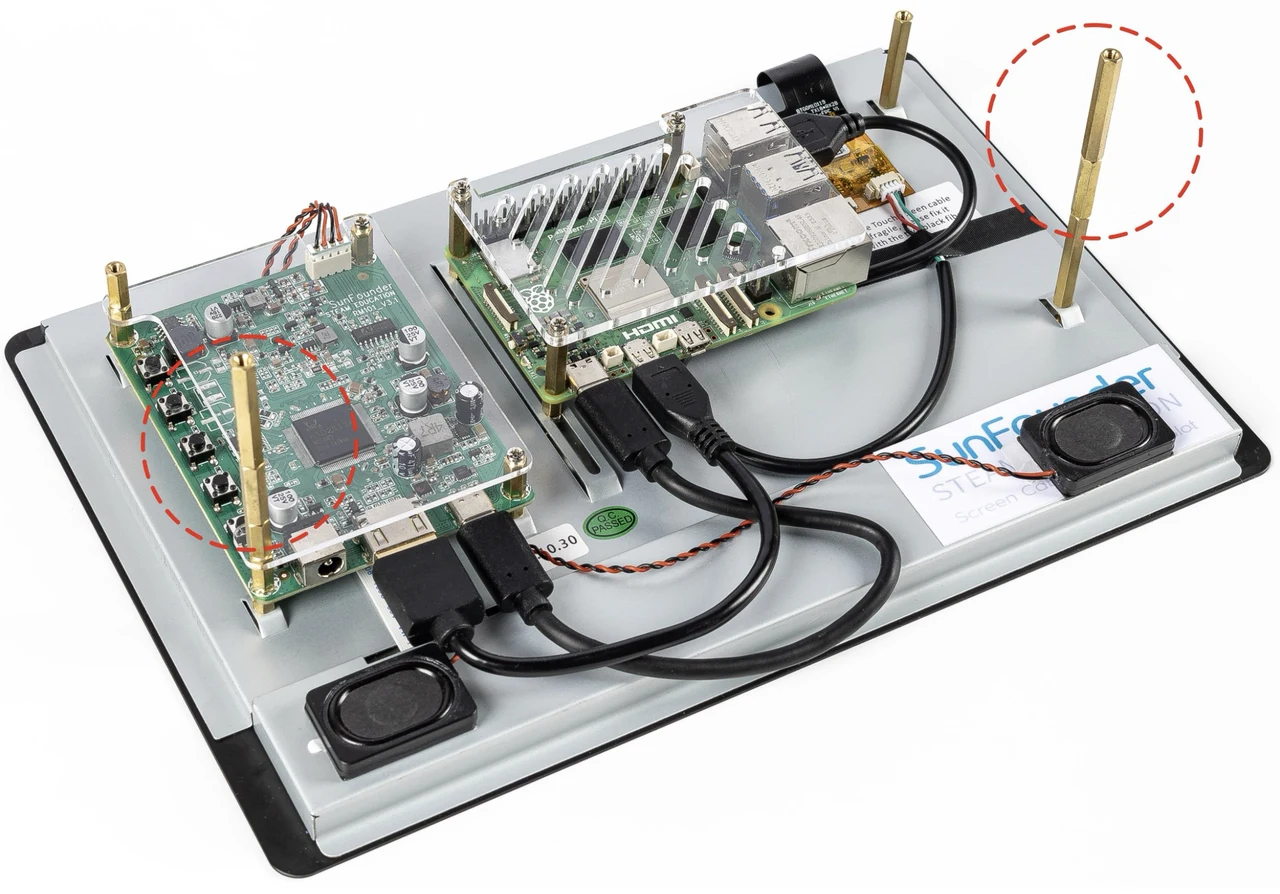
Around the back, things get more interesting. There are adjustable copper standoffs designed to hold a range of single-board computers directly to the screen. For the Raspberry Pi 5, I was able to mount it securely while still keeping the active cooler in place. That’s a big plus, because thermal management on the Pi 5 is essential.
There’s also a small daughterboard at the back that manages HDMI input, USB touch input, and the power distribution. It’s neat, compact, and keeps cable routing relatively straightforward.
Setup with Raspberry Pi 5
Mounting the Pi 5 was quick. I attached three standoffs to align the board, then connected the following cables:
- USB-C cable from the screen’s power output to the Pi 5’s power port
- HDMI cable from the screen’s input to the Pi’s micro-HDMI port
- USB touchscreen cable from the screen to one of the Pi’s USB ports
The fact that the screen can power the Pi 5 directly is a game changer. I didn’t need to run a separate USB-C power supply for the board, which reduces clutter and ensures everything powers up in sync.
Once everything was connected, I plugged in the included 12V/5A barrel jack adapter, pressed the power switch, and the screen and Pi came to life together. No extra drivers, no calibration—the touchscreen worked immediately under Raspberry Pi OS. You can even create a quick stand using the provided stand offs as shown below. For more specs and a 3D print case you can download jump over to Sunfounder.
Display Quality
The 1280×800 IPS panel isn’t 1080p, but at 10.1 inches, the pixel density is more than acceptable. Text is sharp, colors are vibrant, and viewing angles are excellent. I tried it both on a desk and wall-mounted, and it remains legible even in bright daylight conditions.
For coding, browsing, and light media playback, it’s perfectly adequate. When I played videos on YouTube, the screen was crisp and smooth. Of course, this isn’t a gaming monitor, but for a maker’s project screen, it strikes a nice balance between resolution and performance.
Touch Experience
One of the strongest aspects of this display is the plug-and-play 10-point touch support. I didn’t need to calibrate or configure anything—the touchscreen was recognized instantly on Raspberry Pi OS, Ubuntu, and even Android builds running on the Pi.
Swiping through menus, pinching to zoom, and tapping buttons all felt accurate and responsive. In fact, I loaded up Cut the Rope just to test gaming responsiveness, and it worked flawlessly.
Audio Performance
The included dual speakers are a nice addition. They attach magnetically, which is convenient, though I ended up placing them at the front for clearer sound projection. The audio is serviceable—fine for system sounds, YouTube videos, or background music, but don’t expect deep bass.
The volume is surprisingly high for such small speakers, and there are physical buttons on the back of the display to adjust levels quickly. For better sound, I’d recommend pairing with Bluetooth speakers or wired headphones, but it’s still great that SunFounder included them.
Compatibility with Other Boards and Devices
One of the standout features of this screen is its broad compatibility. According to SunFounder’s chart (and confirmed by my tests), it works with:
- Raspberry Pi 5, 4, 3B/B+, 400, Zero 2W
- Libre Computer AML-S905X-CC
- Nvidia Jetson Nano
- Rock Pi, Odroid, Orange Pi, LattePanda, Banana Pi, Asus Tinker Board
- Standard laptops, MacBooks (with USB-C to HDMI adapter), and even game consoles like Xbox and Nintendo Switch
In most cases, it’s plug-and-play, though a few boards (like LattePanda Delta 432 and Rock Pi N10) require external power. The versatility makes it more than just a Raspberry Pi screen—it’s a general-purpose HDMI touchscreen monitor.
I tested it with my MacBook using an HDMI-to-USB-C adapter. As expected, macOS doesn’t support touch input, but the screen worked perfectly as a secondary display. I also tested Android desktop mode from a phone, and it mirrored smoothly with working touch control.
Real-World Use Cases
Over the course of testing, I tried several setups:
- Smart Home Dashboard – Mounted on the wall with Home Assistant running on the Pi 5. The touchscreen responsiveness made it ideal for quick lighting and media controls.
- RetroPie Console – Paired with a Pi 4, I ran Sega Dreamcast games like Sega Rally. The games looked vibrant, and touch could be used in emulation menus.
- Dual Monitor Setup – Connected to my main PC as a secondary display for monitoring system stats while gaming.
- Portable Linux Terminal – With the Pi 5 and an NVMe drive, I booted into KDE Plasma. The touchscreen worked perfectly for navigation.
Each scenario highlighted just how versatile this display is. Whether as a project screen, a portable Linux workstation, or even a DIY smart mirror, it fits right in.
Power Delivery and Expansion
The real highlight for me was the built-in 5.1V/5A USB-C PD output. This is enough to power not just the Pi 5 itself, but also additional peripherals like an NVMe drive.
I tested this by attaching an NVMe adapter to the Pi 5, and the display handled powering both the board and the drive without issue. For makers who want a clean, single-supply setup, this is a huge advantage.
Considerations
No product is perfect, and there are a couple of limitations worth mentioning:
- Resolution – 1280×800 is fine, but a 1080p option would have been even better for productivity
- Speakers – While loud, they’re basic. Fine for casual use, but not for serious media playback
- Cable Lengths – Some of the included cables are a little short. I found myself wanting a longer HDMI lead depending on the setup
- SD Card Access – Once the Pi is mounted at the back, removing and inserting the microSD card is fiddly. Tweezers help, but it’s not as convenient as an exposed slot
These aren’t dealbreakers, but they’re worth keeping in mind.
Conclusion
After using the SunFounder 10.1-inch DIY Touch Screen extensively, I can confidently say it’s one of the best Raspberry Pi-focused displays I’ve tried. The combination of a bright IPS panel, excellent touch support, broad compatibility, and integrated USB-C PD output for powering the Pi 5 makes it an incredibly practical all-in-one solution. Whether you’re building a smart home hub, a retro gaming station, or just need a portable Pi workstation, this screen is up to the task.
For around the cost of a decent standalone monitor, you get a purpose-built kit complete with speakers, standoffs, cover, and all necessary cables. If you own a Raspberry Pi 5 and want a screen that just works with minimal hassle, this is a fantastic choice.
Final Verdict: Highly recommended for Raspberry Pi enthusiasts and makers looking for a versatile, plug-and-play touchscreen solution. SunFounder Latest 10 Inch DIY Touch Screen
Disclosure: Some of our articles include affiliate links. If you buy something through one of these links, Geeky Gadgets may earn an affiliate commission. Learn about our Disclosure Policy.