Activating an eSIM on your iPhone is a straightforward process that enhances your ability to manage cellular services without relying on a physical SIM card. Whether you’re transferring an existing number or adding a new plan, understanding the setup process ensures a seamless experience. The video below from Apple outlines the essential steps and considerations to help you activate your eSIM efficiently.

Key Preparations Before Activating eSIM
Before proceeding with eSIM activation, it’s important to verify a few critical factors to avoid potential issues:
- Device Compatibility: eSIM functionality is available on iPhone models starting from the iPhone XS, XS Max, and XR. All subsequent models, including the latest releases, support this feature.
- Carrier Support: Not all carriers provide eSIM services. Confirm with your carrier that eSIM activation is supported for your plan and region.
- iOS Version: Ensure your iPhone is running the latest iOS version. Regular updates often include enhancements for eSIM functionality and improved compatibility.
- Wi-Fi Connection: A stable Wi-Fi connection may be required during certain activation steps, particularly when downloading carrier settings or transferring data.
Taking these steps ensures that your device and carrier are ready for eSIM activation, minimizing potential delays or errors.
Methods to Activate Your eSIM
There are three primary methods to activate an eSIM on your iPhone, each tailored to different scenarios. Choose the method that best suits your situation:
- Quick Transfer: This method is ideal if you’re transferring a phone number from another iPhone. Ensure both devices are nearby, connected to Wi-Fi, and running the latest iOS version. Follow the on-screen instructions during setup to wirelessly transfer your number. Note that your carrier must support this feature for it to work.
- Carrier Activation: Some carriers pre-assign an eSIM to your iPhone. In such cases, the eSIM activates automatically during the initial device setup or after a factory reset. Simply follow the prompts displayed on your screen when turning on your iPhone.
- QR Code Activation: Many carriers provide a QR code for eSIM activation. To use this method, navigate to Settings > Cellular > Add Cellular Plan, and scan the QR code using your iPhone’s camera. Once scanned, the eSIM will activate within moments.
Each method is designed to simplify the process, making sure that users can activate their eSIM with minimal effort.
Adding an eSIM After Initial Setup
If you need to add an eSIM after completing your iPhone’s initial setup, the process remains user-friendly. Navigate to Settings > Cellular > Add Cellular Plan. From this menu, you can select your preferred activation method, such as transferring from a nearby device or scanning a QR code provided by your carrier.
This feature is particularly beneficial for Dual SIM iPhones, which allow you to manage two phone numbers on a single device. For instance, you can use one line for personal calls and another for work-related communication, streamlining your connectivity needs.
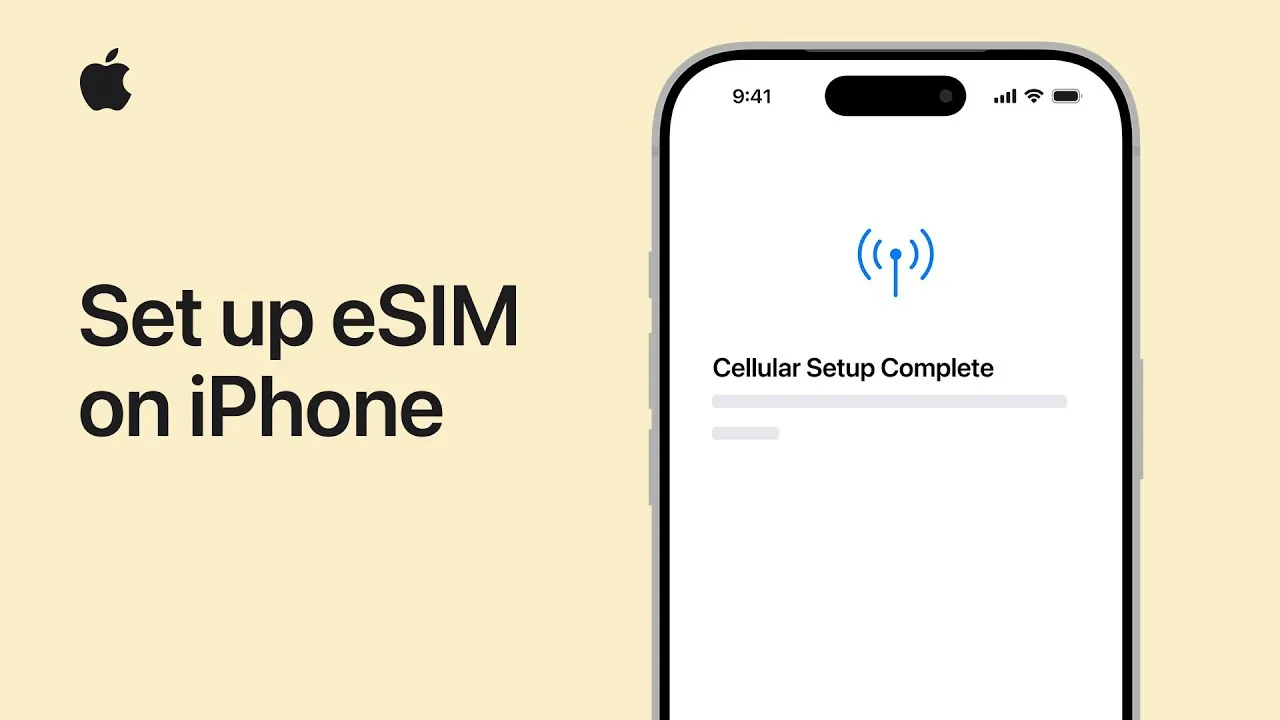
Verifying Successful eSIM Activation
After completing the activation process, confirm that your eSIM is functioning correctly by checking the signal strength icon in the upper-right corner of your screen. This icon indicates that your cellular service is active and ready for use.
For iPhones with Dual SIM functionality, you can assign labels to each line, such as “Personal” or “Work,” to distinguish between the two. These labels can be customized in the Cellular settings, allowing for easier management of your phone numbers. Additional options, such as setting a default line for calls or data usage, are also available to enhance your experience.
Regional and Carrier-Specific Considerations
It’s essential to recognize that eSIM features and activation methods may vary depending on your region and carrier. Some countries or providers may not support specific eSIM functionalities, and certain features, such as Dual SIM capabilities, might be restricted.
To avoid complications, consult your carrier to understand any regional limitations or specific requirements. This step is particularly important if you frequently travel internationally or plan to use your eSIM in multiple regions.
Streamlining Your Cellular Experience
Setting up an eSIM on your iPhone offers a modern and convenient way to manage your cellular service. By making sure your device is compatible, updating to the latest iOS version, and selecting the appropriate activation method, you can enable eSIM functionality with ease. Whether you’re transferring an existing number or adding a new plan, the process is designed to be intuitive and efficient.
For the best results, always verify your carrier’s requirements and regional support for eSIM services. With proper preparation and attention to detail, you can enjoy the flexibility and convenience that eSIM technology brings to your iPhone.
Here are additional guides from our expansive article library that you may find useful on eSIM Setup.
- How to Transfer eSIM to New iPhone (Easy Steps!)
- How to Activate an eSIM on Your iPhone
- Step-by-Step Guide to Seamlessly Transfer Data to iPhone 17
- How to Activate an iPad eSIM
- How to set up iPhone dual SIM cards
Source & Image Credit: Apple Support
Disclosure: Some of our articles include affiliate links. If you buy something through one of these links, Geeky Gadgets may earn an affiliate commission. Learn about our Disclosure Policy.