Keeping your Apple ID email current is a crucial step in maintaining the security and functionality of your Apple account. Whether your email is outdated, compromised, or no longer accessible, updating it ensures uninterrupted access to Apple services and protects your personal information. The awesome video below from Daniel About Tech provides a detailed walkthrough to help you update your Apple ID email while preserving your data and ensuring seamless integration with Apple’s ecosystem.

Why Updating Your Apple ID Email Matters
Your Apple ID email serves as the central hub for your Apple account. It is used to sign in to devices, access services like iCloud, iMessage, and FaceTime, and manage your account settings. If your email is no longer secure or accessible, it can leave your account vulnerable to unauthorized access and disrupt your Apple experience. By updating your email, you safeguard your account and ensure that all Apple services remain fully functional.
Additionally, an updated email ensures you receive important notifications, such as account activity alerts, billing updates, and security warnings. Neglecting to update your email could result in missed communications that are essential for managing your account effectively.
Steps to Update Your Apple ID Email
Changing your Apple ID email is a straightforward process that can be completed directly from your Apple device. Follow these steps to ensure a smooth transition:
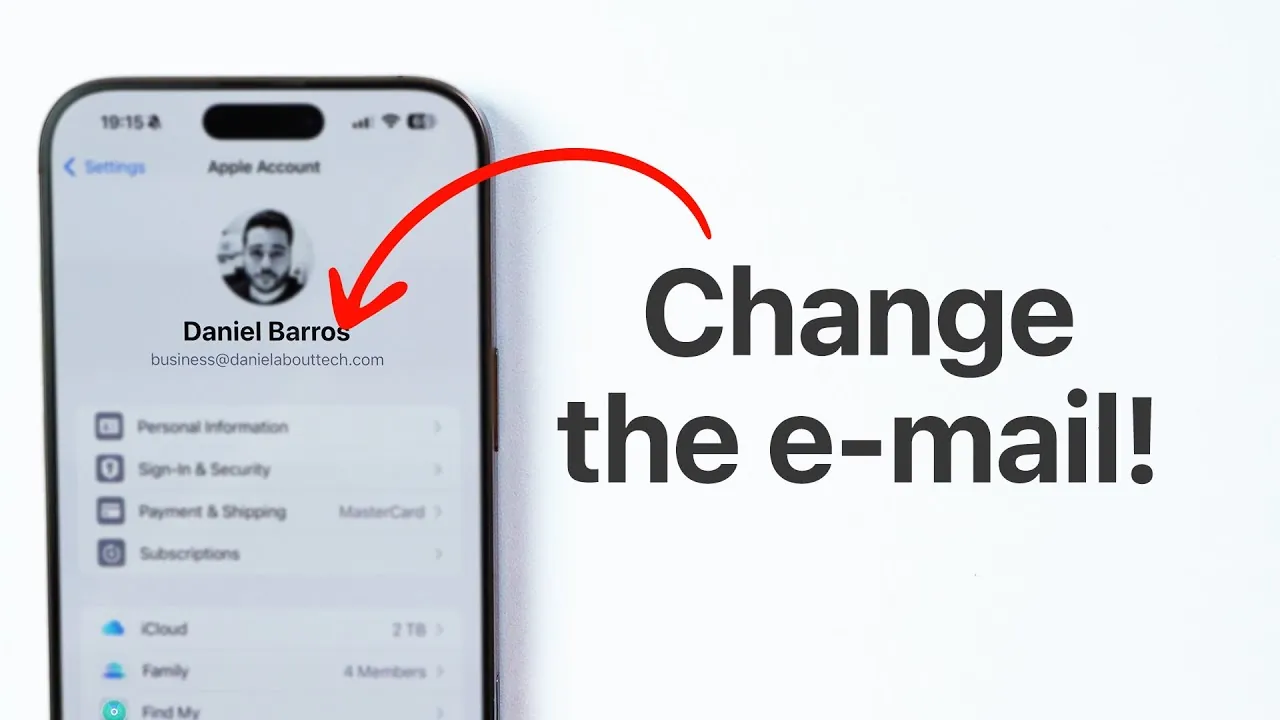
- Access Apple ID Settings: Open the Settings app on your Apple device. Tap your name at the top of the screen to enter your Apple ID settings. This section allows you to manage account details, including your email address and security preferences.
- Locate the Email Option: Within the “Sign-In and Security” section, find the “Apple ID” option. Tap it to view your current primary email address.
- Modify the Email Address: Select your current email to initiate the update process. You can either replace it entirely or add a new email as the primary address.
It is important to ensure that the new email address you choose is one you actively use and can access, as it will become the primary point of contact for your Apple account.
Adding and Verifying a New Email
Once you’ve initiated the process to update your email, you’ll need to verify the new address to complete the change. Follow these steps to add and confirm your new email:
- Enter the new email address in the designated field.
- Apple will send a verification code to the new email address. Check your inbox for this code.
- Input the verification code into the appropriate field on your device to confirm ownership of the new email.
This verification process is essential to ensure that the email address is valid and functional. Without completing this step, the update cannot be finalized.
Making sure Seamless Service Integration
After verifying your new email, Apple will automatically integrate it with all associated services, including iMessage, FaceTime, and iCloud. To confirm the update, navigate to the settings for these services and check that the new email is listed as the primary contact. This ensures that communication and functionality across your devices remain uninterrupted.
If you encounter any issues, such as services not recognizing the updated email, restarting your device or signing out and back into your Apple ID can often resolve the problem.
Preserving Your Data and Purchases
One of the advantages of Apple’s ecosystem is its ability to maintain data continuity during account changes. Updating your Apple ID email will not affect your stored data, app purchases, or passwords. However, it is always a good practice to back up your device before making significant account changes. This precaution ensures that your data remains safe in the unlikely event of an issue during the update process.
To back up your device, you can use iCloud or connect your device to a computer and create a backup through iTunes or Finder. Having a recent backup provides peace of mind and an extra layer of security for your personal information.
Enhancing Account Security
Updating your Apple ID email is also an excellent opportunity to review and strengthen your account’s security settings. Consider allowing two-factor authentication if it is not already active. This feature adds an extra layer of protection by requiring a verification code in addition to your password when signing in to your account.
To enable two-factor authentication, go to your Apple ID settings, select “Password & Security,” and follow the prompts to activate this feature. By doing so, you ensure that only you can access your account, even if someone else obtains your password.
Additionally, take a moment to review your account recovery options, such as trusted phone numbers and backup email addresses. Keeping these details up-to-date ensures you can regain access to your account in case of an issue.
Maintaining a Secure and Functional Apple Ecosystem
Changing your Apple ID email is a simple yet essential step to protect your account and maintain seamless access to Apple services. By following the outlined steps, you can update your email without disrupting your data or purchases. Regularly reviewing and updating your account settings, including your email and security preferences, ensures that your Apple ecosystem remains secure, efficient, and up-to-date.
Taking proactive measures to manage your Apple ID not only enhances your account’s security but also ensures a smooth and uninterrupted experience across all your Apple devices and services.
Here is a selection of other guides from our extensive library of content that you may find of interest on Apple ID email update.
- Apple Account Sign-In Guide for iPhone, Mac, and Web
- How to Create a New Apple ID for Your iPhone or iPad
- How to Create a New Apple ID: Step-by-Step Guide
- How to access Apple iCloud mail from a web browser
- NEW iPhone SCAM ALERT! (How to Protect Yourself!)
Source & Image Credit: Daniel About Tech
Disclosure: Some of our articles include affiliate links. If you buy something through one of these links, Geeky Gadgets may earn an affiliate commission. Learn about our Disclosure Policy.