Have you ever opened your Mac terminal and felt overwhelmed by its stark, utilitarian interface? While the default setup gets the job done, it often feels like stepping into a dimly lit workshop when you could be working in a sleek, customized studio. Here’s the good news: your terminal doesn’t have to be dull or difficult to use. With the right tweaks and tools, you can transform it into a workspace that’s not only visually stunning but also tailored to your unique workflow. From vibrant color schemes to advanced utilities, a few strategic upgrades can turn your terminal into a powerhouse of productivity, and yes, it can even be fun to use.
In this setup guide, DevOps Toolbox explain how to customise and unlock the full potential of your Mac terminal (CLI). You’ll discover how to choose the perfect terminal emulator, optimize your shell for maximum efficiency, and integrate tools that simplify even the most complex tasks. Whether you’re a seasoned developer or a curious beginner, these strategies will help you create a terminal setup that’s as functional as it is beautiful. Along the way, we’ll introduce you to essential utilities like FZF and Starship, as well as tips for mastering navigation and session management. By the end, you’ll not only have a terminal that works smarter but one that feels uniquely yours, a space where productivity meets creativity.
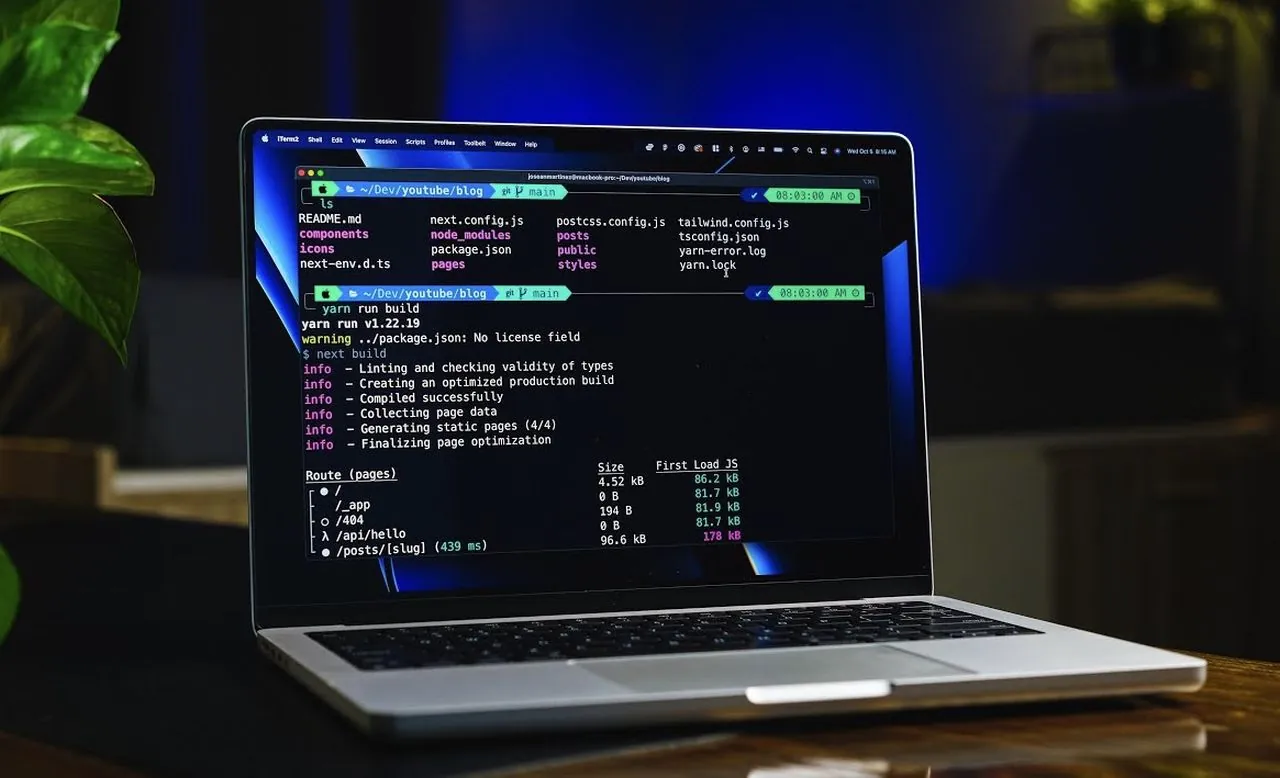
Mac Terminal Customization Guide
TL;DR Key Takeaways :
- Choose a modern terminal emulator like iTerm2, Warp, or Kitty for advanced features, better performance, and extensive customization options, including color schemes and developer-friendly fonts.
- Optimize your shell by selecting tools like ZSH, Fish, or Nushell, and consider allowing VI mode for efficient text navigation and editing.
- Use terminal multiplexers such as Tmux or Zellij to manage multiple sessions seamlessly, allowing multitasking and organized workflows.
- Customize your shell prompt with tools like Starship, Oh My ZSH, or Powerlevel10k to display critical information and enhance both functionality and aesthetics.
- Integrate essential utilities like Eza/Exa, FZF, Zoxide, and Atuin to streamline navigation, automate tasks, and improve overall terminal efficiency.
1: Choose the Right Terminal Emulator
The terminal emulator serves as the foundation of your setup. While the default macOS Terminal is functional, modern alternatives like iTerm2, Warp, or Kitty provide advanced features, improved performance, and extensive customization options. These emulators allow you to create a more visually appealing and user-friendly environment. Key enhancements include:
- Color Schemes: Use themes like Catppuccin for soft, pastel tones that reduce eye strain during extended sessions.
- Fonts: Opt for developer-friendly fonts such as JetBrains Mono or Fira Code, which offer excellent readability and support for programming ligatures.
These upgrades not only improve usability but also make your terminal a more enjoyable space to work in.
2: Optimize Your Shell
The shell is the core interface where you interact with your terminal, making it crucial to choose one that aligns with your workflow. Popular shell options include:
- ZSH: A versatile, POSIX-compatible shell with extensive plugin support and customization options.
- Fish: Known for its user-friendly syntax, autosuggestions, and built-in features that simplify command-line tasks.
- Nushell: Designed for handling structured data like JSON and SQLite, making it ideal for developers and data analysts.
For advanced users, allowing VI mode in your shell can streamline text navigation and editing, allowing you to work more efficiently without leaving the terminal.
Setup your Mac Terminal To Make It Amazing

Check out more relevant guides from our extensive collection on CLI coding that you might find useful.
- GPT-5 & Claude 4.1 vs Cursor CLI: AI Coding Tool Skills Compared
- Claude Code vs Google Gemini CLI: AI Coding Skills Compared
- Gemini CLI : Google’s Free and Open-Source Coding Assistant
- Gemini CLI : Google’s Open-Source AI Coding Assistant
- 11 Pro Tips to Master Gemini CLI and Boost Your Coding Efficiency
- OpenAI Codex CLI Update : Simplified Coding and Dev Workflows
- How Gemini CLI Transforms Coding with AI-Powered Features
- Google Gemini CLI : Free Powerful AI Coding Assistant
- OpenAI Codex CLI: Secure, Efficient, and Open-Source Coding
- Codex CLI vs Claude Code Detailed Comparison for Developers
3: Manage Sessions with Terminal Multiplexers
Terminal multiplexers are invaluable for managing multiple sessions within a single window. They allow you to multitask seamlessly, making them essential for developers and system administrators. Two standout options are:
- Tmux: A widely-used multiplexer offering pane splitting, session persistence, and plugin support. Enhance its functionality with tools like Tmux Plugin Manager and themes such as Catppuccin.
- Zellij: A modern alternative with a user-friendly interface and built-in session management, perfect for those seeking simplicity without sacrificing power.
By integrating a multiplexer into your workflow, you can efficiently switch between tasks and maintain organized sessions.
4: Customize Your Shell Prompt
A well-designed shell prompt provides critical information at a glance, such as your current directory, Git status, or Kubernetes context. Customizing your prompt can improve both functionality and aesthetics. Consider these tools:
- Starship: A lightweight and highly customizable prompt that adapts to your workflow, offering a clean and modern design.
- Oh My ZSH: A popular framework for managing ZSH configurations, featuring numerous themes and plugins to enhance your prompt.
- Powerlevel10k: A feature-rich ZSH theme with extensive customization options, allowing you to create a prompt tailored to your preferences.
Experiment with these tools to find the prompt setup that best suits your needs and enhances your productivity.
5: Streamline Command Completion
Efficient command completion can save time and reduce errors, especially when working with complex commands. Tools like Carapace provide detailed, multi-shell completion with descriptions, making it easier to navigate intricate workflows. This is particularly beneficial for users who frequently work with long or complicated command-line inputs.
6: Integrate Essential Utilities
Adding the right utilities to your terminal can simplify common tasks and improve overall efficiency. Here are some must-have tools to consider:
- Eza/Exa: Modern replacements for `ls`, offering enhanced file visualization with tree views and color-coded outputs.
- FZF: A powerful fuzzy finder that allows you to search and select from lists quickly, integrating seamlessly with other tools.
- Zoxide: A smart directory jumper that learns your habits and ranks paths based on usage frequency, making navigation faster.
- Atuin: A history manager with fuzzy search capabilities and support for automating repetitive tasks through scripts.
These utilities can significantly enhance your workflow by automating routine tasks and providing intuitive navigation options.
7: Master Navigation with Vim Motions
For users who frequently edit text or navigate within the terminal, mastering Vim motions can greatly improve efficiency. These commands allow you to move quickly through lines, words, and characters, reducing the time spent on repetitive tasks. Even if you’re not a dedicated Vim user, learning basic motions can enhance your productivity across various tools and applications.
Bringing It All Together
By combining these tools, configurations, and techniques, you can transform your Mac terminal into a powerful and personalized workspace. Whether you’re a developer, system administrator, or casual user, this setup will enhance your productivity, streamline your workflow, and create a visually appealing environment. With the right approach, your terminal can become a central hub for creativity, efficiency, and effective task management.
Media Credit: DevOps Toolbox
Disclosure: Some of our articles include affiliate links. If you buy something through one of these links, Geeky Gadgets may earn an affiliate commission. Learn about our Disclosure Policy.