Building a professional YouTube studio is now more achievable with the use of AI images and a large screen TV. James Kelly explains how creators can incorporate AI-generated backdrops, such as a modern office or a warm library, to create visually engaging environments without the need for physical construction. This approach reduces the reliance on large spaces and extensive resources, offering a practical way to tailor your setup to specific creative needs.
You’ll learn how to match virtual sets with your camera’s field of view to maintain accurate scaling. You’ll also see how to fine-tune lighting to blend seamlessly with the virtual backdrop. The walkthrough further covers camera placement and settings to help you produce a polished and professional result.
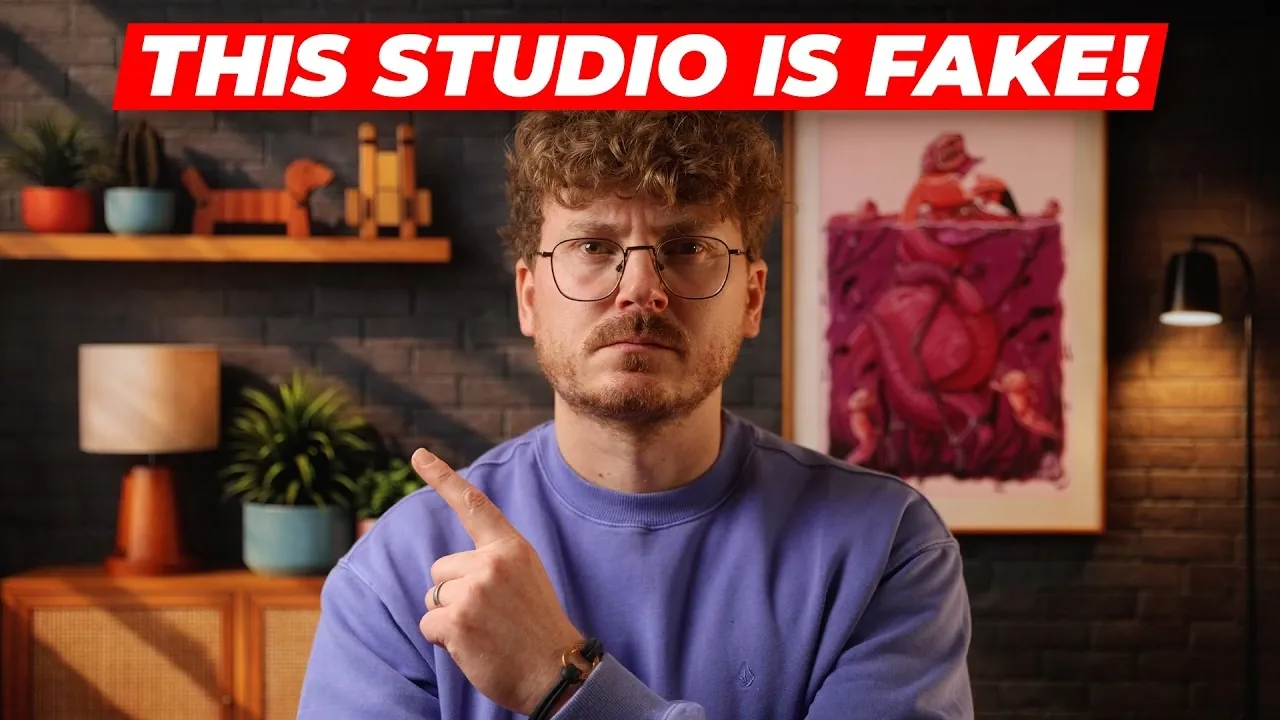
Build a Pro YouTube Studio
TL;DR Key Takeaways :
- Advancements in AI tools and virtual set technology have made creating a professional YouTube studio more accessible, cost-effective and space-efficient.
- Defining your studio’s vision is crucial to aligning its design with your content’s tone and aesthetic, making sure a cohesive and appealing setup.
- AI-powered virtual set design allows for customizable, flexible backdrops without the need for physical construction, saving time and resources.
- Proper integration of the virtual set with physical elements, including TV display, lighting and camera alignment, is essential for achieving a seamless and realistic appearance.
- Regular refinement and maintenance of your studio, including lighting adjustments and troubleshooting, ensure a polished and professional setup that evolves with your creative needs.
Define Your Studio’s Vision
Before diving into the technical aspects, take time to define the mood and aesthetic of your studio. Consider the tone of your content and the impression you want to leave on your audience. Are you aiming for a sleek, modern look, a cozy and inviting atmosphere, or perhaps a futuristic and innovative design? Your vision will guide decisions about virtual set design, lighting and camera framing. A clear and well-thought-out concept ensures that every element of your studio aligns with your content’s purpose and enhances its overall appeal.
Use AI for Virtual Set Design
AI tools have transformed the way creators design their studios, offering unparalleled flexibility and creativity. These tools allow you to build fully customizable virtual sets, allowing you to experiment with themes, colors and textures. Whether you envision a professional office, a rustic library, or a vibrant outdoor scene, AI enables you to create a backdrop that complements your content without requiring physical construction. By using AI images, you can:
- Save time and resources by eliminating the need for physical set building.
- Experiment with multiple designs to find the perfect fit for your content.
- Adapt your virtual set to match your evolving creative needs.
This approach not only enhances the visual quality of your videos but also provides the flexibility to refresh your studio’s look as your channel grows.

Here are more guides from our previous articles and guides related to streaming that you may find helpful.
- New Apple TV 4K Coming in 2026
- 10 best free streaming websites for 2023
- Apple TV 4K 2026: Gaming, Connectivity, and More
- 2025 Apple TV Features: AI, Gaming, and Smart Home Integration
- The AI Brain of the Home: Everything Coming to the 2026 Apple TV 4K
- Apple iOS 26.4 Update: New Features and Improvements
- iPhone 17 Features and Innovations: What You Need to Know
- Apple TV 2026: Features, Specs, and Release Date
- 2026 Apple TV 4K: Everything You Need to Know
- Siri’s Brain Transplant: The 2026 Apple TV 4K’s Secret Weapon
Adapt and Integrate the Virtual Set
Once your virtual set is designed, the next step is to adapt it to your physical space. The virtual environment must align with the dimensions of your TV screen and the perspective of your camera. Proper scaling and alignment are crucial to maintaining the illusion of depth and realism. This process bridges the gap between the digital and physical elements of your studio, making sure a seamless integration. To achieve this:
- Measure your available space and ensure the virtual set fits within these constraints.
- Adjust the virtual set’s scale to match your camera’s field of view.
- Test the alignment to ensure the virtual and physical elements blend naturally.
This careful adaptation ensures that your virtual set enhances your content without appearing artificial or out of place.
Display the Virtual Set on a TV
To bring your virtual set to life, display it on a high-quality TV screen. The TV serves as the canvas for your virtual environment, so its placement and display settings are critical. Use screen-sharing software, HDMI cables, or USB drives to project the virtual set onto the screen. Position the TV to avoid visible edges in your camera frame, creating a seamless and immersive backdrop for your videos.
When setting up the TV:
- Choose a screen with high resolution and accurate color reproduction.
- Position the TV at an angle that aligns with your camera’s perspective.
- Ensure the screen is free from glare or reflections that could disrupt the illusion.
This step is essential for achieving a polished and professional appearance in your videos.
Optimize Lighting for Realism
Lighting plays a pivotal role in blending the virtual and physical elements of your studio. Start by controlling ambient light to eliminate reflections or uneven lighting that could interfere with the virtual set. Use blackout curtains or similar tools to block external light sources and create a controlled environment.
Next, match your lighting setup to the conditions of the virtual scene. Use softboxes, LED panels, or other light sources to replicate the shadows and highlights of your virtual set. This attention to detail enhances the depth and realism of your scene, making the integration seamless. Key tips for lighting:
- Position lights to mimic the direction and intensity of light in the virtual set.
- Adjust brightness and color temperature to match the virtual environment.
- Test different setups to find the most natural and cohesive look.
Proper lighting ensures that you appear as an integral part of the virtual scene, keeping the focus on your content.
Fine-Tune Camera Placement and Settings
Your camera setup is critical to achieving a professional look. Position the camera at the same level as the TV screen to avoid capturing its edges or creating distortions. Choose a lens that suits the size of your space, making sure the frame focuses on you and the virtual set without unnecessary distractions. To refine your camera setup:
- Adjust the camera’s angle and distance to create a balanced composition.
- Use manual focus to ensure sharpness and clarity.
- Experiment with different settings to optimize exposure and color balance.
A well-aligned camera setup enhances the overall quality of your videos and ensures a seamless blend between the physical and virtual elements.
Refine and Maintain Your Studio
Once your setup is complete, take time to refine and troubleshoot any issues. Adjust colors, brightness and camera settings to perfect the illusion. Address technical challenges such as flickering screens, mismatched lighting, or alignment errors. Regular maintenance and fine-tuning ensure that your studio remains polished and professional, ready for consistent content creation.
By combining virtual set technology with precise lighting, camera alignment and attention to detail, you can create a professional YouTube studio that improves your content. This approach not only reduces costs but also offers the flexibility to adapt your studio to your evolving creative needs. With careful planning and execution, your studio can become a powerful tool for engaging your audience and enhancing your videos.
Media Credit: James Kelly
Disclosure: Some of our articles include affiliate links. If you buy something through one of these links, Geeky Gadgets may earn an affiliate commission. Learn about our Disclosure Policy.