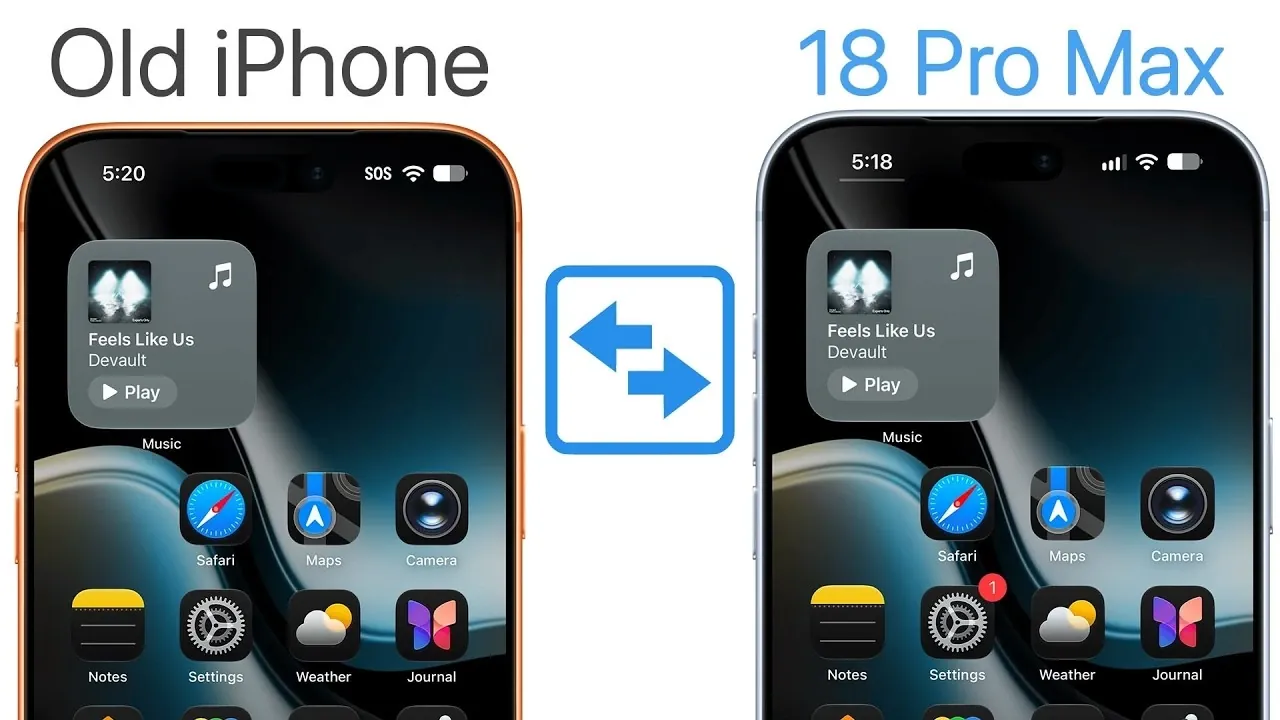
Upgrading to the iPhone 18 Pro is an exciting step, but making sure a smooth and secure data transfer is essential to make the most of your new device. This guide provides a detailed walkthrough of the most effective methods to transfer your data, such as photos, messages, apps and settings, so you can start using your new iPhone without any interruptions. By following these steps, you’ll ensure a seamless transition and have your new device ready in no time. The video below from Brandon Butch shows us how to transfer your data to the new iPhone 18 Pro.

Prepare Your Devices
Proper preparation is the foundation of a successful data transfer. Taking the time to ready both your old and new iPhones minimizes potential issues and ensures the process goes smoothly.
- Update your old iPhone: Make sure your old iPhone is running the latest version of iOS. This ensures compatibility with the iPhone 18 Pro and avoids potential software conflicts.
- Back up your old iPhone: Perform a full iCloud or iTunes backup as a precaution. This backup acts as a safety net in case the transfer process is interrupted or fails.
- Reset your new iPhone: Ensure the iPhone 18 Pro is at the initial setup screen. If it has already been set up, you may need to erase it to start fresh. This step is crucial for using Apple’s Quick Start feature effectively.
Choose a Transfer Method
Apple offers three primary methods to transfer data between iPhones. Each method has its advantages and the best choice depends on your specific needs, internet speed and the amount of data you need to move.
1. iCloud Transfer
This method involves downloading your data from iCloud to the new iPhone. It’s a convenient option, especially if you don’t have access to cables or a computer. However, it requires a stable and fast internet connection. Keep in mind that some apps may log you out, requiring you to re-enter login credentials manually.
2. Wireless iPhone-to-iPhone Transfer
Using Wi-Fi, this method directly transfers data from your old iPhone to the new one. It’s a straightforward process that preserves app layouts, settings and login states. However, it can take longer than other methods, especially if you have a large amount of data to transfer.
3. Wired Transfer (Recommended)
A wired transfer using a USB 3 or Thunderbolt cable is the fastest and most reliable method. This option significantly reduces transfer time compared to wireless methods, making it ideal for users with extensive data, such as large photo libraries or numerous apps.
Step-by-Step Transfer Process
Apple’s Quick Start feature simplifies the data migration process. Follow these steps to transfer your data efficiently:
- Place your old iPhone and the iPhone 18 Pro close to each other. Ensure Bluetooth is enabled on both devices.
- On the new iPhone, a setup screen will appear. Use your old iPhone to scan the animated orb displayed on the new device.
- When prompted, enter the passcode of your old iPhone on the new device to authenticate the transfer.
- Select your preferred transfer method: iCloud, wireless, or wired. For a wired transfer, connect the devices using a USB 3 or Thunderbolt cable.
- Follow the on-screen instructions to complete the migration. The time required will vary based on the amount of data and the transfer method chosen.
Post-Transfer Setup
Once the data transfer is complete, there are a few additional steps to finalize the setup of your iPhone 18 Pro. These steps ensure that your new device is fully personalized and ready for use.
- Customize settings: Adjust preferences such as display appearance, notification settings and location services to suit your needs.
- Set up Apple Pay: Add your payment cards to enable contactless payments and other Apple Pay features.
- Activate Siri: Configure Siri’s voice recognition and settings to take advantage of hands-free assistance.
- Enable cellular service: Transfer your physical SIM card or activate the eSIM to ensure your new iPhone is ready for calls, texts and mobile data.
Verify and Finalize
After completing the transfer, it’s important to verify that all your data has been successfully moved. This ensures that no critical information is missing and allows you to start using your new iPhone with confidence.
- Keep the iPhone 18 Pro connected to Wi-Fi and a charger to allow apps, photos and updates to finish downloading in the background.
- Check for any missing data, such as photos, messages, or contacts and reconfigure any settings that may not have transferred automatically.
- Securely store your old iPhone or consider recycling it if you no longer need it. If you plan to sell or give it away, erase all data to protect your privacy.
By following these steps, you can ensure a smooth transition to your new iPhone 18 Pro. Whether you choose a wired, wireless, or iCloud transfer, the process is designed to be user-friendly and efficient. Once the setup is complete, take the time to explore the advanced features of your new device and enjoy the enhanced performance and capabilities it offers.
Here are more guides from our previous articles and guides related to iPhone 18 Pro that you may find helpful.
- Early iPhone 18 Reports Point to Major Unconfirmed Shifts
- iPhone 18 Pro Max Leaks: 10 Massive Upgrades Coming to Camera, Screen, and Battery
- Early iPhone 18 Pro Max Leak Reveals the Upgrade We’ve Been Waiting For
- Just Leaked: 10 Huge Upgrades for the iPhone 18 Pro Max
- What Apple Just Confirmed About the iPhone 18 Pro and Ultra
- Early First Look at the Expected iPhone 18 Pro Design
Source & Image Credit: Brandon Butch
Disclosure: Some of our articles include affiliate links. If you buy something through one of these links, Geeky Gadgets may earn an affiliate commission. Learn about our Disclosure Policy.
