Setting up your iPhone for the first time is an essential process that ensures your device is ready for secure and efficient use. This guide provides a detailed, step-by-step walkthrough, covering everything from powering on your device to configuring advanced features like biometric authentication, data transfer, and emergency services. By following these steps, you’ll have your iPhone fully operational and tailored to your preferences. The video below from Daniel About Tech gives us more details.

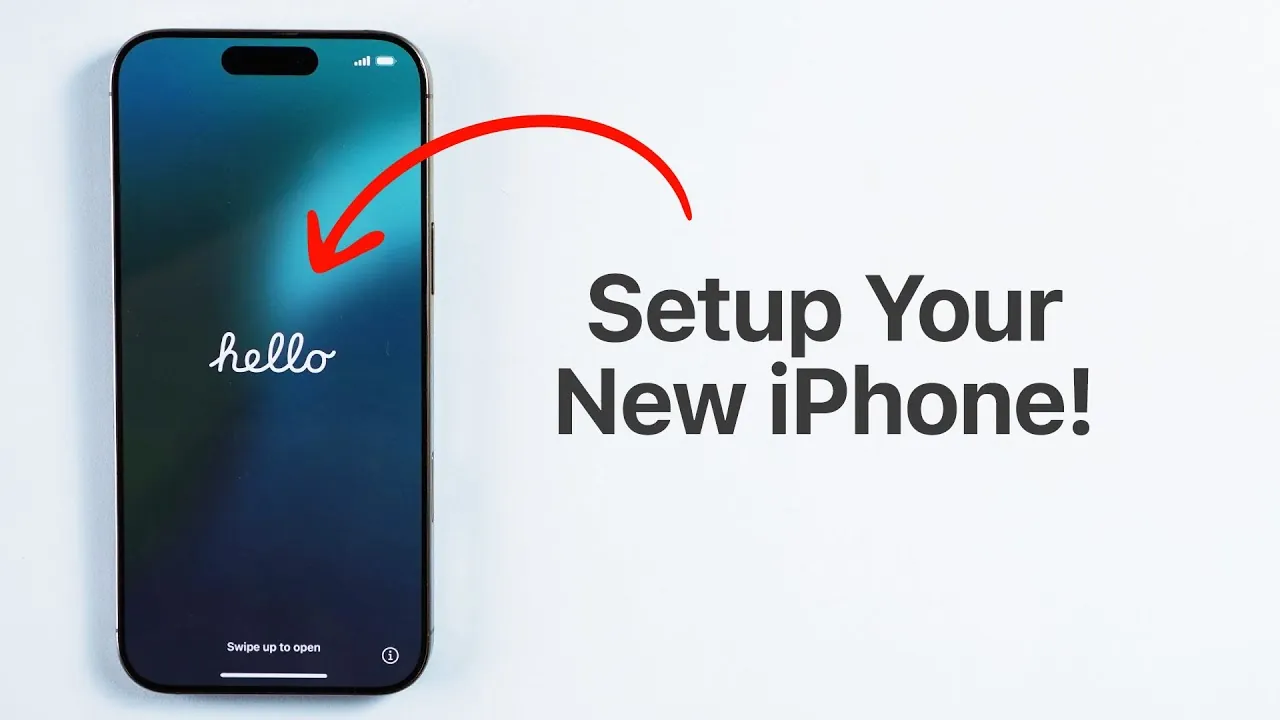
Step 1: Power On Your iPhone
Begin by pressing and holding the side button until the Apple logo appears on the screen. This indicates that your iPhone is booting up. Once the startup process is complete, you’ll be greeted by a welcome screen inviting you to start the setup process. This marks the first step toward personalizing your device.
Step 2: Choose Your Language and Region
The setup process will prompt you to select your preferred language and region. These settings are critical as they determine your device’s default language and adjust regional features such as date, time, and currency formats. Selecting the correct options ensures that your iPhone operates seamlessly and aligns with your location and preferences.
Step 3: Customize Your Display
You’ll then have the opportunity to adjust your display settings. This includes modifying text size and appearance to suit your visual needs. Whether you prefer larger text for better readability or the default settings, this step allows you to personalize your device for optimal comfort and usability.
Step 4: Connect to Wi-Fi or Cellular Data
Establishing an internet connection is a vital part of the setup process. Select a Wi-Fi network from the list of available options and enter the password to connect. If Wi-Fi isn’t accessible, you can use cellular data, though Wi-Fi is recommended for faster and more stable connectivity during the setup. A reliable connection ensures smooth progress through the remaining steps.
Step 5: Review Data and Privacy Settings
Apple places a strong emphasis on transparency and user control over data. During setup, you’ll be prompted to review Apple’s data and privacy policies. Take a moment to understand how your data will be used and adjust the privacy settings to align with your preferences. This step ensures that you remain informed and in control of your personal information.
Step 6: Set Up Face ID
For enhanced security, you can enable Face ID, Apple’s facial recognition system. Follow the on-screen instructions to register your face. This feature allows you to unlock your device, authorize purchases, and access apps with just a glance. If you prefer, you can also enable Face ID with a mask for added convenience. This step is optional but highly recommended for a seamless and secure experience.
Step 7: Create a Passcode
In addition to Face ID, setting up a passcode adds another layer of security to your device. You can choose from a six-digit passcode, a four-digit code, or an alphanumeric password. While it’s possible to skip this step, it’s strongly advised to ensure your data remains protected. A passcode serves as a backup method for unlocking your iPhone.
Step 8: Transfer Data to Your New iPhone
You’ll have several options to transfer data from your old device to your new iPhone:
- Quick Start: Transfer data directly from another iPhone using Bluetooth and Wi-Fi.
- iCloud Backup: Restore your apps, settings, and files from a previous iCloud backup.
- Mac or PC: Use iTunes or Finder to transfer data from your computer.
- Move to iOS: Migrate data from an Android device using Apple’s Move to iOS app.
- Start Fresh: Set up your iPhone as a new device without transferring any data.
Choose the method that best suits your needs. Transferring data ensures continuity of your apps, files, and settings, making the transition to your new device seamless.
Step 9: Sign In with Your Apple ID
Your Apple ID is the key to accessing Apple services such as iCloud, the App Store, and Apple Music. Sign in with an existing Apple ID or create a new one if you don’t already have an account. Ensure that you use an account you can easily manage, as it will be central to your device’s functionality and access to Apple’s ecosystem.
Step 10: Enable Emergency SOS Features
Apple’s Emergency SOS features are designed to enhance your safety in critical situations. During setup, you’ll learn about features like crash detection and satellite SOS (available on supported devices). These tools allow you to contact emergency services even without cellular coverage, providing peace of mind wherever you are. Take a moment to familiarize yourself with these features and configure them as needed.
Step 11: Explore Final Setup Options
Once the initial setup is complete, you’ll gain access to the App Store, where you can download apps to personalize your iPhone. Additionally, explore your device’s settings to configure features such as notifications, accessibility options, and Siri. Taking the time to fine-tune these settings ensures that your iPhone is optimized for your needs and preferences.
Step 12: Update Your iPhone
Before fully diving into your new device, check for any available software updates. Keeping your iPhone updated ensures that you have the latest features, security patches, and performance improvements. Navigate to the Settings app, select “General,” and then tap “Software Update” to install any pending updates.
Step 13: Back Up Your Device Regularly
Once your iPhone is set up, it’s important to establish a habit of regular backups. Use iCloud or a computer to back up your data, making sure that your information is safe in case of loss or damage. Regular backups provide peace of mind and make it easier to restore your device if needed.
Final Thoughts
Setting up your iPhone for the first time is a straightforward yet comprehensive process that ensures your device is ready for secure and efficient use. By carefully following these steps, you’ll configure key features like Wi-Fi, Face ID, and privacy settings while exploring advanced options such as data transfer and emergency services. With your iPhone fully set up, you’re ready to enjoy its capabilities and explore its features with confidence.
Advance your skills in the iPhone setup guide by reading more of our detailed content.
- How to Set Up Your New iPhone: Step-by-Step Guide
- New iPhone Setup Guide: Transfer Your Data in a Few Steps
- Master Your iPhone: The Ultimate Home Screen Setup Guide
- iPhone 16 Setup Guide: EASY & FAST!
- iPhone 16 Pro Max Setup Guide: From Unboxing to App Store
Source & Image Credit: Daniel About Tech
Disclosure: Some of our articles include affiliate links. If you buy something through one of these links, Geeky Gadgets may earn an affiliate commission. Learn about our Disclosure Policy.