What if you could transform a palm-sized computer into the brain of your next big project, without needing an engineering degree? The Raspberry Pi 5, the latest in the beloved Raspberry Pi series, is a powerhouse of possibilities, but for beginners, its setup can feel like navigating uncharted territory. Whether you’re dreaming of building a smart home hub, a retro gaming console, or even a personal web server, the journey starts with understanding how to properly configure this tiny yet mighty device. With the right guidance, even the most tech-averse can unlock the full potential of this versatile tool. And that’s exactly what this learning tool, crafted by tech enthusiast Debashis Talukdar, is here to deliver.
In this beginner’s guide, Debashis Talukdar takes you through a step-by-step approach to setting up your Raspberry Pi, from assembling its hardware to configuring its network for seamless operation. Along the way, you’ll learn how to install the recommended Raspberry Pi OS, enable remote access, and ensure your device is optimized for performance and security. Whether you’re a complete novice or just need a refresher, these instructions are designed to simplify the process and eliminate the guesswork. By the end, you won’t just have a functioning Raspberry Pi, you’ll have the confidence to tackle creative projects that once seemed out of reach. The possibilities are endless, but the first step is understanding the basics.
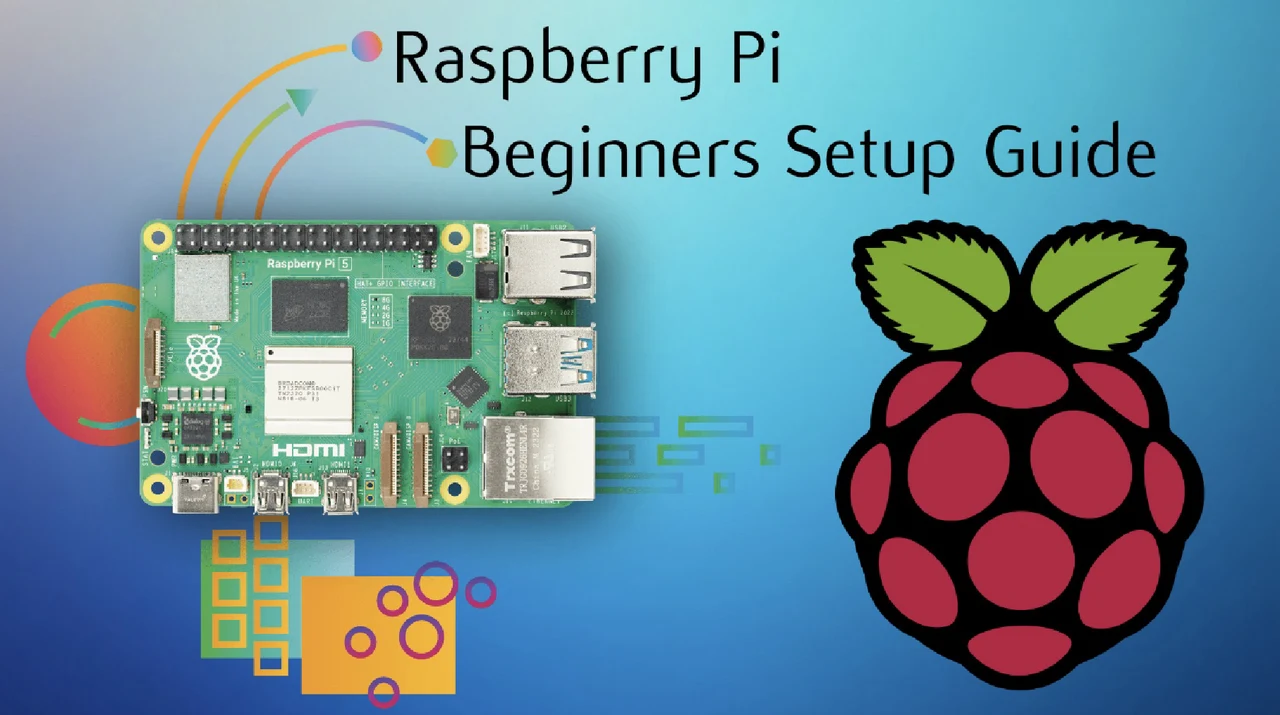
Raspberry Pi Setup Guide
TL;DR Key Takeaways :
- Assemble the Raspberry Pi 5 hardware carefully by securing the board, applying a thermal pad for heat management, and enclosing it properly to ensure optimal performance and protection.
- Install the Raspberry Pi OS using the Raspberry Pi Imager, flash it onto a micro SD card, and customize settings like hostname, Wi-Fi credentials, and SSH access during the process.
- Perform initial configuration by accessing the Raspberry Pi remotely via SSH, allowing VNC for GUI access, and setting up a VNC client for easier management.
- Keep the system updated by running
sudo apt updateandsudo apt upgradecommands, followed by a reboot to apply updates and maintain security and stability. - Configure the network by assigning a fixed IP address through your router using the Raspberry Pi’s MAC address, making sure consistent and reliable connectivity for future use.
1: Assemble the Hardware
Proper hardware assembly is the foundation of a reliable and efficient Raspberry Pi setup. Making sure all components are securely connected and protected will enhance performance and longevity. Follow these steps to assemble your Raspberry Pi 5:
- Secure the board: Place the Raspberry Pi board into its designated case and fasten it with the provided screws. Ensure the board is stable and properly aligned to avoid damage.
- Apply the thermal pad: Attach the thermal pad to the processor to manage heat dissipation effectively, which is crucial for maintaining optimal performance.
- Close the enclosure: Align the power button with the case and securely close the enclosure to protect the internal components.
This careful assembly process not only safeguards the hardware but also helps prevent overheating, making sure smooth operation.
2: Install the Operating System
The Raspberry Pi 5 requires an operating system to function, and Raspberry Pi OS is the recommended choice due to its compatibility and ease of use. Here’s how to install it:
- Download the Raspberry Pi Imager: Install the Raspberry Pi Imager software on your computer from the official Raspberry Pi website.
- Prepare the micro SD card: Insert a micro SD card into your computer and use the Imager to flash the 64-bit version of Raspberry Pi OS onto the card.
- Customize settings: During the flashing process, configure options such as the hostname, Wi-Fi credentials, and enable secure shell (SSH) access for remote management.
Once the flashing process is complete, the micro SD card will be ready to power your Raspberry Pi 5.
Raspberry Pi Beginners Guide 2025
Check out more relevant guides from our extensive collection on Raspberry Pi 5 projects that you might find useful.
- Build a 4-Bay Raspberry Pi 5 NAS With RAID 5 & Swappable Drives
- How to Build a Mini-ITX Desktop PC with Raspberry Pi 5
- How the Raspberry Pi 5 was designed
- Raspberry Pi 5 cooling fan vs passive heatsinks compared
- AI Vision Devices Compared: Raspberry Pi 5 vs Jetson Orin Nano
- Raspberry Pi 5 games emulation tested
- Raspberry Pi 5 vs Raspberry Pi 4 mini PCs compared
- How to use the Raspberry Pi 5 Network OS Installer
- Raspberry Pi 5 features improved image processing
- Building a Raspberry Pi 5 Nintendo games emulation console
3: Perform Initial Configuration
With the operating system installed, the next step is to configure your Raspberry Pi for first-time use. Insert the prepared micro SD card into the Raspberry Pi, connect it to a power source, and follow these steps:
- Access the device remotely: Use an SSH client to connect to the Raspberry Pi via its hostname or IP address. This eliminates the need for a monitor or keyboard.
- Enable VNC: Activate Virtual Network Computing (VNC) to access the graphical user interface (GUI) of the Raspberry Pi. This is particularly useful for managing the device visually.
These configurations allow you to manage the Raspberry Pi efficiently, even without direct physical access.
4: Set Up a VNC Client
To interact with the Raspberry Pi’s GUI, you’ll need to configure a VNC client on your computer. This step provides a convenient way to manage the device visually. Follow these instructions:
- Open the VNC client: Launch your preferred VNC client and enter the Raspberry Pi’s IP address or hostname.
- Log in: Use your Raspberry Pi credentials to access the GUI and save the connection settings for future use.
Using a VNC client simplifies navigation and management, making it easier to work on your projects.
5: Update the System
Keeping your Raspberry Pi updated is essential for maintaining security, stability, and access to the latest features. Perform the following steps to update the system:
- Open a terminal session: Use SSH or the VNC GUI to access the terminal on your Raspberry Pi.
- Run update commands: Execute the commands
sudo apt updateandsudo apt upgradeto download and install the latest updates. - Reboot the device: Restart the Raspberry Pi to apply the updates and ensure all changes take effect.
Regular updates are critical for making sure your Raspberry Pi remains secure and performs optimally.
6: Configure the Network
A stable network connection is vital for seamless operation. Assigning a fixed IP address to your Raspberry Pi simplifies future connections and ensures consistent access. Here’s how to configure the network:
- Find the MAC address: Use the
ifconfigcommand in the terminal to identify the Raspberry Pi’s MAC address. - Reserve an IP address: Access your home router’s settings and assign a fixed IP address to the Raspberry Pi using its MAC address.
This step ensures your Raspberry Pi always uses the same IP address, making it easier to locate and manage on your network.
7: Verify and Finalize
After completing the network configuration, reboot the Raspberry Pi and confirm it is using the reserved IP address. At this stage, your Raspberry Pi 5 is fully set up and ready for use. Whether you plan to use it for programming, media streaming, or other innovative projects, the groundwork is complete, and you can now explore its full potential.
Media Credit: Debashis Talukdar
Disclosure: Some of our articles include affiliate links. If you buy something through one of these links, Geeky Gadgets may earn an affiliate commission. Learn about our Disclosure Policy.