Have you ever found yourself drowning in repetitive tasks, wishing there was a way to automate them without sacrificing precision? Imagine processing hundreds of rows in a spreadsheet, generating unique content for each, and updating it, all without lifting a finger. Enter n8n, a innovative automation tool that enables you to build workflows tailored to your needs. Whether you’re managing data, generating content, or streamlining processes, the ability to loop through items efficiently can unlock a whole new level of productivity. In this instructional feature, we’ll demystify how to harness loops in n8n, breaking down a seemingly complex process into actionable steps you can implement today.
In this tutorial by Shri AI, you’ll not only understand how to create a workflow that seamlessly integrates Google Sheets and OpenAI, but you’ll also discover how to process data row by row, dynamically generating and updating content with precision. From configuring a Loop Over Items Node to incorporating error-handling mechanisms, this guide will equip you with the tools to automate even the most tedious tasks. Whether you’re a seasoned automation enthusiast or a curious beginner, this walkthrough by Shri AI | AI Automation offers practical insights to help you work smarter, not harder. Let’s explore how you can transform repetitive workflows into scalable, automated systems that truly work for you.
Automating Workflows with n8n
TL;DR Key Takeaways :
- Automation tools like n8n streamline workflows by automating repetitive tasks such as data handling, content generation, and task management.
- Google Sheets integration in n8n allows for seamless data retrieval and updates, allowing efficient handling of structured datasets.
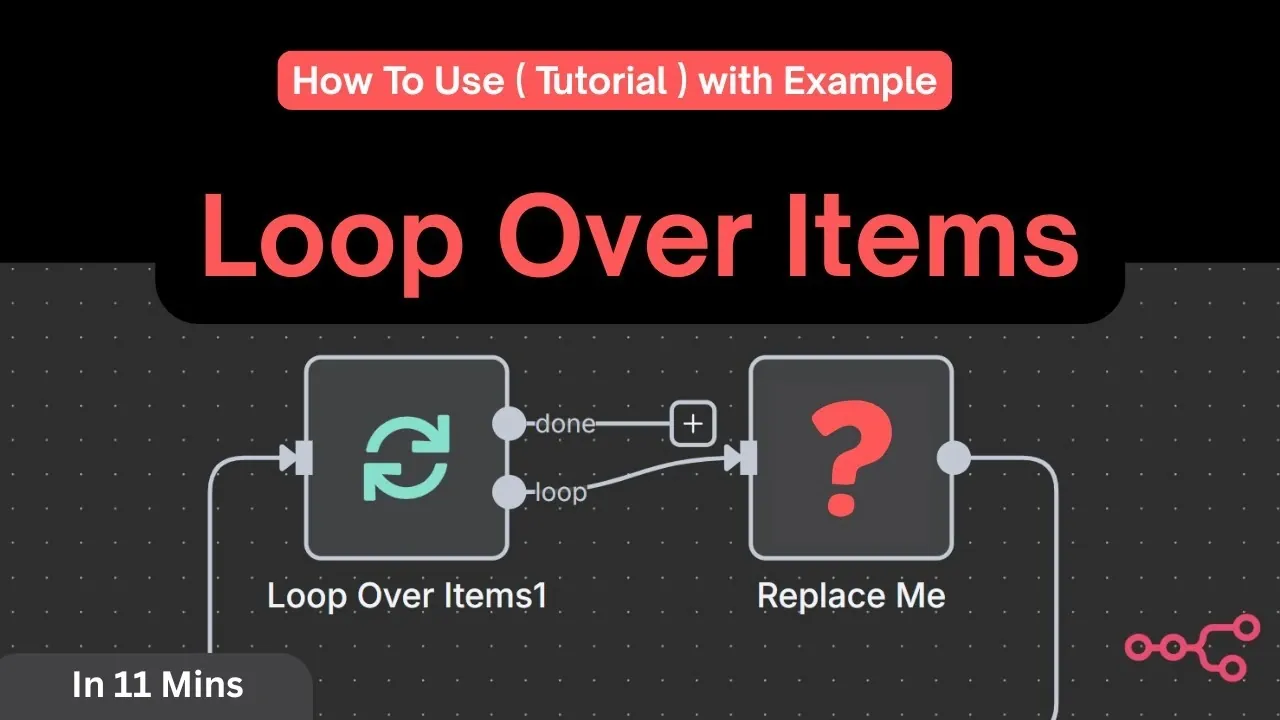
- The “Loop Over Items” Node in n8n processes rows individually, making sure precise and sequential handling of data, ideal for dynamic operations.
- OpenAI integration enhances workflows with advanced content generation capabilities, such as creating summaries or drafting text based on specific prompts.
- Workflow optimization features like completion tracking, processing limits, and error handling improve reliability, scalability, and efficiency for large datasets.
The first step in building your automated workflow is to create a new workflow in n8n. Begin by adding a Manual Trigger Node. This node is essential for manually starting the workflow, making it particularly useful during the testing and debugging phases. Once the trigger is in place, you can proceed to construct your workflow incrementally, making sure each component functions as intended.
1: Integrating Google Sheets
Google Sheets integration is a critical component when working with structured data. To set up this integration, follow these steps:
- Add a Google Sheets Node to your workflow to establish a connection with your spreadsheet.
- Configure the node to access the specific sheet you intend to work with, specifying the sheet name and range as needed.
- Set up credentials by linking your Google account to n8n and granting the necessary permissions for data access and updates.
Once configured, the Google Sheets Node enables you to retrieve rows of data from your spreadsheet, providing the input required for subsequent processing steps.
2: Looping Through Rows
To process each row of data individually, you’ll need to implement a looping mechanism. The Loop Over Items Node in n8n is designed for this purpose. Here’s how to configure it:
- Set the batch size to one to ensure that each row is processed sequentially, maintaining clarity and control over the workflow.
- Configure the loop to handle each row independently, which is particularly important when working with APIs like OpenAI that require unique inputs for each request.
This setup ensures that every row of data is processed accurately and systematically, making it ideal for workflows that involve dynamic or row-specific operations.
How to use Loops In n8n (Loop Over Items Tutorial) – with Example
Enhance your knowledge on n8n by exploring a selection of articles and guides on the subject.
- Free n8n Installation and Update Guide for Private Automations
- How to Build an Automated AI Research Agents with n8n
- 8 Powerful AI Agent Use Cases to Boost Automation with n8n
- How to Automate WhatsApp with n8n Without a Business Account
- How to use Perplexity AI Inside n8n (No Code)
- How to Ensure Data Privacy in Multi-User AI Systems with n8n
- AI Workflow Automation with n8n : A Beginner-Friendly Guide
- How to Connect Slack to n8n for Workflow Automation
- How to Stop AI Hallucinations : Optimize Your n8n Agent for
- How to Set up Google App Connections in n8n in Under 5 Minutes
3: Integrating OpenAI
The integration of OpenAI into your workflow allows for advanced content generation capabilities. To set up the OpenAI Node, follow these steps:
- Provide your OpenAI API credentials to authenticate the node and enable access to the service.
- Define prompts tailored to your specific use case, such as generating summaries, creating text based on keywords, or answering questions derived from your dataset.
For example, if your Google Sheet contains a list of blog topics, you can use OpenAI to generate summaries or draft content for each topic. Ensure that your prompts are clear and specific to achieve the best results.
4: Updating Google Sheets
After generating content with OpenAI, the next step is to update the corresponding rows in your Google Sheet. Use the Update Row Action in the Google Sheets Node to write the generated content back to the sheet. Here’s how to do it:
- Map the row number to ensure that updates are applied to the correct rows, maintaining data integrity.
- Link the content fields in the node configuration to populate the appropriate columns with the generated data.
This step completes the loop, allowing your workflow to dynamically process and update data without manual intervention.
Enhancing Your Workflow
To further optimize your workflow, consider implementing the following enhancements:
- Completion Tracking: Add a “Done” or “Processed” column in your Google Sheet to mark rows that have already been processed. This helps you monitor progress and avoid duplicating efforts.
- Processing Limits: Use a Limit Node to control the number of rows processed in a single run. This is particularly useful for managing large datasets or adhering to API rate limits.
- Error Handling: Incorporate error-handling mechanisms, such as conditional nodes or retry logic, to address potential issues like API timeouts or missing data.
These features enhance the reliability and scalability of your workflow, making sure it performs efficiently even under varying conditions.
Building a Scalable Automation System
By following this guide, you can create a robust and scalable workflow in n8n that automates repetitive tasks such as content generation and data updates. The seamless integration of Google Sheets, OpenAI, and looping mechanisms provides a powerful solution for managing large datasets with minimal manual effort. With careful configuration and thorough testing, this workflow can save you significant time and resources, allowing you to focus on more strategic and creative tasks.
Media Credit: Shri AI
Disclosure: Some of our articles include affiliate links. If you buy something through one of these links, Geeky Gadgets may earn an affiliate commission. Learn about our Disclosure Policy.