What if your next DIY project didn’t just teach you new skills but also opened doors to career opportunities? Imagine transforming a few Raspberry Pi devices into a fully functional Kubernetes home lab, a setup so practical and impressive that it doesn’t just simulate real-world DevOps environments but also becomes a talking point in interviews or even a portfolio centerpiece. Bold claim? Perhaps. But the truth is, building a Kubernetes lab at home isn’t just about tinkering with hardware; it’s about gaining hands-on expertise in one of the most sought-after technologies in modern IT. And the best part? You don’t need a corporate budget or a data center to get started, just a bit of curiosity, some bare-metal devices, and the willingness to roll up your sleeves.
Below Mischa van den Burg explains how to set up a Kubernetes home lab that’s as practical as it is impactful. From configuring Raspberry Pi devices to deploying lightweight Kubernetes distributions like K3S, you’ll uncover a step-by-step process that’s both beginner-friendly and scalable. Along the way, you’ll learn how to manage clusters, deploy applications, and even tackle advanced concepts like persistent storage and security, all from the comfort of your home. Whether you’re a DevOps enthusiast looking to sharpen your skills or someone eyeing a career pivot, this guide will show you how to turn a modest home lab into a powerful learning tool that could very well be your ticket to the next big opportunity. After all, sometimes the best way to stand out is to build something extraordinary.
Building a Kubernetes Home Lab
TL;DR Key Takeaways :
- Setting up a Kubernetes home lab using bare-metal devices like Raspberry Pi provides hands-on experience, simulating real-world DevOps environments and enhancing career prospects.
- Properly configuring Raspberry Pi devices with Raspbian OS, static IPs, SSH keys, and secure passwords ensures a stable and secure foundation for your Kubernetes cluster.
- K3S, a lightweight Kubernetes distribution, is ideal for home labs due to its simplicity, low resource requirements, and ease of use, making it beginner-friendly.
- Deploying applications in the home lab helps master Kubernetes concepts like namespaces, deployments, services, and resource management, bridging theory and practice.
- Building foundational skills in Linux, containerization, and exploring advanced Kubernetes topics like persistent storage, security, and DevOps tools prepares you for real-world IT challenges.
Why Choose Bare-Metal Devices?
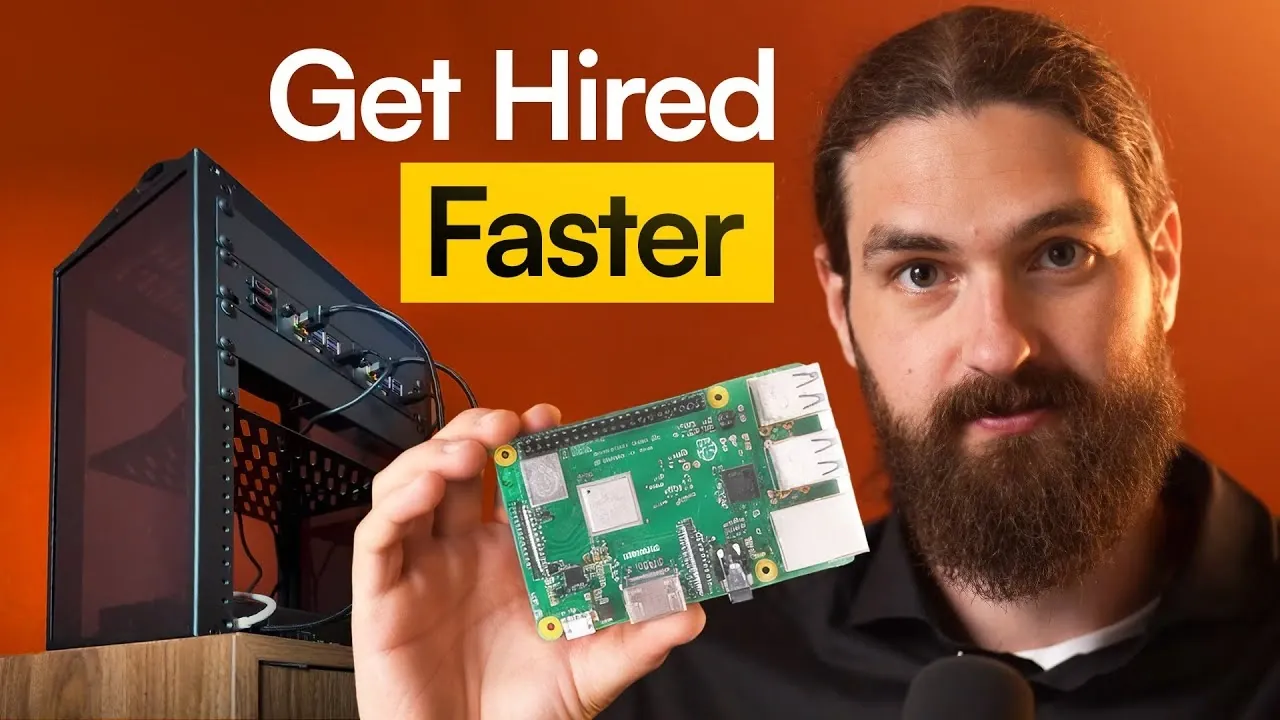
Bare-metal devices, such as Raspberry Pi units, deliver a more realistic and immersive learning experience compared to virtual machines. They allow direct interaction with hardware, offering valuable insights into resource management, system configuration, and troubleshooting. For a compact and efficient setup, consider assembling a mini home lab rack. For example:
- Use two Raspberry Pi 5 units, one with 8GB RAM and another with 4GB RAM.
- Mount them in a small rack to maintain a tidy and space-saving configuration.
This setup is not only cost-effective and quiet but also ideal for home use, making it a practical choice for beginners and enthusiasts. By working with physical hardware, you gain a deeper understanding of system performance and limitations, which is invaluable for real-world DevOps scenarios.
Preparing Your Raspberry Pi for Kubernetes
The first step in building your Kubernetes home lab is preparing your Raspberry Pi devices. Proper configuration ensures a stable and secure environment for your cluster. Follow these steps:
- Flash the Raspberry Pi devices with the Raspbian OS using the Raspberry Pi Imager tool.
- Set strong passwords for each device to enhance security and prevent unauthorized access.
- Add public SSH keys to enable secure and convenient remote access.
- Assign static IP addresses to ensure consistent network communication between devices.
- Rename hostnames to avoid conflicts within your network and simplify device identification.
These foundational configurations are critical for creating a reliable environment where Kubernetes can operate efficiently. Taking the time to properly set up your devices will save you from potential issues as you progress.
Raspberry Pi Kubernetes Homelab Setup Guide

Uncover more insights about Kubernetes in previous articles we have written.
- Raspberry Pi Kubernetes mini PC cluster project
- How Docker and Kubernetes Work Together for Scalable Apps
- Podman vs Docker: Key Differences and Why You Should Switch
- Turing Pi mini ITX size motherboard houses 7 Raspberry Pi mini PC
- How to Build a Raspberry Pi 5 Docker Swarm Cluster
- How to Build the Perfect Homelab Setup
- How to Use the Raspberry Pi Compute Module 5 for Projects
- Turing Pi 2 board SBC Linux cluster computer
- NVIDIA AI Enterprise 1.1 software suite now available
- Google Gemma AI vs Llama-2 performance benchmarks
Installing Kubernetes with K3S
K3S, a lightweight Kubernetes distribution, is an excellent choice for home labs due to its simplicity, low resource requirements, and ease of use. To set up your cluster:
- Designate one Raspberry Pi as the control plane node and the other as a worker node.
- Enable cgroup memory during installation to avoid common configuration issues and ensure smooth operation.
K3S simplifies many aspects of Kubernetes management, such as networking and load balancing, allowing you to focus on learning core concepts. While more advanced tools like kubeadm or Talos Linux offer additional features, K3S is ideal for beginners and those seeking a streamlined experience. This lightweight distribution enables you to quickly deploy and manage your cluster without being overwhelmed by unnecessary complexity.
Managing and Interacting with Your Cluster
Once your Kubernetes cluster is operational, managing it effectively becomes the next step. The `kubectl` command-line tool is essential for interacting with Kubernetes. To streamline your workflow:
- Set up a development container environment on your local machine to simplify application deployment and testing.
- Use a kubeconfig file to securely access the cluster API from your computer.
This setup allows you to efficiently manage your cluster while familiarizing yourself with Kubernetes commands and workflows. By practicing these management tasks, you will gain confidence in navigating Kubernetes environments, a skill highly valued in DevOps roles.
Deploying Applications for Practical Experience
Deploying applications in your home lab is a critical step in mastering Kubernetes. Start with a simple application, such as Linkding, a self-hosted bookmark manager. Use Kubernetes manifests to define the application’s configuration, including:
- Namespaces: Organize resources and isolate workloads.
- Deployments: Manage application instances and ensure high availability.
- Services: Expose applications to enable communication between components or external access.
K3S’s built-in ServiceLB simplifies the process of exposing applications via external IPs, eliminating the need for additional tools. This hands-on practice will help you understand critical Kubernetes concepts such as resource allocation, scaling, and service discovery. By experimenting with real-world applications, you can bridge the gap between theoretical knowledge and practical implementation.
Strengthening Your Foundational Knowledge
Before diving into advanced Kubernetes topics, it is essential to build a strong foundation in related technologies. Focus on the following areas:
- Linux fundamentals: Gain a solid understanding of file systems, networking, and command-line tools.
- Containerization: Learn how containers are built, deployed, and managed using tools like Docker.
These skills are crucial for troubleshooting and optimizing your Kubernetes cluster. A strong foundation will also make it easier to understand and implement advanced Kubernetes features as you progress.
Exploring Advanced Kubernetes Concepts
Once you are comfortable with the basics, expand your home lab to explore advanced Kubernetes topics. Consider diving into:
- Persistent storage: Learn how to manage data that persists beyond container lifecycles, using tools like NFS or Longhorn.
- Security: Implement best practices to secure your cluster, such as role-based access control (RBAC) and network policies.
- Exposing applications: Experiment with ingress controllers and DNS configurations to make your applications accessible over the internet.
- DevOps tools: Integrate tools like Helm for package management, Prometheus for monitoring, and Grafana for visualization.
These advanced topics will deepen your understanding of Kubernetes and prepare you for real-world challenges. By experimenting with these concepts in your home lab, you can develop the expertise needed to tackle complex IT environments.
Mastering Kubernetes Through Practical Application
Setting up a Kubernetes home lab with bare-metal devices like Raspberry Pi units is an accessible and effective way to develop in-demand DevOps skills. Starting with a lightweight Kubernetes distribution like K3S and focusing on hands-on projects allows you to build confidence and technical expertise. As you progress, exploring advanced topics and integrating DevOps tools will further enhance your knowledge, preparing you for the complexities of modern IT environments. This practical approach not only equips you with valuable skills but also positions you as a strong candidate in the competitive job market.
Media Credit: Mischa van den Burg
Disclosure: Some of our articles include affiliate links. If you buy something through one of these links, Geeky Gadgets may earn an affiliate commission. Learn about our Disclosure Policy.