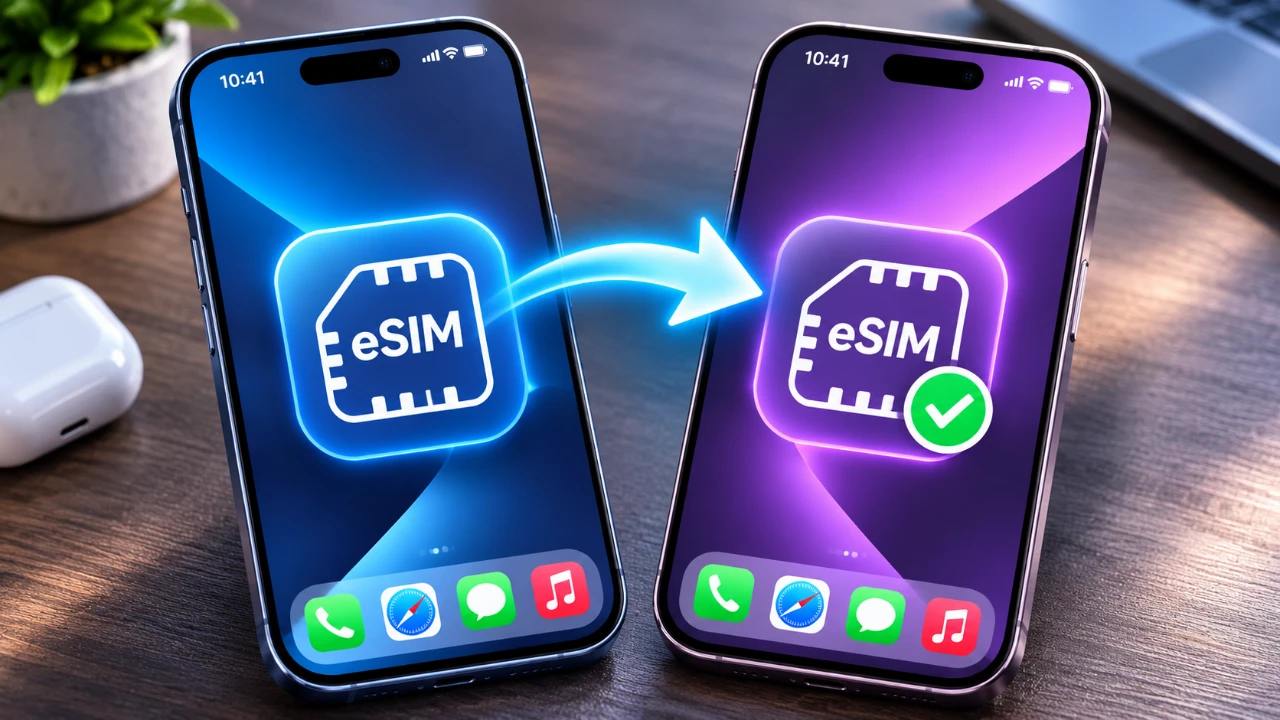
With the release of iOS 27, transferring an eSIM between iPhones has become a more streamlined and user-friendly process. Apple’s latest update simplifies this task, allowing users to switch devices with minimal effort. Whether you’re upgrading to a new iPhone or replacing an older device, this guide provides detailed instructions, essential requirements, and troubleshooting tips to ensure a seamless transition. By following these steps, you can avoid unnecessary delays and maintain uninterrupted connectivity. The video below from Daniel About Tech gives us more details.
TL;DR Key Takeaways :
- iOS 27 Streamlining: Wirelessly transfer cellular profiles between nearby iPhones using built-in Bluetooth and Wi-Fi pairing.
- Essential Prerequisites: Both devices must run iOS 27, stay close together, and sign in to the same Apple ID account.
- Quick Settings Path: Navigate to Settings > Cellular > Add eSIM to initiate a direct nearby device transfer.
- Carrier Backups: If direct pairing fails due to regional restrictions, contact your mobile provider for a manual QR code activation profile.

Essential Requirements Before You Begin
Before initiating the eSIM transfer process, it is crucial to ensure that both devices meet specific prerequisites. These requirements are designed to assist a smooth and uninterrupted transfer:
- Device Proximity: Keep both iPhones physically close to each other throughout the transfer process to maintain a stable connection.
- Connectivity: Ensure that Wi-Fi and Bluetooth are enabled on both devices to allow seamless communication.
- Apple ID: Sign in to the same Apple ID on both iPhones. This is necessary for authentication and secure data transfer.
- Compatible Models: Verify that both devices are iPhone XR or newer, as older models do not support eSIM transfers.
Meeting these requirements is essential to avoid potential complications and ensure the process is completed without interruptions.
Step-by-Step Instructions for Transferring Your eSIM
Once you have confirmed that both devices meet the necessary criteria, follow these detailed steps to transfer your eSIM:
- On your new iPhone, open the Settings app.
- Navigate to Cellular and select Add eSIM.
- Choose the option Transfer from Nearby iPhone. Ensure that your old iPhone is unlocked and within close range.
- Follow the on-screen instructions, which may include entering a one-time verification code to securely link the devices.
- Select the eSIM you wish to transfer and confirm the process to begin the transfer.
Once the transfer is complete, the eSIM will be activated on your new iPhone. The old iPhone will no longer have access to the eSIM, making sure a secure and exclusive transition to the new device.
Troubleshooting Carrier Compatibility and Common Issues
Although the eSIM transfer process in iOS 27 is designed to be straightforward, certain challenges may arise due to carrier restrictions or device-specific limitations. If you encounter issues during the transfer, consider the following troubleshooting steps:
- Verify Carrier Support: Confirm with your carrier that your eSIM plan supports transfers between devices. Some carriers may impose restrictions or require additional steps.
- Request a QR Code: If the transfer fails, contact your carrier to obtain a physical QR code. This can be used to manually activate the eSIM on your new iPhone.
- Update iOS: Ensure that both iPhones are running the latest version of iOS 27. Outdated software can lead to compatibility issues and hinder the transfer process.
If these steps do not resolve the issue, reaching out to your carrier or Apple Support can provide further assistance and guidance.
The Benefits of eSIM Transfers with iOS 27
The enhanced eSIM transfer functionality in iOS 27 offers significant advantages for users who frequently upgrade or switch devices. By simplifying the process and reducing the need for physical SIM cards, Apple has made it easier than ever to stay connected. The outlined steps and troubleshooting tips ensure that users can complete the transfer quickly and efficiently, minimizing downtime and potential frustrations.
Additionally, the ability to transfer an eSIM wirelessly eliminates the need for physical SIM card handling, making the process more environmentally friendly and convenient. However, it is important to remain aware of potential carrier restrictions and have a backup plan, such as a QR code, in case of unexpected issues.
With iOS 27, Apple continues to enhance the user experience by prioritizing accessibility and convenience. Whether you are a tech-savvy individual or a casual user, the improved eSIM transfer process ensures that staying connected is both hassle-free and secure.
Deep dive into the latest in eSIM transfer by exploring our other resources and articles.
Source & Image Credit: Daniel About Tech
Disclosure: Some of our articles include affiliate links. If you buy something through one of these links, Geeky Gadgets may earn an affiliate commission. Learn about our Disclosure Policy.
