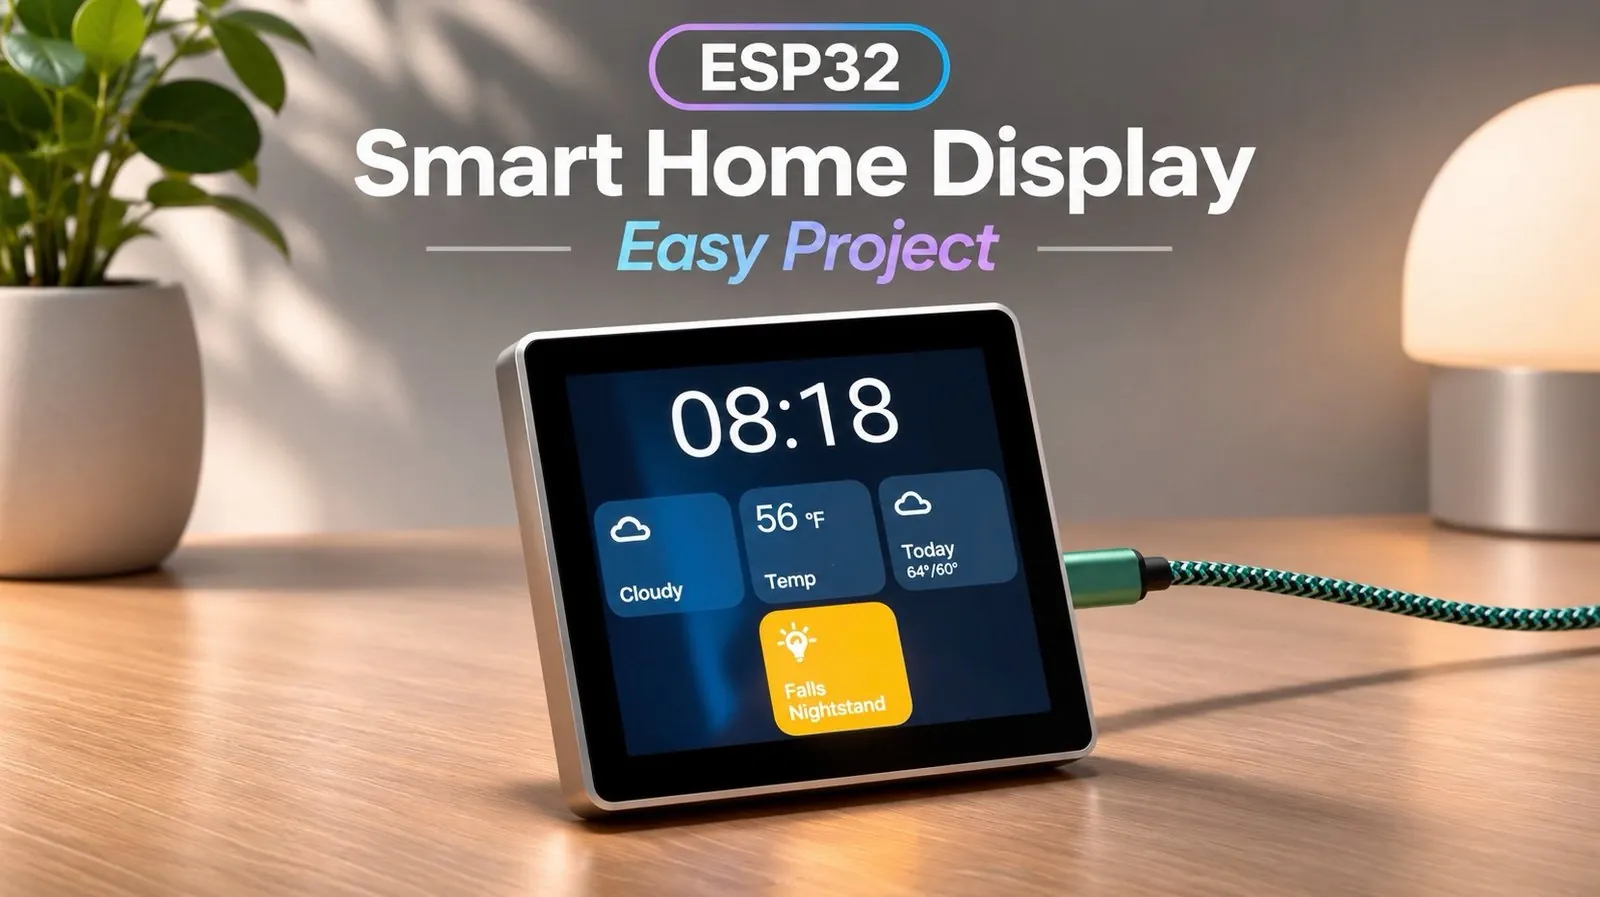
The ESP32 S3 smart home display, paired with a 4-inch screen, offers a budget-friendly option for creating a customizable control hub. Priced around $30, this device integrates seamlessly with Home Assistant, enabling features like weather updates, lighting controls, and a large digital clock. While initial setup using ESPHome encountered Wi-Fi configuration issues, switching to ESP control provided a smoother process, as demonstrated by Felix Boecker.
Explore how to configure the ESP32 S3 using ESP control, from establishing Wi-Fi connectivity to integrating with Home Assistant. This report also covers key customization options, such as adjusting the display layout, adding weather cards, and automating light settings. By following these steps, you’ll gain practical insights into tailoring the device to your preferences while addressing common setup challenges.
Setting Up an ESP32 S3 Smart Home Display
TL;DR Key Takeaways :
- The ESP32 S3 smart home display, priced at approximately $30 online, integrates with Home Assistant and supports features like weather updates, a clock, and light controls. ESP control was found to be a more reliable setup method than ESPHome.
- Flashing ESPHome software onto the device succeeded, but Wi-Fi configuration failed, preventing network connection and Home Assistant integration. Switching to ESP control resolved these issues within 3 to 4 minutes.
- The display supports extensive customization, including a centered large clock, weather cards with a six-day forecast, temperature displays from an outdoor sensor, and light control buttons with distinct icons for “on” and “off” states.
- A Home Assistant automation was created to turn off the display after 30 seconds of the bedside light being turned on, minimizing nighttime light disturbance and keeping the display off during most of the day.
- The outdoor weather sensor on a patio provides real-time updates for the display, and while the ESP control editor showed some inconsistencies (e.g., label behavior), the device itself displayed temperatures correctly and supported tailored features effectively.
The ESP32 S3 with a 4-inch display offers a compact, customizable option for smart home enthusiasts. Priced at approximately $30 on AliExpress, it integrates with Home Assistant to provide features like weather updates, a clock, and light controls. While the setup process can be challenging, ESP control simplifies configuration compared to ESPHome.
Initial Setup and Connection
To begin, a USB-A to USB-C cable is required to connect the ESP32 S3 device. Using a USB extender caused issues during testing, but directly plugging the device into a laptop’s USB-C port resolved these problems.
Flashing ESPHome software onto the device via the ESPHome web app in Chrome was successful. However, configuring Wi-Fi through the same tool failed, stalling the setup and preventing the device from connecting to the network or appearing in Home Assistant.
Switching to ESP Control
ESP control, available on GitHub, proved to be a more reliable and straightforward alternative. Installing it took approximately 3 to 4 minutes, and Wi-Fi setup required only entering and confirming the password. Once connected, the device was successfully discovered and integrated into Home Assistant.
Following the ESP control documentation enabled full functionality, including Home Assistant actions. The device displayed its IP address, allowing configuration access through a web browser.

Here are additional guides from our expansive article library that you may find useful on ESP32 smart Home projects.
- Tessera Ditches YAML Coding for Easier ESPHome Touchscreen Setup
- Build Your Own Smart Home Sensor for $6 in 10 Minutes
- 5 ESP32 Projects Worth Building in 2026: Such as an Apple HomeKit Controller
Customizing the Display
The ESP32 S3 display supports extensive customization, tailored to specific preferences. Configured features included:
- A centered large clock with a black background, replacing the default dark gray.
- Weather cards showing current conditions and a six-day forecast, using Pirate Weather for daily data.
- A temperature display sourced from an outdoor weather sensor, set to Fahrenheit without decimal places.
- A button to control a nightstand light, with distinct icons for “on” and “off” states.
While the ESP control editor displayed temperatures in Celsius, the ESP32 screen correctly showed them in Fahrenheit. However, the editor’s label behavior was inconsistent, as leaving the label field empty still resulted in a displayed label.
The device was preconfigured with English as the language, 24-hour time format, and Fahrenheit for temperature. It was named “bedside display Felix,” and its connection to Home Assistant was set to automatic. The clock card was resized to span the full width of the top display layout. Notably, enabling the “large clock” option is required before the “center clock” option becomes available.
Automating the Display
To reduce unnecessary light at night, a Home Assistant automation was created to turn off the display after 30 seconds. This automation triggers when the bedside display light is turned on, waits for 30 seconds, and then turns off the display. This setup keeps the display off during most of the day, minimizing nighttime light disturbance.
Outdoor Weather Sensor
The weather data shown on the ESP32 device comes from an outdoor weather sensor located on a patio. This sensor provides real-time updates on current outside air conditions, which are displayed on the bedside screen.
ESP Control vs ESPHome
ESP control proved to be a more reliable and user-friendly method for configuring the ESP32 S3 device compared to ESPHome. While ESPHome failed to configure Wi-Fi, ESP control allowed smooth integration with Home Assistant. Its customization options also made it easier to tailor the display to specific needs.
Felix Boecker’s experience highlights that the ESP32 S3 smart home display can be effectively configured and customized using ESP control, which he found more reliable than ESPHome for Wi-Fi setup and integration with Home Assistant. While the ESP config editor’s temperature display and label behavior could be improved, the device itself displayed temperatures correctly and supported tailored features like a centered clock, weather cards, and light controls. For users prioritizing these functionalities, ESP control offers a straightforward way to achieve a personalized smart home display.
Media Credit: Felix Boecker
Disclosure: Some of our articles include affiliate links. If you buy something through one of these links, Geeky Gadgets may earn an affiliate commission. Learn about our Disclosure Policy.
