What if you could combine the simplicity of Arduino with the power of a Linux-based processor, all in one compact device? Enter the Arduino Uno Q, a new development board designed to handle everything from basic hardware projects to advanced tasks like computer vision and voice recognition. Core Electronics walks through how this dual-processor marvel opens up a world of possibilities for both beginners and seasoned developers. Whether you’re building your first IoT project or tackling complex real-time applications, the Uno Q’s versatility and performance make it a fantastic option in the world of embedded systems. With its ability to seamlessly switch between standalone and desktop programming modes, it’s not just a board, it’s a platform for innovation.
In this beginners guide, we’ll explore how to get started with the Arduino Uno Q, from setting up the hardware to choosing the right programming workflow for your needs. You’ll discover how its unique architecture and features, like the ability to host web pages or implement real-time object detection, can transform your approach to development. Along the way, we’ll highlight essential tips and insights to help you unlock the full potential of this device. Whether you’re curious about its Linux environment or eager to dive into its advanced libraries, this guide will give you the foundation to bring your ideas to life. The possibilities are as exciting as they are endless, what will you create?
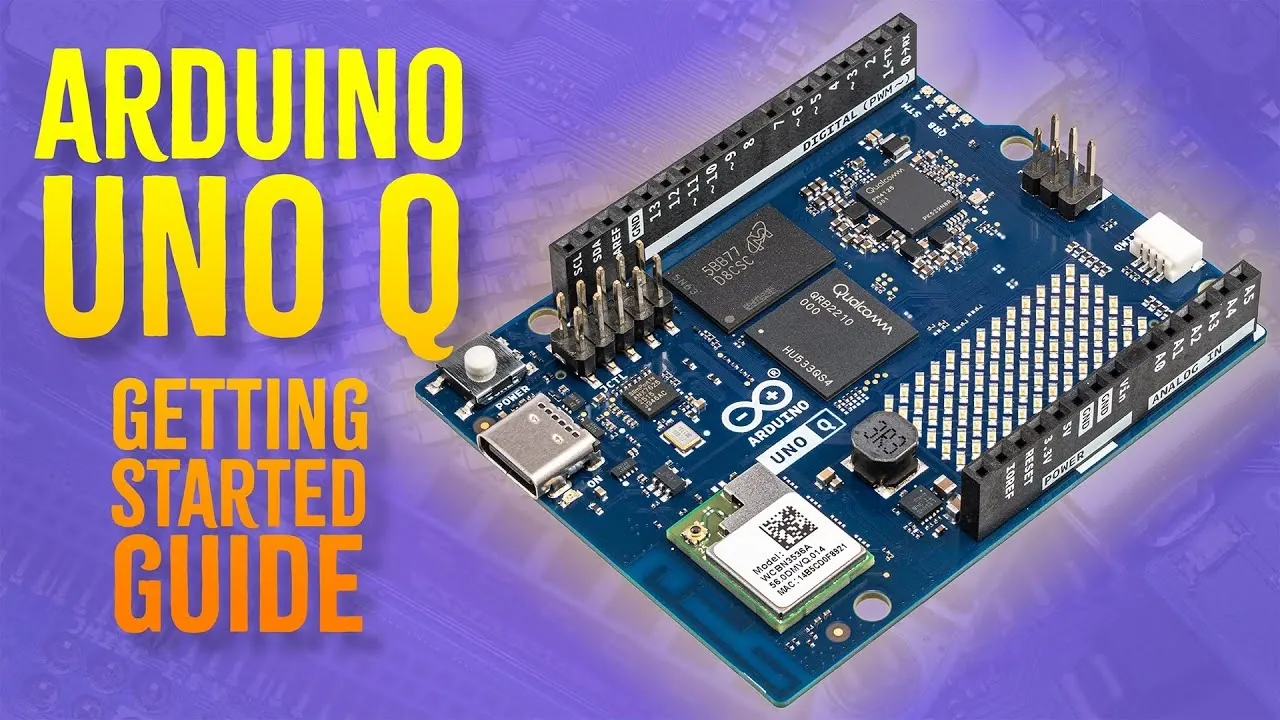
Arduino Uno Q Overview
TL;DR Key Takeaways :
- The Arduino Uno Q combines a microcontroller’s simplicity with an ARM processor running Linux, allowing applications from basic hardware control to advanced tasks like computer vision, voice recognition, and web hosting.
- It offers dual setup options: programming via the AppLab IDE on a computer or standalone operation using its Linux-based desktop environment, providing flexibility for various project needs.
- Essential components for setup include a USB-C cable, a USB-C hub with power delivery for peripherals, and a 5V/3A power supply for stable performance under heavy loads.
- The board supports programming in C++ and Python, with the AppLab IDE offering advanced libraries for tasks like web hosting, audio output, and computer vision, along with example projects for easy onboarding.
- Key applications include real-time object detection, voice recognition, web-based interfaces, and dynamic visual feedback, making it ideal for IoT, robotics, and smart home automation projects.
What You Need to Begin
To start working with the Arduino Uno Q, you will need a few essential components to ensure a smooth setup and operation:
- USB-C Cable: Required for both powering the board and programming it from a computer.
- USB-C Hub with Power Delivery: Useful for connecting peripherals such as a keyboard, mouse, webcam, or microphone.
- 5V/3A USB-C Power Supply: Ensures stable performance, especially when using multiple peripherals. While a 5V/2A supply may suffice for basic tasks, the higher amperage provides greater reliability under heavier loads.
These components are essential for setting up the board and exploring its wide range of capabilities. Making sure you have the correct power supply and peripherals will help avoid potential issues during operation.
Setup Options
The Arduino Uno Q offers two primary setup workflows, giving you the flexibility to choose the one that best aligns with your project needs and development style:
- Using AppLab IDE on a Computer: Connect the Uno Q to your computer via USB and program it using the AppLab IDE. This option is ideal for those who prefer working within a familiar desktop environment.
- Standalone Mode: Boot the board into its Linux-based desktop environment and work directly on the device. This mode is particularly useful for portable or self-contained projects.
This dual setup approach ensures that the Uno Q can adapt to a variety of development environments, whether you prefer working on a desktop or directly on the board itself.
Getting Started With The Arduino Uno Q in 2026

Below are more guides on Arduino from our extensive range of articles.
- DIY Arduino Wind Speed Meter Anemometer Project
- Arduino omni-wheel robot and pen plotter
- Atto tiny Arduino USB development board
- Arduino UNO R4 Minima vs UNO R4 WiFi boards
- Arduino Opta Expansions
- Create Arduino Cloud interactive dashboards for Raspberry Pi data
- Arduino Uno Q : Features, Specs and Why It’s a Game-Changer
- How to Create Awesome Arduino Cloud IoT Dashboards
- ArdOsc Mini Arduino Oscilloscope Project
- Arduino Zero 32 Bit Board Unveiled By Atmel and Arduino
First-Time Configuration
Configuring the Uno Q for the first time is straightforward. Follow these steps to get started:
- Connect your peripherals, such as a keyboard and mouse, to the board using a USB-C hub.
- Attach an HDMI monitor to the board for display output.
- Power the board using the USB-C cable and a compatible power supply.
- Follow the on-screen instructions to complete the setup process, which includes connecting to Wi-Fi and installing any necessary software updates.
In some cases, particularly with early production units, you may encounter issues with firmware updates. If this occurs, you might need to manually reflash the firmware to ensure the board operates at its full potential. This step is critical for unlocking the advanced features of the Uno Q.
Programming Features
The Arduino Uno Q supports programming in both C++ and Python, making it a versatile platform for developers with varying levels of experience. The primary tool for programming the board is the AppLab IDE, which provides a user-friendly interface and access to advanced libraries, known as Bricks. These libraries simplify the implementation of complex tasks, including:
- Hosting Web Pages: Create interactive web interfaces for remote control and monitoring.
- Generating Audio Output: Develop applications that require sound or voice feedback.
- Implementing Computer Vision: Use pre-built algorithms for tasks such as object detection and image processing.
The IDE also includes a variety of example projects that demonstrate the board’s capabilities. These projects, such as controlling an LED matrix, detecting objects with a USB webcam, and recognizing voice commands, serve as excellent starting points for your own custom applications.
Flexible Usage Options
The Arduino Uno Q provides flexibility in how you can program and interact with it, making it suitable for a wide range of development scenarios:
- Direct Programming: Write and execute code directly on the board using its Linux environment. This option is ideal for standalone projects or when working without a computer.
- Network Programming: Use the AppLab IDE installed on a desktop PC to program the board over a local network. This method is convenient for collaborative projects or when the board is deployed in a remote location.
This adaptability ensures that the Uno Q can seamlessly integrate into your workflow, whether you are working at your desk or on the move.
Applications and Capabilities
The Arduino Uno Q is designed to support a wide range of applications, thanks to its robust hardware and software ecosystem. Some of its key capabilities include:
- Real-Time Object Detection: Use a USB webcam to perform live computer vision tasks, such as identifying objects or tracking motion.
- Visual Feedback: Display dynamic information, such as weather data or system status, on an LED matrix.
- Voice Recognition: Implement keyword detection for voice-controlled systems, allowing hands-free operation.
- Web-Based Interfaces: Develop interactive web applications that allow remote control and monitoring of connected devices.
These features make the Uno Q a powerful tool for prototyping and deploying innovative solutions across various fields, including IoT, robotics, and smart home automation.
Tips for Maximizing the Uno Q’s Potential
To get the most out of the Arduino Uno Q, take advantage of the example projects included with the board. These projects provide a solid foundation for exploring its capabilities and can be customized to suit your specific needs. Additionally, the Arduino community offers a wealth of resources, including forums, tutorials, and open source libraries, where you can seek advice, share your work, and collaborate with other developers. Engaging with this community can accelerate your learning and inspire new project ideas.
By using the board’s dual-processor architecture, extensive library support, and flexible programming options, you can tackle a wide range of projects, from simple hardware control to advanced applications like computer vision and web hosting. The Arduino Uno Q is a valuable tool for bringing your ideas to life.
Media Credit: Core Electronics
Disclosure: Some of our articles include affiliate links. If you buy something through one of these links, Geeky Gadgets may earn an affiliate commission. Learn about our Disclosure Policy.