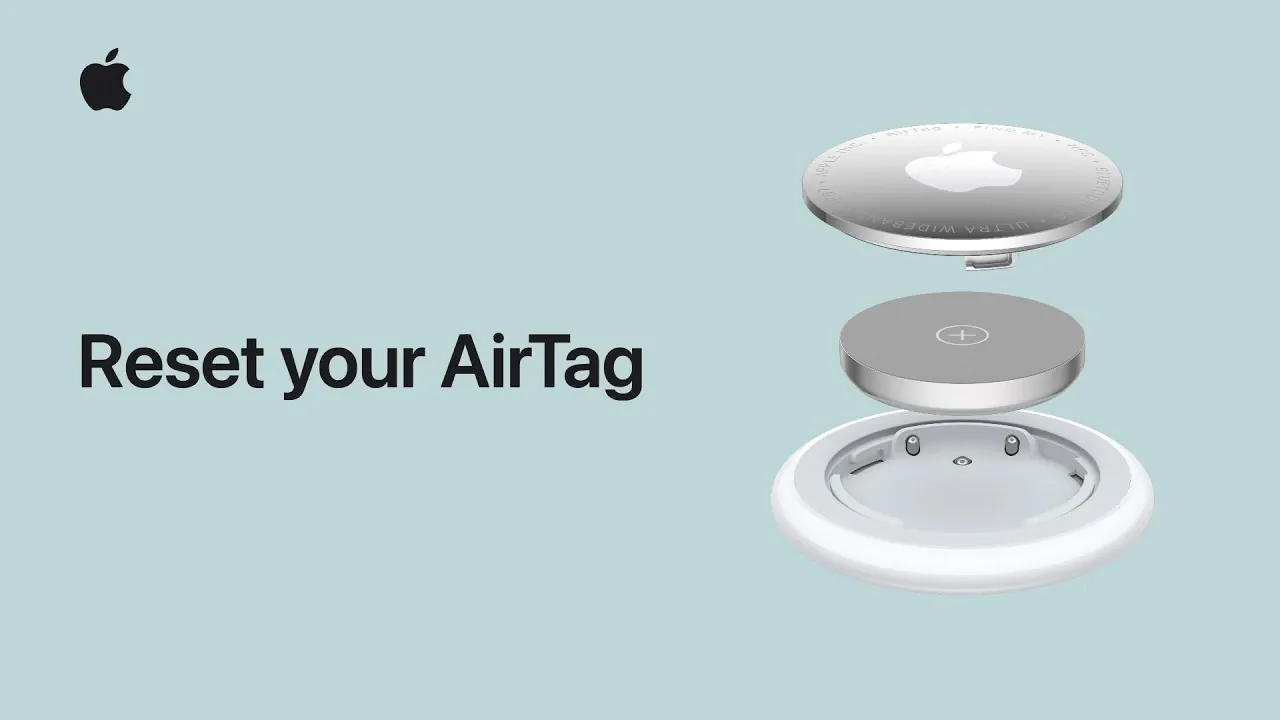
Resetting your second-generation AirTag is an essential process to prepare it for pairing with your iPhone or iPad. Whether you are troubleshooting connectivity issues or transferring ownership, following the correct reset procedure ensures the device functions as intended. This guide provides clear, actionable steps to reset your AirTag safely and effectively, with additional tips to maintain its functionality and ensure safety in your household. The video below from Apple gives us more details.

Step-by-Step Instructions to Reset Your AirTag
Resetting your AirTag involves a precise sequence of actions. Follow these steps carefully to ensure success:
- Remove the battery cover: Firmly press down on the battery cover and rotate it counterclockwise until it releases. This will expose the battery compartment.
- Take out and reinsert the battery: Remove the battery from the compartment. Reinsert it and press down for two seconds. You should hear a sound indicating the battery has been recognized.
- Repeat the process: Remove and reinsert the battery four additional times, for a total of five cycles. Each time, ensure you hear the confirmation sound that signals the battery is properly seated.
- Final reset step: On the fifth cycle, press and hold the battery down for up to 12 seconds. A distinct sound will play, confirming the AirTag has been successfully reset and is ready for pairing.
- Verify the reset: If the distinct sound does not play, repeat the process from the beginning. The sound is a critical indicator that the reset has been completed.
This sequence ensures your AirTag is fully reset and ready to connect to your device. Skipping any step may result in an incomplete reset, so attention to detail is key.
How to Reassemble Your AirTag
After resetting your AirTag, proper reassembly is crucial to maintain its functionality and protect its internal components. Follow these steps to reassemble the device correctly:
- Align the battery cover: Match the tabs on the battery cover with the corresponding slots on the AirTag body. Proper alignment ensures a secure fit.
- Secure the cover: Press down firmly on the cover and rotate it clockwise until it locks into place. This step ensures the battery is held securely and the AirTag is operational.
Proper reassembly not only ensures the AirTag functions as intended but also protects it from potential damage caused by loose components or improper handling.
Safety Precautions: Protecting Children from Hazards
AirTags contain small components, such as the battery and cover, which can pose choking hazards to young children. To use your AirTag safely in a household with children, consider the following precautions:
- Keep small parts out of reach: Store the AirTag, its battery and cover in a secure location when not in use to prevent accidental access by children.
- Secure spare batteries: Ensure spare batteries are stored in childproof containers and dispose of used batteries responsibly to avoid accidental ingestion.
- Inspect regularly: Periodically check your AirTag to confirm the battery cover is securely locked and cannot be easily removed by children.
By adhering to these safety measures, you can minimize risks and ensure the safe use of your AirTag in any environment.
Maintaining Your AirTag for Long-Term Use
To maximize the lifespan and functionality of your second-generation AirTag, it is important to follow best practices for maintenance and care:
- Replace the battery as needed: Monitor the battery life of your AirTag and replace it promptly when it runs low. Use only compatible CR2032 batteries for optimal performance.
- Keep the device clean: Wipe the exterior of the AirTag with a soft, dry cloth to remove dirt or debris that could affect its performance.
- Avoid exposure to extreme conditions: Protect your AirTag from prolonged exposure to moisture, heat, or cold, as these conditions can damage its internal components.
Regular maintenance ensures your AirTag remains reliable and effective, providing seamless tracking capabilities for years to come.
Source & Image Credit: Apple Support
Disclosure: Some of our articles include affiliate links. If you buy something through one of these links, Geeky Gadgets may earn an affiliate commission. Learn about our Disclosure Policy.
