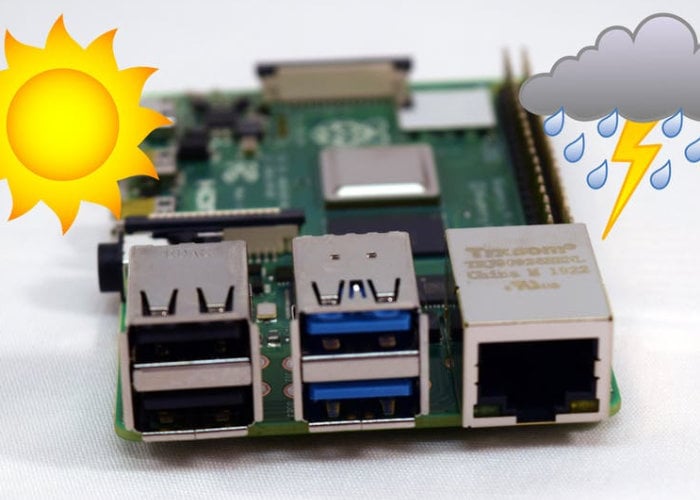
Raspberry Pi enthusiasts looking for inspiration for a new project to keep them busy this weekend may be interested in a new real-time Raspberry Pi weather station project posted to the Hackster.io website by the Arduino “having11” Guy. Classed as a beginner project, the Raspberry Pi weather station should take roughly 60 minutes to complete and requires a Raspberry Pi 4 model B mini PC.
Project Overview
The weather station project leverages the power of the Raspberry Pi 4 model B, a versatile mini PC that has become a favorite among hobbyists and developers. This project is ideal for beginners who are looking to get their feet wet in the world of electronics and programming. The setup involves using the OpenWeatherMap service to gather real-time weather data, which can then be displayed on a screen or used to trigger other devices.
OpenWeatherMap is a popular choice for weather data because it offers a free API that is easy to use. This API provides current weather conditions, forecasts, and a variety of other meteorological data. To get started, you simply need to sign up for an API key on the OpenWeatherMap website. Once you have your key, you can start making requests to the API to retrieve weather data for your location.
Setting Up Your Weather Station
To set up your Raspberry Pi weather station, you’ll need a few additional components besides the Raspberry Pi 4 model B. These include a power supply, a microSD card with Raspbian OS installed, and a display screen to show the weather data. Optionally, you can add sensors like a temperature and humidity sensor to gather more localized data.
1. Install Raspbian OS: Begin by installing the Raspbian operating system on your Raspberry Pi. This can be done by downloading the OS image from the official Raspberry Pi website and writing it to your microSD card using a tool like Balena Etcher.
2. Set Up OpenWeatherMap API: Sign up for a free API key on the OpenWeatherMap website. This key will allow you to make requests to the API and retrieve weather data.
3. Write the Python Script: Create a Python script that will make requests to the OpenWeatherMap API and parse the returned JSON data. The script can then display this data on your screen or use it to control other devices. Here is a simple example of what the script might look like:
“`python
import requests
API_KEY = ‘your_api_key_here’
CITY = ‘your_city_here’
URL = f’https://api.openweathermap.org/data/2.5/weather?q={CITY}&appid={API_KEY}’
response = requests.get(URL)
data = response.json()
print(f”Temperature: {data[‘main’][‘temp’]}°K”)
print(f”Weather: {data[‘weather’][0][‘description’]}”)
“`
4. Connect the Display: Connect your display screen to the Raspberry Pi. This could be an HDMI monitor, a small LCD screen, or even an e-ink display for a more energy-efficient setup.
5. Run the Script: Execute your Python script to start fetching and displaying the weather data. You can set this script to run at startup or at regular intervals using a cron job.
Expanding the Project
Once you have the basic weather station up and running, there are numerous ways to expand and enhance the project. For example, you could integrate additional sensors to measure local temperature, humidity, and atmospheric pressure. These sensors can provide more accurate and localized weather data, which can be particularly useful for microclimate studies.
Another interesting expansion is to use the weather data to control other devices. For instance, you could set up a smart irrigation system that waters your garden based on the weather forecast. If rain is predicted, the system could delay watering to conserve water. Similarly, you could use the data to control heating and cooling systems in your home, making your living environment more comfortable and energy-efficient.
For more details on the project and how to set up your very own real-time weather station using the awesome Raspberry Pi mini PC, jump over to the Hackster.io website via the link below.
Source: Hackster.io
Latest Geeky Gadgets Deals
Disclosure: Some of our articles include affiliate links. If you buy something through one of these links, Geeky Gadgets may earn an affiliate commission. Learn about our Disclosure Policy.