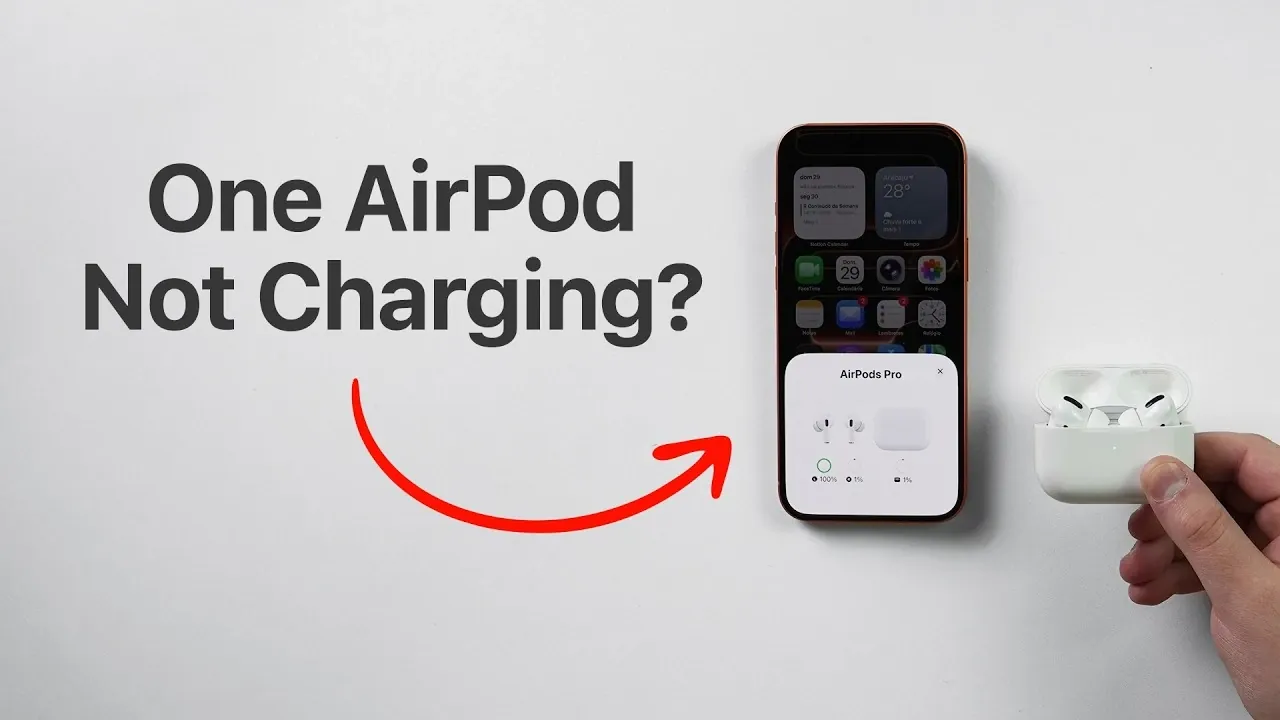
When one of your AirPods refuses to charge, it can disrupt your day and leave you searching for solutions. This guide provides clear, actionable steps to help you identify and resolve the issue. Common causes include a low battery in the charging case, dirt or debris blocking the connection, or potential hardware malfunctions. By following these steps, you can restore your AirPods’ functionality and ensure they remain in optimal condition. The video below from Daniel About Tech gives us more details on how to fix this issue on your AirPods.
Step 1: Verify the Charging Case Battery
Your AirPods depend on the charging case for power. If the case’s battery is low, it may prevent one or both AirPods from charging. To address this:
- Check the battery level of the charging case. Ensure it has at least 10% charge or more.
- Recharge the case using a Lightning cable or place it on a wireless charging pad if your model supports wireless charging.
A fully charged case not only powers your AirPods but also helps prevent intermittent charging issues. Regularly charging the case ensures consistent performance.
Step 2: Adjust the AirPod’s Position
Misalignment within the charging case is a frequent cause of charging problems. To fix this:
- Remove the AirPod that isn’t charging and inspect it for any visible obstructions.
- Reinsert the AirPod into the case, making sure it aligns properly with the charging connectors.
- Observe the charging indicator light on the case. If it lights up, the AirPod is correctly positioned and charging.
This simple adjustment often resolves minor alignment issues and restores charging functionality.
Step 3: Clean the AirPods and Charging Case
Dirt, dust, or debris can interfere with the connection between the AirPod and the charging case. Cleaning both components can resolve this issue. Follow these steps:
- Use a soft microfiber cloth to gently clean the AirPods, focusing on the metal connectors at the base.
- For the charging case, use an interdental brush or a soft, dry toothbrush to remove dust and grime from the charging ports.
- Avoid using liquids or cleaning agents, as moisture can damage the internal electronics.
Regular cleaning not only resolves charging issues but also helps maintain the longevity of your AirPods and charging case.
Step 4: Reset Your AirPods
If cleaning and repositioning don’t resolve the issue, resetting your AirPods can address potential software glitches. Here’s how:
- Locate the small button on the back of the charging case.
- Press and hold the button for approximately 20 seconds until the status light flashes amber, then white.
- Reconnect your AirPods to your device by following the pairing process as if they were new.
This reset process can often resolve software-related inconsistencies that may be affecting charging or connectivity.
Step 5: Investigate Hardware Issues
If the problem persists after trying the above steps, it may indicate a hardware issue. Common hardware-related problems include:
- A damaged or faulty charging connector inside the case.
- A depleted or defective AirPod battery.
- Internal circuitry malfunctions within the AirPod or charging case.
In such cases, it’s advisable to contact Apple Support or visit an Apple Store for professional diagnostics. Apple technicians can determine whether the issue is covered under warranty or if repair or replacement is necessary.
Preventive Maintenance Tips
To minimize the risk of future charging issues, adopt these maintenance practices:
- Keep your charging case adequately charged to avoid interruptions.
- Clean the connectors on both the AirPods and the charging case regularly to prevent dirt buildup.
- Handle your AirPods and case with care to avoid physical damage.
- Store your AirPods in their case when not in use to protect them from dust and debris.
Consistent maintenance ensures your AirPods remain reliable and functional over time, reducing the likelihood of unexpected issues.
By following these steps and maintaining your AirPods properly, you can address charging problems effectively and enjoy uninterrupted use of your device.
Source & Image Credit: Daniel About Tech
Disclosure: Some of our articles include affiliate links. If you buy something through one of these links, Geeky Gadgets may earn an affiliate commission. Learn about our Disclosure Policy.