Screen recording on an iPhone or iPad is a highly practical feature that allows you to capture and share tutorials, gameplay, or troubleshooting steps. Whether you’re documenting a technical issue or creating engaging content, this tool is designed to simplify the process. The video below from Apple provides a detailed walkthrough of how to set up, use, and optimize screen recording, along with tips to overcome common limitations.

Setting Up Screen Recording
Before you can start recording, you need to enable the screen recording feature in your device’s Control Center. This ensures quick and easy access whenever you need it. Follow these steps to set it up:
- Open the Settings app on your iPhone or iPad.
- Navigate to Control Center and tap Customize Controls.
- Locate Screen Recording in the list and tap the green plus icon to add it to your Control Center.
Once added, the screen recording option will always be accessible with a simple swipe, making it convenient to start recording at any time.
How to Start a Screen Recording
Starting a screen recording is straightforward once the feature is enabled. Here’s how to begin:
- Swipe down from the top-right corner of the screen (or swipe up from the bottom on older devices) to open the Control Center.
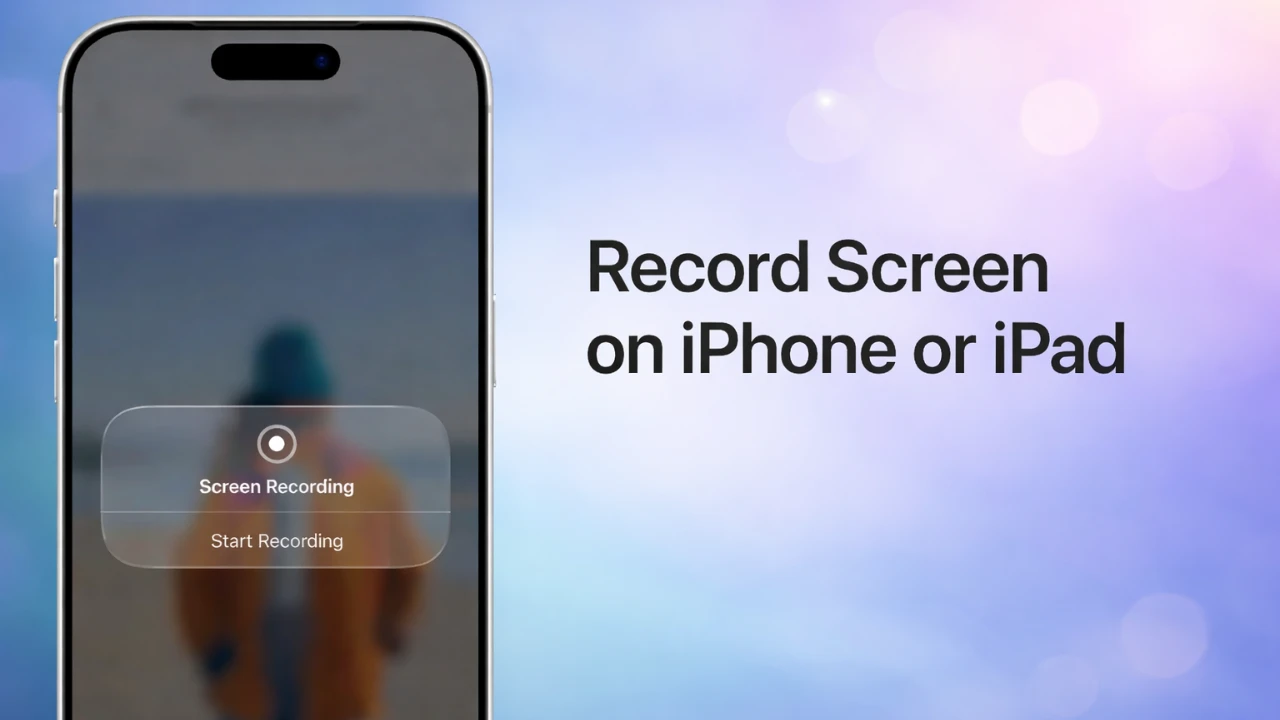
- Tap the circular record button. A three-second countdown will appear, signaling the start of the recording.
For additional options, press and hold the record button. This brings up settings such as allowing the microphone for audio recording or initiating a live broadcast through compatible apps. Activating the microphone is particularly useful if you want to narrate your actions or provide commentary during the recording. This feature is ideal for creating tutorials or walkthroughs that require verbal explanations.
Managing and Stopping Your Recording
While recording, you can navigate through your device and perform the actions you want to capture. A red status bar or indicator at the top of the screen confirms that the recording is active. When you’re ready to stop recording, you have two options:
- Tap the red status bar at the top of the screen and select Stop.
- Alternatively, open the Control Center and tap the record button again.
Once the recording is stopped, it is automatically saved to the Photos app. This ensures that your recording is readily available for viewing, editing, or sharing.
Editing and Sharing Your Screen Recording
After saving your recording, you can enhance it using the built-in editing tools in the Photos app. These tools allow you to refine your video before sharing it with others. Follow these steps to edit and share your recording:
- Open the recording in the Photos app and tap Edit.
- Use the trimming tool to remove unnecessary sections or adjust the video as needed.
- Once satisfied, tap the share button to send the recording via email, messaging apps, or cloud storage services.
These editing tools are intuitive and user-friendly, allowing you to create polished recordings with minimal effort. Sharing options are equally versatile, allowing you to distribute your content across various platforms.
Key Features and Limitations
While screen recording is a powerful and versatile tool, it does have certain limitations that users should be aware of. Understanding these constraints will help you make the most of the feature:
- Audio Restrictions: Some apps block audio recording due to privacy or copyright concerns. As a result, in-app sounds may not be captured in certain cases.
- Screen Mirroring: Screen recording cannot be used simultaneously with screen mirroring. If you attempt to record while mirroring your screen, the recording feature will be disabled.
Despite these restrictions, the feature remains highly functional for most scenarios. For instance, allowing the microphone allows you to add voiceovers, making your recordings more engaging and informative. This is particularly useful for creating instructional content or narrating gameplay.
Maximizing the Potential of Screen Recording
Screen recording on an iPhone or iPad is a versatile tool that can serve a wide range of purposes. By setting up the Control Center for quick access, allowing optional features like the microphone, and using the Photos app for editing and sharing, you can create high-quality recordings with ease. While some limitations exist, they are generally manageable and do not detract from the overall utility of the feature. Whether you’re creating tutorials, documenting technical issues, or sharing content with friends and colleagues, screen recording is a valuable addition to your device’s capabilities.
Below are more guides on Screen recording from our extensive range of articles.
- How to Use Microsoft Clipchamp for Free Screen Recording on Win
- How to screen record on the iPhone
- How to Record Your iPhone Screen Like a Pro
- How to screen record on Mac with sound
- How to Record Your Screen on Windows 11: Step-by-Step Guide
- Snipping tool on Mac, How to use it
Source: Apple Support
Disclosure: Some of our articles include affiliate links. If you buy something through one of these links, Geeky Gadgets may earn an affiliate commission. Learn about our Disclosure Policy.