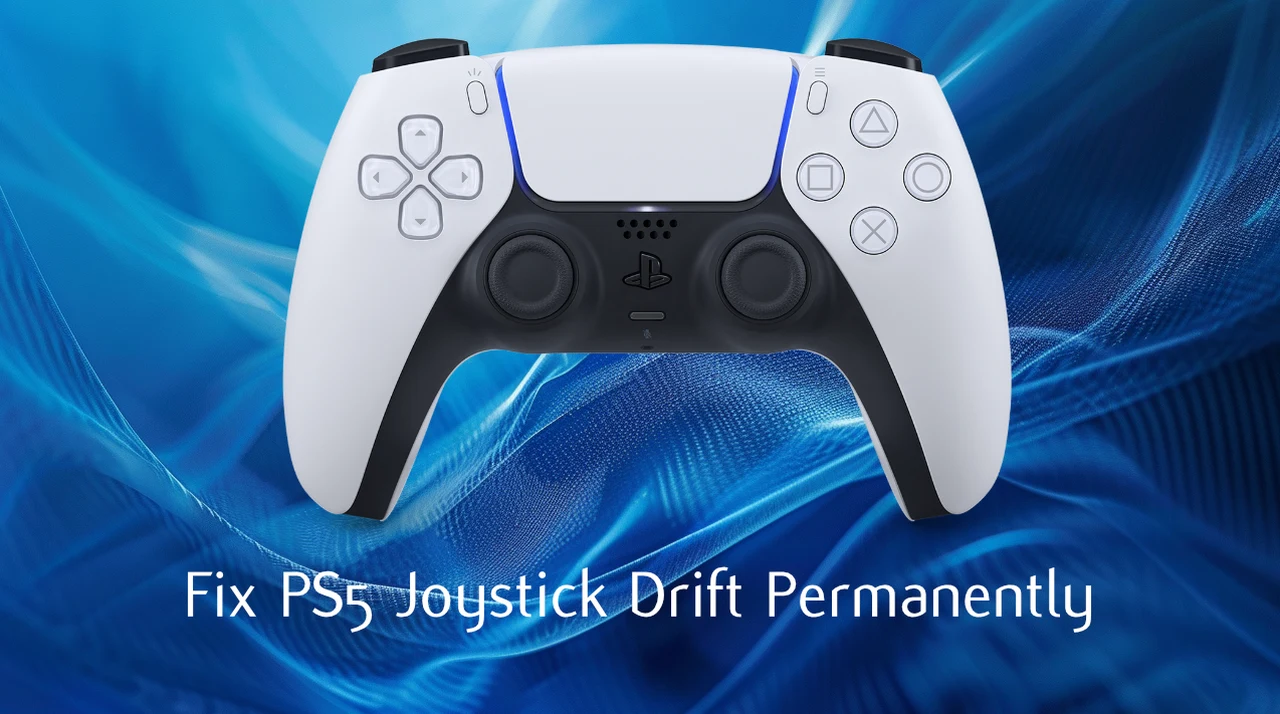
Have you ever found yourself battling against your own controller rather than the game itself? Joystick drift is a common issue that plagues many PS5 users, causing characters to move without any input. It’s frustrating, right? While traditional fixes like replacing potentiometers or buying new controllers offer temporary relief, there’s a more permanent solution out there.
Joystick drift is a frustrating and widespread problem that affects many controllers. This issue is caused by the gradual wear and tear of the potentiometers inside the joystick, which leads to inaccurate readings and unintended movements. While traditional fixes involve replacing the faulty components or purchasing a new controller, these solutions are only temporary. However, there is a more permanent fix suggested by iFixit: replacing the potentiometers with Hall effect sensor sticks. This guide will walk you through the process of installing these sensors, ensuring a long-lasting solution to joystick drift.
The Cause of Joystick Drift
To understand why Hall effect sensor sticks are a superior solution, it’s essential to know what causes joystick drift in the first place. Potentiometers are the components responsible for measuring the joystick’s position by varying resistance. Over time, these mechanical parts degrade due to constant use, resulting in inaccurate readings and ghost inputs. This wear and tear is what causes the joystick to move on its own, even when you’re not touching it.
The Advantages of Hall Effect Sensor Sticks
Hall effect sensors offer a more durable and reliable alternative to potentiometers. These sensors work by detecting changes in magnetic fields to determine the joystick’s position. Because they have no mechanical parts, they are not susceptible to the same wear and tear as potentiometers. By replacing the potentiometers with Hall effect sensor sticks, you can eliminate the root cause of joystick drift and enjoy a controller that performs like new for years to come.

Fixing Joystick Drift: A Step-by-Step Guide
To replace the potentiometers with Hall effect sensor sticks, you’ll need to follow these steps:
- Disassemble the controller: Start by removing the screws on the back of the PS5 controller and carefully prying open the casing to access the internal components. Be gentle to avoid damaging any wires or connectors.
- Desolder the old potentiometers: Using a desoldering pump or wick, remove the solder from the connections of the old potentiometers. This will allow you to remove the faulty components.
- Install the Hall effect sensor sticks: Position the new Hall effect sensor sticks in place of the old potentiometers. Solder the sensors to the controller’s circuit board, ensuring that the connections are clean and secure.
- Reassemble the controller: Once the new sensors are in place, carefully align the casing and snap it back together. Replace the screws to secure the casing and ensure that all buttons and joysticks move freely and are properly aligned.
- Calibrate the thumb sticks: Finally, use third-party calibration software to fine-tune the Hall effect sensors for optimal performance. This step ensures that the sensors accurately detect joystick movements.
While major manufacturers have not widely adopted Hall effect sensors due to cost considerations and existing supply chain agreements, they remain a superior choice for consumers seeking a long-lasting solution to joystick drift.
By following this guide and replacing the potentiometers with Hall effect sensor sticks, you can permanently fix PS5 joystick drift and enjoy a controller that performs like new for years to come. This solution not only resolves the issue but also enhances the durability and reliability of your gaming experience.
Video Credit: iFixit
Disclosure: Some of our articles include affiliate links. If you buy something through one of these links, Geeky Gadgets may earn an affiliate commission. Learn about our Disclosure Policy.
