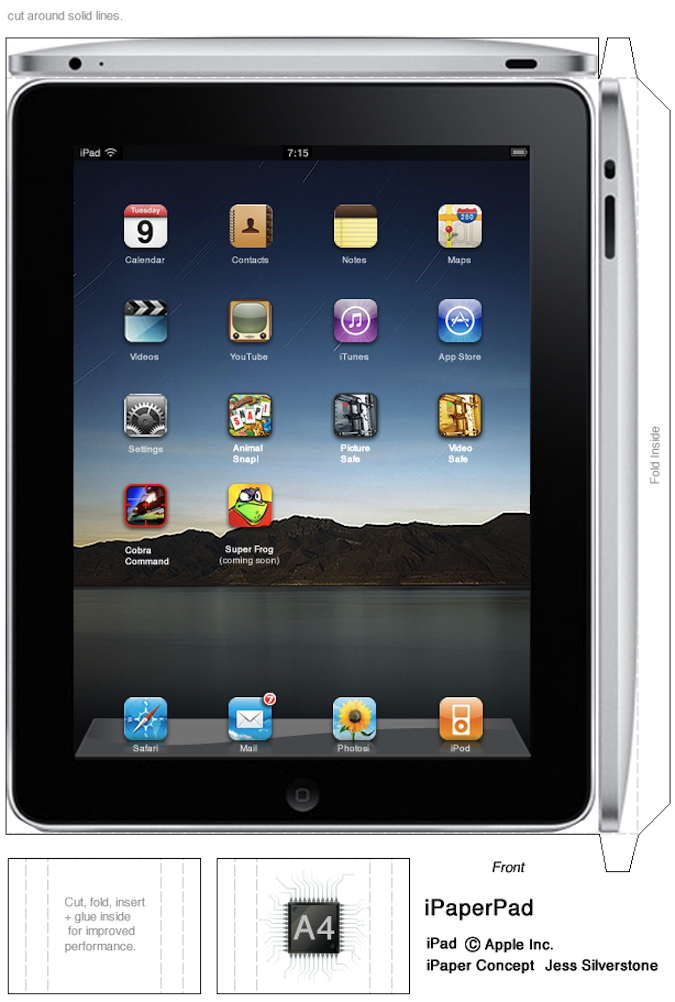
If you have to get your hands on one of Apple’s [AAPL] new iPads and can’t wait until next month, now you can make your own paper iPad with this fun template created by Jess Silverstone from Revolutionary Concepts.
The paper iPad can be printed on standard paper, all you will need is a printer that is capable of borderless printing.


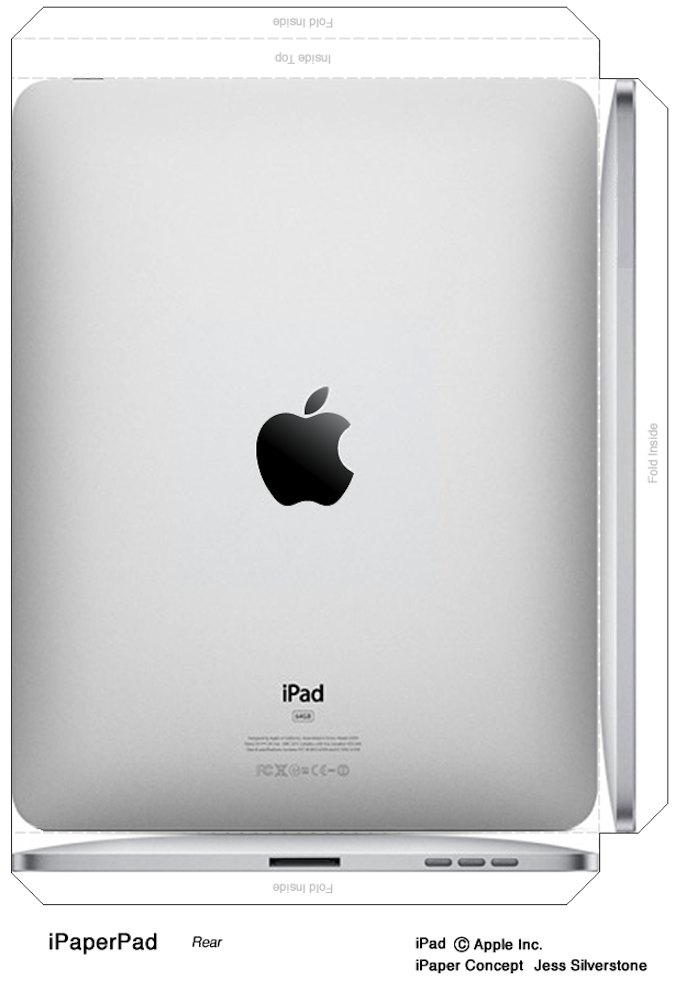
To make your own paper iPad you will need to download two PNG files (links below), which can be printed on standard A4 paper.
Mac Rumors via Gizmodo
Have a look at the Geeky Gadgets, Apple iPad Review to see what we thought of the Apple Tablet.
Why Make a Paper iPad?
Creating a paper iPad can be a fun and engaging activity for several reasons. Firstly, it allows you to get a feel for the size and design of the actual device without having to wait for its release. This can be particularly exciting for tech enthusiasts who are eagerly anticipating the latest gadgets from Apple. Additionally, making a paper iPad can be a great educational tool for children and adults alike. It can help in understanding the basic layout and features of the iPad, such as the placement of buttons and the screen size.
Moreover, this activity can serve as a creative project that can be done individually or as a group. It can be a fun way to spend time with family or friends, especially if you are all fans of Apple products. You can even customize your paper iPad by adding your own drawings or stickers to make it unique.
Steps to Create Your Paper iPad
To create your paper iPad, follow these simple steps:
1. Download the Templates: Click on the links provided to download the front and back templates of the iPad. Make sure to save these files on your computer.
2. Print the Templates: Use a printer that supports borderless printing to print the templates on A4 paper. Ensure that the print quality is set to high for the best results.
3. Cut Out the Templates: Carefully cut out the front and back templates using a pair of scissors. Make sure to follow the edges precisely to get a clean cut.
4. Assemble the iPad: Align the front and back templates and glue them together. You can use a glue stick or double-sided tape for this step. Make sure to press firmly to ensure that the templates stick together well.
5. Add Finishing Touches: Once the glue has dried, you can add any finishing touches to your paper iPad. This could include drawing on additional features or adding stickers to personalize it.
Creating a paper iPad is not only a fun activity but also a great way to engage with the latest technology trends. It allows you to explore the design and features of the iPad in a hands-on manner. So why wait? Download the templates and start creating your own paper iPad today!
For more exciting projects and reviews, don’t forget to check out our Apple iPad Review to see what we thought of the Apple Tablet.
Disclosure: Some of our articles include affiliate links. If you buy something through one of these links, Geeky Gadgets may earn an affiliate commission. Learn about our Disclosure Policy.