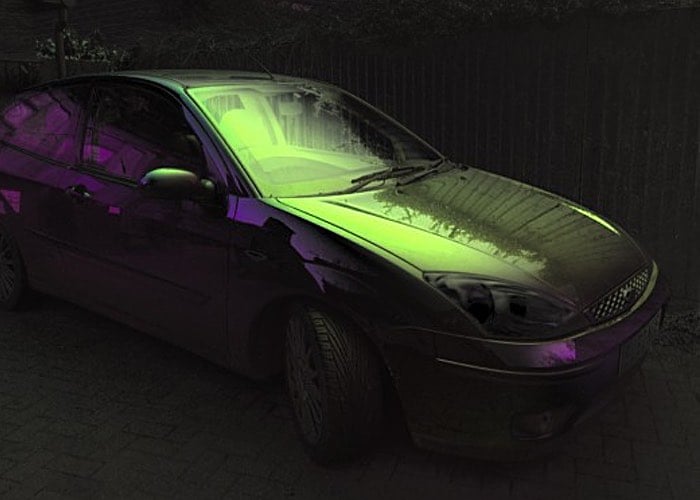
Ynformatic has this week published details on how to use your iPhone together with a little Arduino hardware and programming to create some awesome polarised images similar to the one above.
The system uses an Arduino Pro Mini, an iPhone, and a screen from an auto-darkening welder’s mask to create the very unique images that are sure to impress your Instagram followers who are still using stock filters.
A phototransistor located facing the iPhone’s flashlight LED is connected to both an external interrupt pin and an analog pin. Short pulses on the LED cause interrupts in the Arduino code which are used to synchronize the polarizer. Long pulses on the LED cause the Arduino to enter calibration mode.
The time interval between syncrhonization pulses is continuously measured and divided into three equal parts. On receiving a synchronization pulse the voltage is set to 0V for one part, to the 45 degree voltage for one part and finally to 5V for one part. Voltage for the polarizer is supplied from an Arduino PWM output pin.
To get a reasonably stable output the PWM frequency was increased to 32 kHz and smoothed with a second order RC filter. The liquid crystal display will be damaged by a constant DC voltage so a CMOS switch is used to alternate the polarity. A 2 kHz square wave generated from a free running Arduino timer is used to drive the switching.
More details on how to create your very own polarised images and download the full source code for the Arduino and iPhone to use jump over to the official Arduino blog via the link below. If you enjoyed this article you are sure to enjoy how to build your very own Arduino wind speed meter or anemometer project which is easy to build with basic Arduino skills.
Source: AB
Disclosure: Some of our articles include affiliate links. If you buy something through one of these links, Geeky Gadgets may earn an affiliate commission. Learn about our Disclosure Policy.