If you are interested in building your very own Raspberry Pi irrigation system to help keep your plants or crops fully watered. You may be interested in a new project published by Didier Verleysen early this year to the Hackster.io website. “After years of struggeling and always forget to give the tomatoes water, it was time for a solution, an irrigation system.”
The project is still currently under development and requires an intermediate skill level to construct using the Raspberry Pi 2 Model B as the processing unit. Verleysen Had a few goals in mind when constructing the first phase of the project :
– WebcamI wanted to have a webcam view, a clear picture of the growth of tomatoes. For the last years I always started enthusiastically but maintenance was always a struggle, due to leave home or other subterfuge 😉
– Temperature and humidityThe temperature and humidity of the greenhouse. An overview of the temperature was important because the greenhouse is quite a number of hours a day in the sun. A protective layer of scale is added and two automatic opening skylights are keeping the temperature under control.Currently there are maximum peaks of 36°c which is still too much. Max 30° should be the perfect temperature.
– Tabs or water pumpsSomething to control the water pumps or valves

“I use an FOSCAM outdoor webcam that is simply connected to the internal network, every 5 minutes I get an image to place on the web. The temperature and humidity meters, 1 external module that can be easily connected to the Raspberry Pi, every 5 minutes are the values saved in a database. With this values I create a graph on the website.
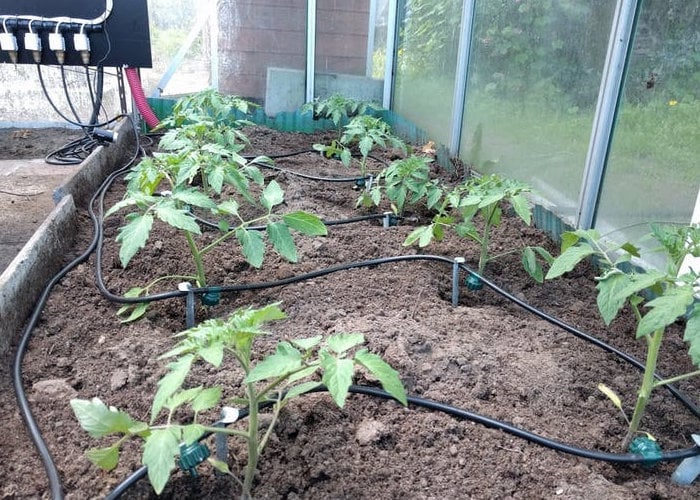
The biggest challenge were the water pumps or valves, Many people work with 220V valves or pumps, but it was too dangerous for me. After a lot of “googl-ing” I’ve found a Chinese website that sells 12V water valves, after ordering it was another 4 weeks waiting for the delivery. The building could start… how do I make of all this a working thing. The Raspberry Pi, the relay board to control the valves and a transformer 220V-V12 had to be provided in a box.”
Jump over to the Hackster.io project page for more details on how to build your very own and the components you will need.
Source: Hackster.io : Adafruit
Disclosure: Some of our articles include affiliate links. If you buy something through one of these links, Geeky Gadgets may earn an affiliate commission. Learn about our Disclosure Policy.