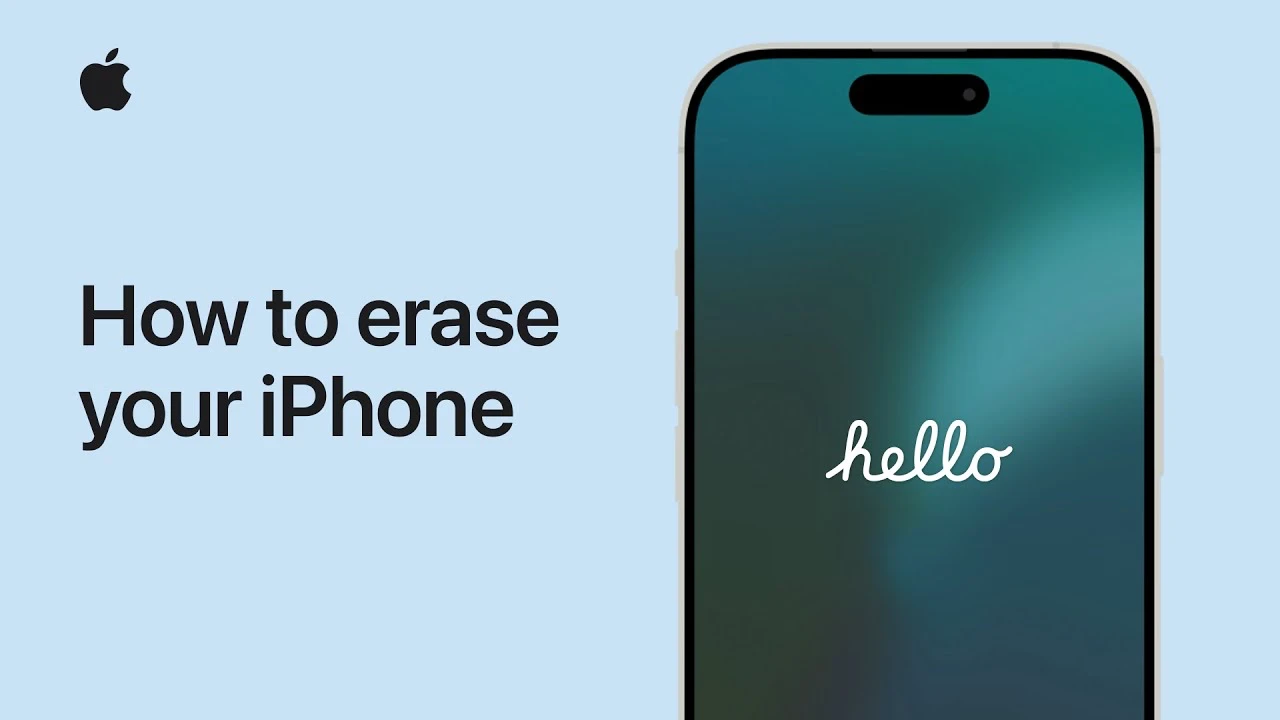
When the time comes to erase your iPhone, whether you’re selling it, giving it away, or simply starting fresh, it’s crucial to approach the process with caution and care. Ensuring the security of your personal data should be your top priority. This comprehensive guide will walk you through the steps necessary to erase your iPhone safely and effectively, emphasizing the importance of data backup and providing clear instructions for both direct device erasure and computer-assisted methods.
The Importance of Data Backup
Before you begin the process of erasing your iPhone, it is essential to create a secure backup of your data. This step is critical for several reasons:
- It ensures that your personal information, such as contacts, photos, and documents, remains accessible to you even after the device is erased.
- It allows for a smooth transition to a new device, as you can easily restore your data from the backup.
- It provides peace of mind, knowing that your valuable data is not lost forever.
When it comes to backing up your iPhone, you have two primary options: iCloud backup and computer backup.
iCloud Backup
iCloud is Apple’s cloud storage service that allows you to store your data securely online. By allowing iCloud backup, your iPhone will automatically back up your data to the cloud when connected to Wi-Fi and plugged into a power source. The benefits of using iCloud backup include:
- Accessibility: You can access your backed-up data from any Apple device, as long as you sign in with the same Apple ID.
- Convenience: iCloud backup is an automated process, so you don’t have to worry about manually initiating backups.
- Space-saving: By storing your data in the cloud, you can free up storage space on your iPhone.
To enable iCloud backup, go to Settings > [Your Name] > iCloud > iCloud Backup, and toggle the switch to turn it on.
Computer Backup
Alternatively, you can choose to back up your iPhone using a computer. This method involves connecting your iPhone to your computer and using either Finder (for macOS Catalina or later) or iTunes (for earlier macOS versions and Windows) to create a local backup. The advantages of computer backup include:
- Local control: You have direct access to your backed-up data on your computer, without relying on an internet connection.
- Customization: You can selectively choose which data to include in your backup.
- Security: Your data is stored locally on your computer, reducing the risk of unauthorized access via the internet.
To create a computer backup, connect your iPhone to your computer using a USB cable, open Finder or iTunes, and select your device. Click on the “Back Up Now” button to initiate the backup process.
Erasing Your iPhone Directly
Once you have securely backed up your data, you can proceed with erasing your iPhone directly from the device. Follow these steps:
- Go to Settings > General > Transfer or Reset iPhone.
- Select the option to Erase All Content and Settings.
- If prompted, choose whether to erase or keep the eSIM.
- Enter your iPhone passcode and Apple account password to confirm the action.
- Wait for the erasure process to complete. The Hello screen will appear, indicating that your iPhone has been successfully erased.
Erasing Your iPhone Using a Computer
If you encounter issues erasing your iPhone directly or prefer using a computer, you can also erase your device using Finder, the Apple Devices app, or iTunes. Here’s how:
- Turn off Find My iPhone in your iPhone’s settings.
- Connect your iPhone to your computer using a USB cable.
- Open Finder, the Apple Devices app, or iTunes, depending on your computer’s operating system.
- Select your iPhone from the list of devices.
- Click on the Restore iPhone button and follow the prompts to confirm the erasure.
- Wait for the device to restart and display the Hello screen, indicating a successful erasure.
Additional Considerations
When erasing your iPhone, keep the following points in mind:
- Have your Apple account login details readily available, as they are required for the reset process.
- If you choose to erase the eSIM, contact your carrier for guidance on managing your mobile service after the reset.
- If you’re selling or giving away your iPhone, consider signing out of your Apple ID and removing the device from your account before erasing it.
By following this comprehensive guide and prioritizing data backup, you can confidently erase your iPhone while ensuring the safety and security of your personal information. Whether you choose to erase your device directly or use a computer, the process is straightforward and designed to give you peace of mind as you transition to a new device or start fresh with your current one.
Source & Image Credit: Apple
Latest Geeky Gadgets Deals
Disclosure: Some of our articles include affiliate links. If you buy something through one of these links, Geeky Gadgets may earn an affiliate commission. Learn about our Disclosure Policy.