
If you were one of the lucky ones that has been able to order one of the new Raspberry Pi Zero mini PCs that were unveiled by the Raspberry Pi foundation yesterday and were made available to purchase priced at $5 or £4, but are now currently out of stock.
You might be interested in a new tutorial which has been created by Adafruit the takes you through the process of creating your very own layered Raspberry Pi Zero case to help keep it protected when in use and being transported.
To recap the Raspberry Pi Zero mini PC is powered by a Broadcom BCM2835 1GHz ARM11 processor that is 40 percent faster than Raspberry Pi version 1 and is supported by 512MB of LPDDR2 SDRAM.
Other features of the Raspberry Pi Zero include a micro-SD card slot, mini-HDMI socket for 1080p60 video output, Micro-USB sockets for data and power, unpopulated 40-pin GPIO header, identical pinout to Model A+/B+/2B and an unpopulated composite video header.
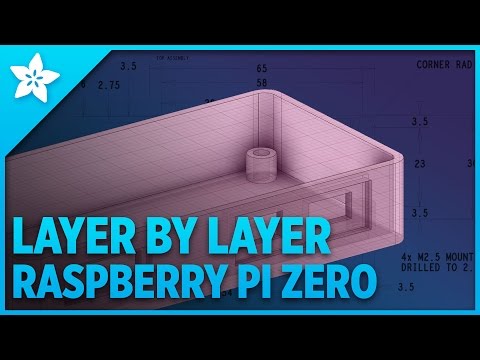
Hey folks! In this weeks layer by layer, we’re taking a look at creating a 3d printed enclosure for the Raspberry Pi Zero. In this tutorial, we’ll use our Autodesk Fusion 360 board template to make a simple enclosure using sketch dimensions so you can customize the design to fit your projects.
If you found this article interesting you might also be interested in this list of awesome Raspberry Pi Zero projects we have put together.
Source: Adafruit
Disclosure: Some of our articles include affiliate links. If you buy something through one of these links, Geeky Gadgets may earn an affiliate commission. Learn about our Disclosure Policy.